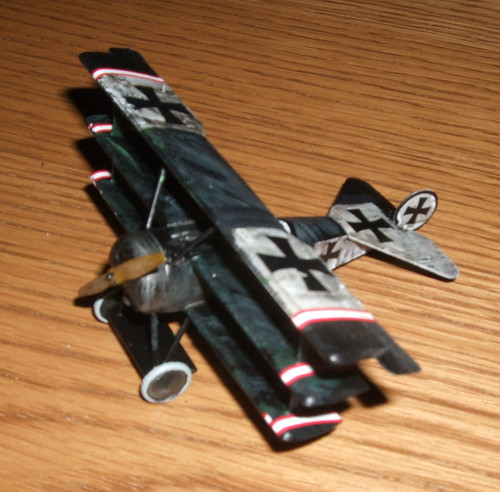
My planned diversion away from WW2 is starting to take shape in the form of a Black Fokker Dr1. It's already bringing back good memories of Blue Max - another E.E. game that has had its legs cut out of it. Anyway, here's some Pics
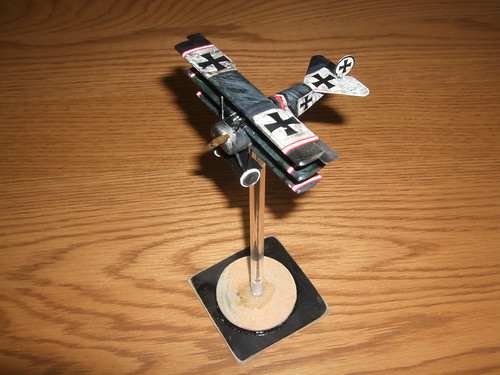
Another view of said little aeroplane showing fuselage.
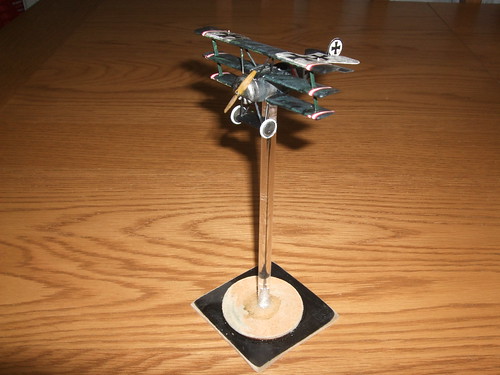
I've tried to put on a weathered finish over the whole plane, and have only a base for the model to construct, which I shall add to the post when able. Finally a shot in natural light.
The shot is rather grainy, and would be a lot better if I had gray scaled it I think. Time to play with photoshop.
Well photoshop is not going to work, as I don't have it!, but work this morning has meant that the stand has been sorted, but not finished. I wasn't able to muck around with the photo in microsoft paint, and my media program doesn't allow me to do anything like that.
The base was made from hardboard, scoured out to receive the retaining screw that secures the perspex rod to the base. This base was then glued to another base, which I will model/sculpt. The top and bottom of the base was drilled out - too deep as it happens - to receive screws. The plane was screwed with a small screw, into the fuselage, and then cut at its base. The remains of the screw were then screwed in gently to the top of the rod, and a small amount of glue used in and around the rod to help secure further.
I had also painted up another plane - a German experimental prototype Me328v2, that I was going to use for the other base I had. I had bought a 12 inch 8mm perspex rod for the support. This, having cut one for the Fokker, was to big for the little Me328. I think 6mm is a better size to use, and still retain significant support whilst remaining relatively inobstrusive. I used the base for a Typhoon I have that will be used for BGO/KGN/FotR.
Photo of the finished base.


No comments:
Post a Comment