Received the activation orders from OKW Zomerzet to fire up the Panzers for a swift counterattack to stabilize and restablish German positions north of Caen. Ralph and Ian were slotted in for British, and Nick who was hosting the game, played moderator.
The terrain was laid out on Nicks 7ft by 15ft table
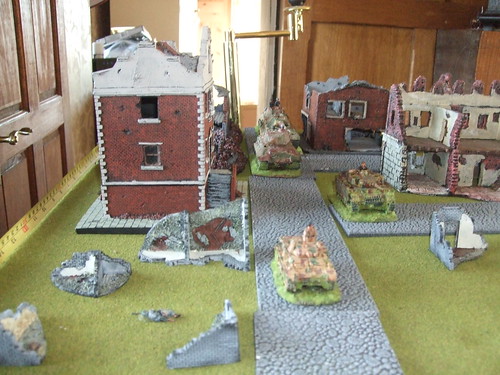
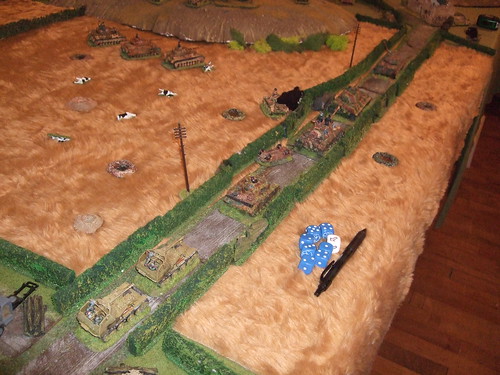
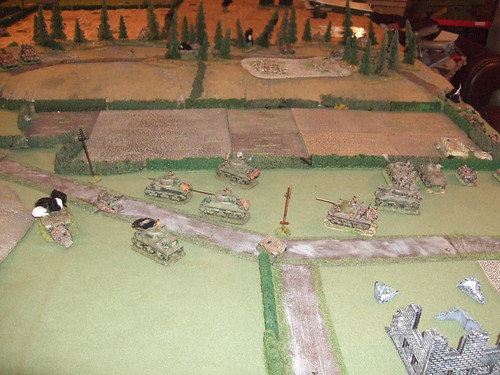
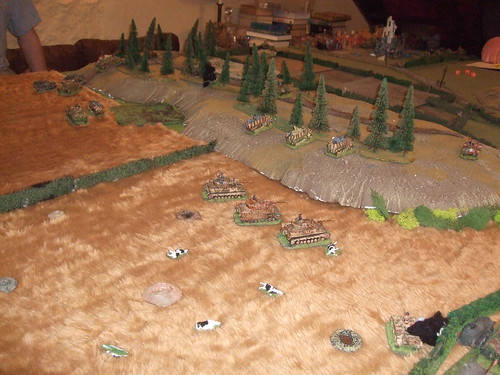
Above is a view of the German end of the table, and starting positions.
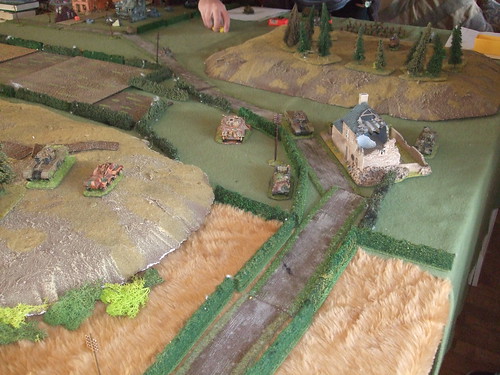
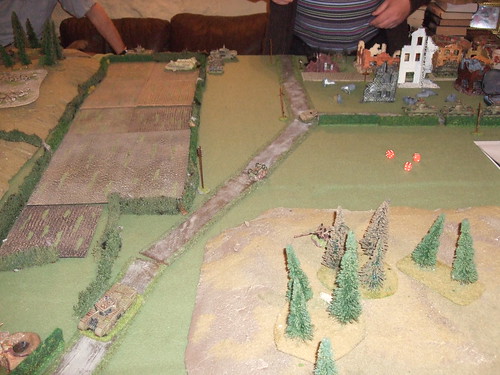
View down the table showing hill feature that was to be a German objective, road and part of another wooded hill.
German forces were quite substantial, and although force structures for both sides were not counted up, they were balanced. The Allies having an edge with air assets, more infantry and tanks, the Germans had a qualitative edge with armoured Panzer Grenadiers and a troop of 101st s.SSPzrAbt - Tiger II.
German forces comprised the following
Battlegroup Command - in Sdkfz251 + small truck
Radio Van
SPAA - 37mm FlakPanzer38t
Off table 105mm battery ( of 2 ) in Wespes
Battery ( of 2 ) 105mm SPG + Armoured Art. Observer in 39H F Hotchkiss
Battery ( of 2 ) 75mm SPATG with Bat. command in 39H F Hotchkiss
Recce element - Pzr II Lynx
101st s.SS.Pzr troop - 3 TigerII with HQ in PzrIII K
2 x troop 21st Pzr of 3 Pzr IV J
2 x platoons 21st PzrGren of 4 SPW P107 inc command
2 Marder III M
2 towed PaK40 75mm
Allied forces comprised the following
Battlegroup Command - in AEC truck
Radio truck
1 troop of 4 Churchill IV - 6 pdr
4 troops of Shermans 75mm, 1 in 4 uprated to 17pdr Fireflies
2 towed 6 pdr with Bren carriar tows
2 towed 17 pdr with Crusader tows
FOO in Dingo
FOA in Sherman
1 Company - HQ, 2x 3 inch mortars
3x Inf Platoons - of HQ and 3 sections
Each side was briefed by Nick with mission objectives and had a quick appreciation of the table by the sides. The Germans had been forced off the hill and wood feature in the centre of the table - between 2 villages. The battlegroup was to swiftly counterattack restablishing control of that feature, neutralising any threat from enemy forces and stabilising the front. Basically - go in hard, but the Tigers could not operate off the road without risk of bogging. The track in the hill/wood was a single track and Tigers could not climb up the hill without risk off mechanical failure. Vehicles could not move through the wood.
The Germans deployed the Battlegroup Command and the Tigers first move, with the Recce Lynx motoring down the road to flush things out.
With the Lynx heading down the road, more Germans were brought on. The SPAA and the Marders through the village, and a troop of PzrIV's with a platoon of PzrGrens in 1/2 tracks. These last were map moved on, as they were out of range, and the Brits did not attempt any obsrevation of these as they moved through the edge of the village along the road. German aim at this point was to wave the TigerII'sin front of the British, but to conduct the attack with the elements of the 21st Panzer - in 2 groups,with the first group deployed. They would be the assault troops for the recapture of the hill. Also, the more commands on the table would allow increasingly better action dice to develop the attack.
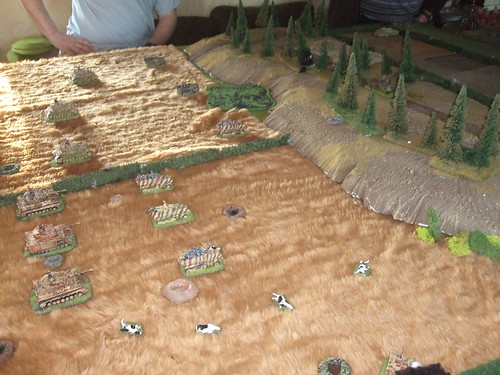
The left flank of the German attack, on the table after being observed, but the right flank deployed behind the hedge but not observed yet.
With the German attack now showing itself, the British finally observed the right flank attack. The FAO in a Sherman lurking around a farmhouse at the edge of the hill feature attempts to call down artillery fire onto the Germans. This though puts him visible to the Recce Lynx, and the column of Tigers coming up the road dirrectly in front of it.
The British had also wound up 2 Churchills to support their infantry on the hill edge. However, being to far away to do any damage to the Tigers, they have a go at the Lynx. This though puts them out in front of the Tigers for spotting.
At the same time that the Tigers and Lynx are starting to draw the British out on the right flank, the British open up with their 6pdr's which had been deployed in the edge of the wood. The British have only a platoon facing the bulk of the German attack, which of course the Germans don't know their strength yet.
With the revealing of the 6pdrs firing, the Germans start to lay into the wood edge, the Panzer IV's firing suppression fire and have supporting fire from the 105 battery on Hotchkiss chassis. The 1/2 tracks move forward and fire as well adding to the supporting supressive fire. The attack starts to develop.
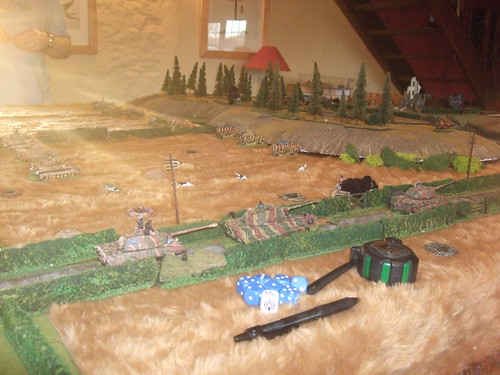
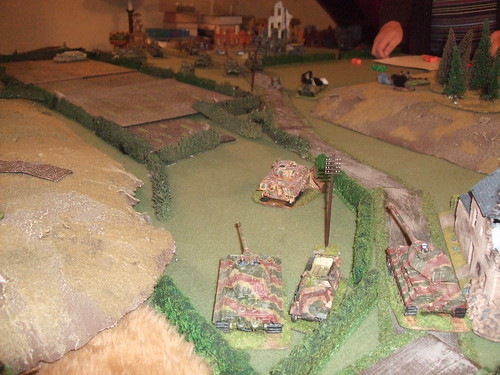
A wider view showing the Tigers on the road forcing their way up, the Lynx having been knocked out by a Churchill, but the Churchills then havng to retreat away from the Tigers. The FAO in his Sherman has now been knocked out by an 88mm round. In through the front, out the back, and into the hill behind. 3 required to kill, 11 rolled.
View down the road with the lead Tiger, the Churchill visible on the hill is about to reverse back into the wood.
The attack is now going in after immense firing from the 1/2 tracks to support the attack before they debuss the infantry. 1 section of PzrGrens were killed on the left flank, and a section of PzrGrens had their 1/2 track blown upfrom under them so have been left behind. The 1/2 tracks are putting in 2 turns each of 36 dice from pintel mounted MG's. The British take a shellacing. 1 platoon on the German left have failed their morale and withdrawn. The other platoon has an equally bad time, but pass their morale test. The British however, withdraw the platoon and also isolate the Churchill that had reversed back along the track.
The Germans stay in their 1/2 tracks on the left, and climb the hill with the Pzr IV's in support. On the right, the Germans debuss a section, which then moves up to Panzerfaust the side of the Churchill in the wood. It can't turn as it threw a track trying to move itself out of the way of the oncoming Panzer Grenadiers. The supporting Pzr IV's then move aroung the shoulder of the hill to continue supporting the attack on the hill.
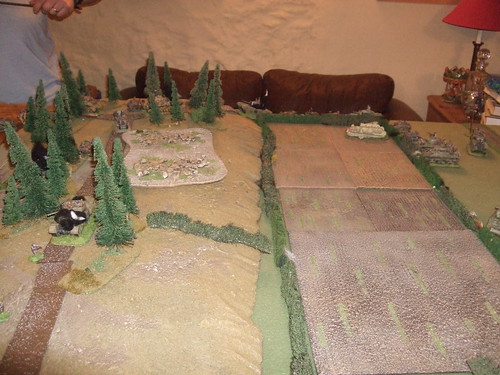
A view of the shoulder of the hill showing the buildup on the road. The Tigers were enaged by a 17pdr deployed on the hill to the rear. The British are bringing on supports, but are having to defend the hill from behind it, with tanks that cannot operate on the hill itself. The only way to remove the Germans from the hill now, is with 25pdr indirect fire, on perhaps tank fire supporting the remaining infantry platoon. That would have to deal with the Tigers and Pzr IV's coming around the corner.
There is a localized scuffle at the far end of the hill. A Pzr IV comes round the top of the ridge face to face with a Churchill. After trading shots and misses, the Germans get a shot in, and halt the column. Greedily, the Germans go for the end Churchill, and after several misses on each side, the Churchill gets the Pzr IV, blocking the route off the hill for everyone.
After the bad experience with the Pzr IV's, the British are grouping their Shermans around the village in an attempt to stop the Germans coming on to them. The 88mm's are starting to do their work on the Shermans, with almost no effect apart from 2x 6's.
The Brittish are moving support to the base of the hill to stop any German advance.
Overview of the action going on behind the hill as the Germans push on.
View from the British side.
View from the british table edge showing the hill.
Time was called at 7pm, the game started at 2pm, so we had a good length of game to get a result. The result was a German victory, all objectives achieved, although I'm not sure if I would have wanted to trade tanks with the Brits.
Thanks to Nick for hosting the game, and Ralph and Ian for being such good opponents.
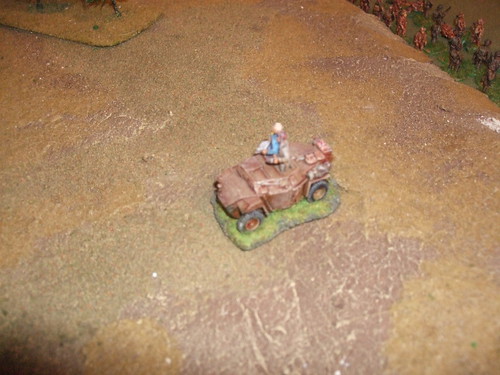
A small bit of fun - Nicks FOO, in freshly knitted RAF blue
 Why did I choose the Typhoon, with my prediliction for all things US. I'd love to get hold of a Thunderbolt or two, but there were none in the shop! Having read accounts of the counterattack at Mortain, as well as other US actions, British 2nd Tactical Air Force supported US ground forces as well as the integral 9th Tactical Air Force. To be brutally frank, a Typhoon or a Thunderbolt running in on ground attack will make any German player sit up and take notice.