A return match with the Germans who were forced out by the Brits. While the attack on the farm had failed, the advancing Churchills had flanked the farm, forcing the Germans out. The Germans had organised a counterattack on the farm to force the British out and retake the position.
British forces were
senior officer group
1 platoon of infantry
1 troop of Shermans with a Firefly
1 Firefly - the remains of the previous troop
hard defences for all the infantry
reserves - 1 troop of Shermans offtable to come on should events head south.
all aircraft chits drawn would be Allied aircraft - rocket carrying Typhoons
German forces were
senior officer group
1 platoon of panzer grenadiers - in 251's (represented by 250's - sorry)
1 222
1 Flakvierling on a Sdkfz7
1 Marder III m, from the earlier encounter with the British
3 Panthers - these would have poor morale. This was to simulate the new recruit crews who were manning the tanks. The tanks were recovered and repaired from the workshop, poorly trained but enthusiastic replacements put in, to go into the hasty counterattack. All that was available to go into the fight, but brittle.
1 Panzershreck team - heroes of the earlier encounter with the British. Counting as veteran, with +1 to hit and to make cover saves.
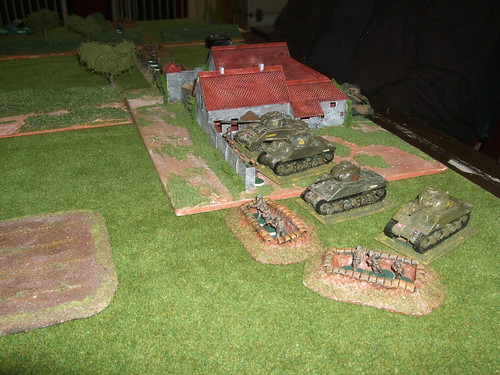
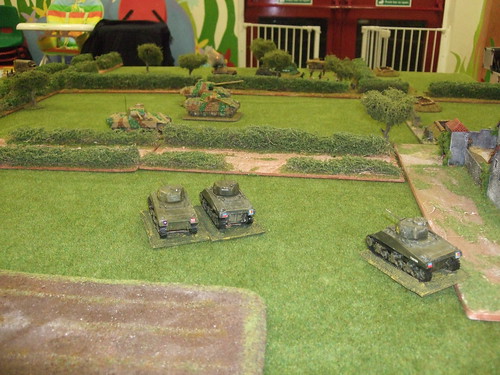
Lieutenant Broomhead formed line behind the mealie bag wall, ready to volley fire on command....er, sorry wrong century and continent. The British deployed the fortifications in a line either side of Haye Farm. I gave it that name as it is an old Airfix La Haye Sainte farmhouse from the Waterloo colllection. The Shermans forming up in line behind the wall and entrenchments. One of the Firefly's lurked behind the back of the farm.
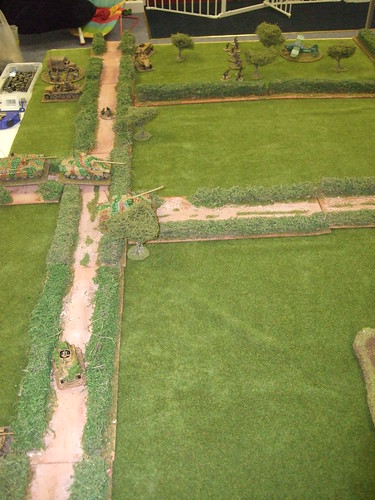
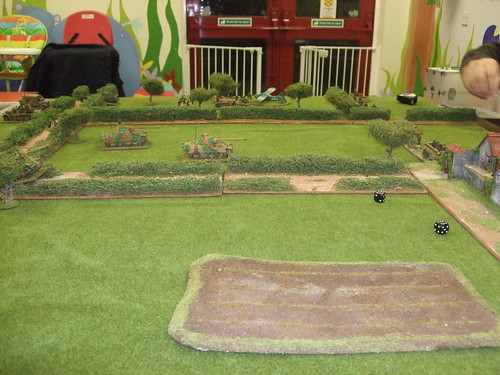
The Germans formed up for the attack, the armoured infantry moving up on the left, through the wood, the Panthers moving straight up the road to the farm. The Marder deployed to the right, supported by the Panzershreck team. The senior officer and Flak behind the hedges , left of centre, the 222 heading along the lane to spot and do recce things.
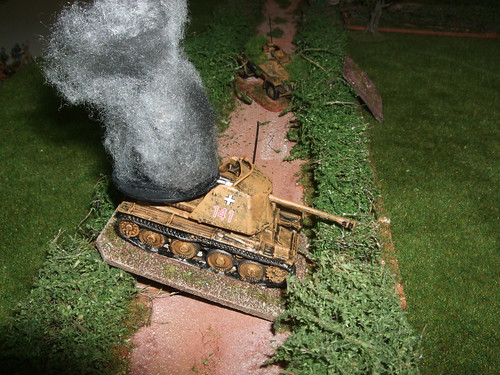
The British held back - holding their lines, allowing the Germans to develop their attack. The Germans Panthers headed off in column down the lane to the farmhouse. This tempted the British to start to open fire. Whilst missing the leading Panther with a Firefly, the Shermans opened up with suppressive fire on the 222 and Marder, suppressing the 222 ( for the rest of the game, it remained pinned), and converting the suppression to a kill on the Marder. The Germans then drew a chit - low ammo, which they promptly played on the British Firefly. Oouch!
The German halftracks debussed at the edge of the woods, and moved up in support of the infantry squads moving up to attack the positions at the other far side of the woods. The halftracks then began firing suppressive fire at the entrenchments containing the British, and pinning them. The British then spent the rest of the game drawing chits to unpin them whilst they were still there. This was not long as the advancing squads began direct fire into the positions.
Combined with MG fire from the Panthers who had now left the lane and moved into the field next to the woods, the supporting infantry section became pinned or hit with direct fire. This isolated the infantry from each other and from the tanks in the farm. As the Panthers went on reaction orders/suppression/direct fire and move, this meant that the Shermans and Firefly were very nervous to come out.
As the Panthers pushed further on, and as the British infantry were wiped out on the right and centre, they exposed their flank to potential attack from the Shermans on the left of the farm.
But, the first thing you need to do apart from to spot your target, is to hit it. As pointed out in an earlier blog, the critical range is sub 20 inches. If you move, the target moves and they are obscured, that is +3 to a base 4 with a D6 at range 20 - 30 inches. The key is supporting fire from stationary tanks to cover/react to your opponent, and your own tank/troop manoevres. You can sometimes get away with it, but generally you don't.
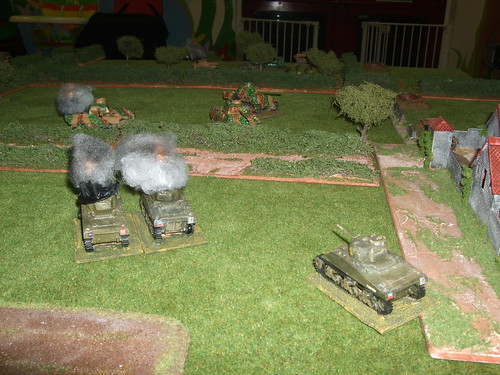
As the Shermans opened up, and missed, it attracted the Panthers attention. Side on hits were the only way that the Shermans would be able to take out the Panthers, apart from immobilising them or getting double 6 etc. The technique would be a combination of reaction orders, fire and movement. The Shermans got lucky, with a side pentrating shot on the nearest Panther.
Having wiped out the infantry, the Germans turned to their right, fire then move, taking 2 Shermans with them, and presenting front armour. At the same time, the german infantry had finished taking the entrenchments to their front, swinging right they began to engage the British in the farm. With the 2 Shermans brewing up, the British were 1 BR away from breaking. The lead German squads opened up on the command group mortar team. If they wiped them out, it was game over. If they drew a chit, it would have to be a written chit e.g. minestrike. The MG42 missed twice, the rifle squad didn't. The British drew a 1 and broke.
Thanks to Ian and Dave - British, and Steve - German.
One of the things that came out of the game is to make up some flow charts for sequences of play, what to do etc. I've seen bits on the Guild, and have included an artillery sequence - http://www.guildwargamers.com/phpBB3/viewtopic.php?f=321&t=30869
I like the QRS sheets, but they are all over the place, trying to fit too much in I think. I don't have the mini rulebook so can't comment on that.


Thanks for posting a great AAR. I really must get back into the Battlegroup series of rules- played them 3 times a few months ago and need to get in some more games.
ReplyDeleteThanks for your support. Good luck with the gaming.
ReplyDelete