Saturday, 5 April 2014

Battlegroup Overlord- US Recce action

After pontificating ( a bit ) about how to play US in BGO on the Guild, I had the opportunity to put my words into action. A no points game of an US recce troop with a platoon of Armoured infantry supported by a troop of Shermans, later an additional troop of Shermans. I didn't include any artillery/mortars to keep it quite simple, as the US commander was a friend who was filling in- for me. He hadn't been an active wargamer for a number of years, so wasn't familiar with Battlegroup.


The Germans were played by Mike, who was familiar with Battlegroup. He had a platoon of infantry with panzerfausts, supported by a PIV, 2 Marders, a deployed 88mm, a 222 armoured car, a single deployed 20mm and 2 halftrack AAA - a 37mm and a quad 20mm. Both forces had a Battlegroup command.


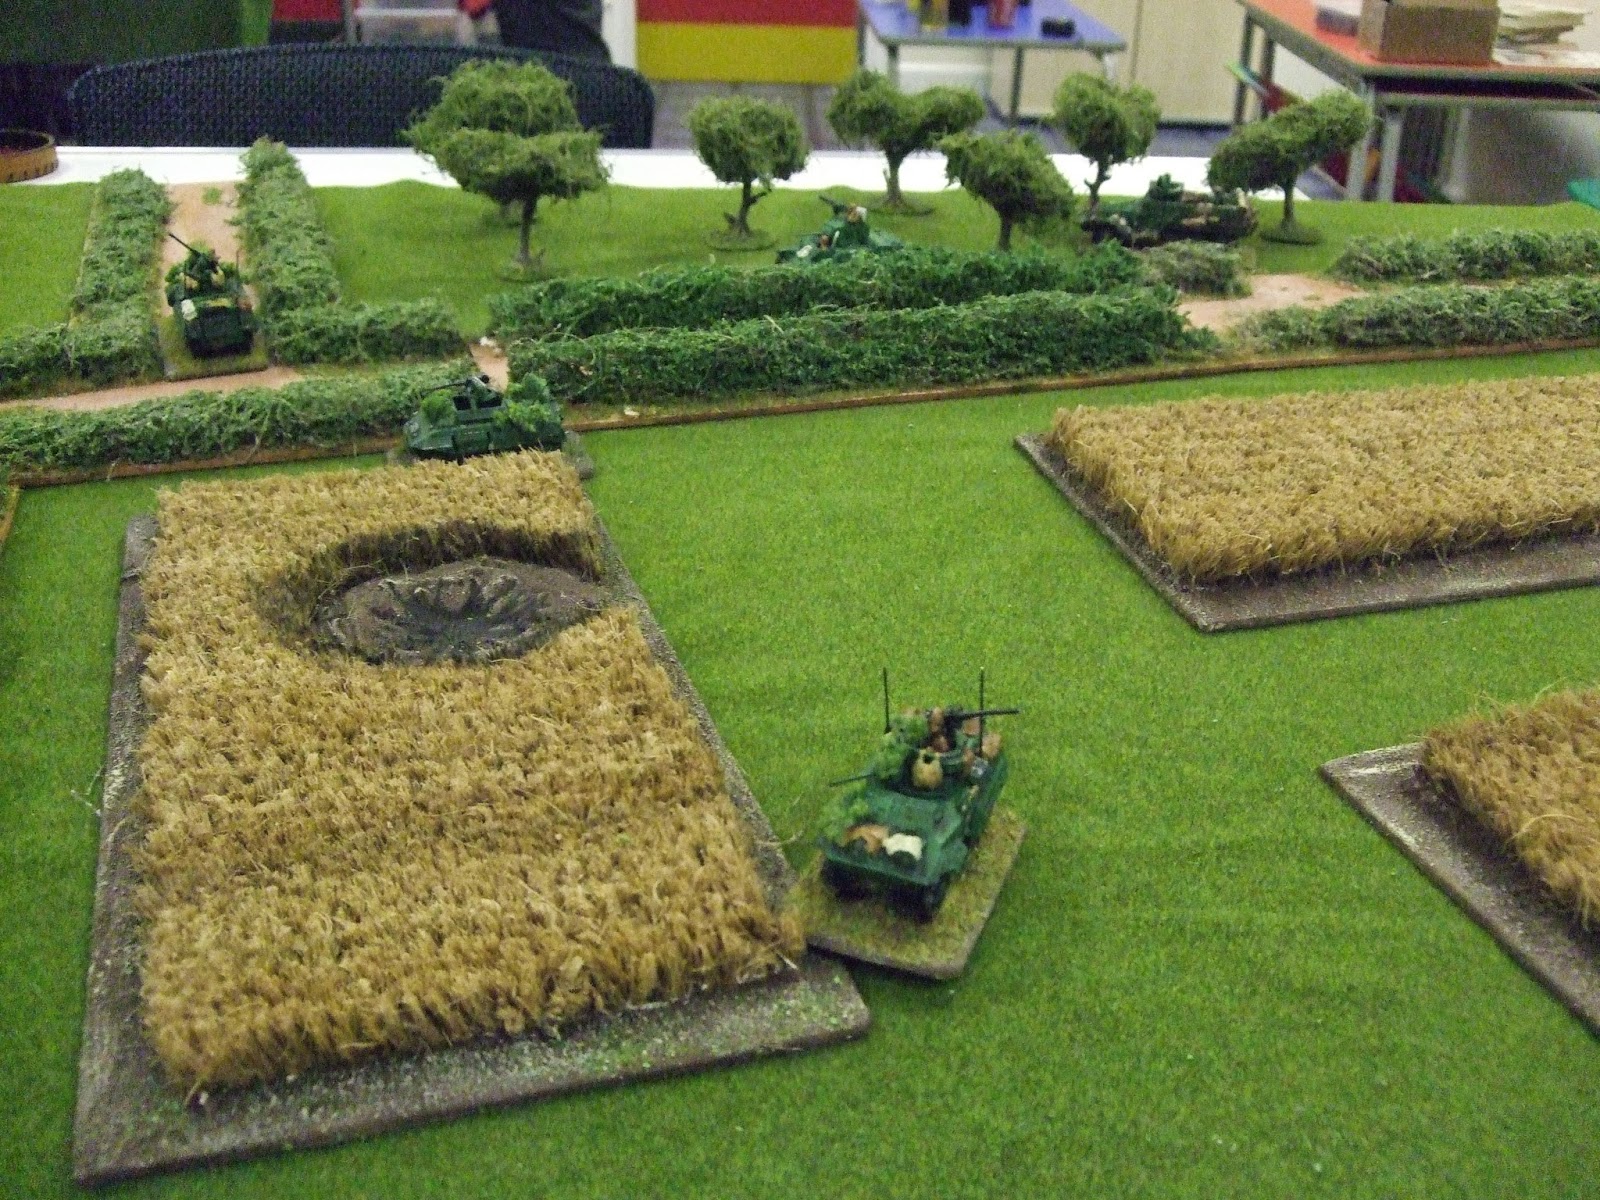
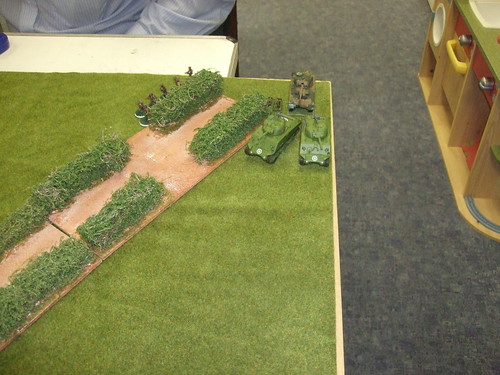
The Germans would deploy 12inches in, with the US coming on from the table edge, Recce troop first. This was a M20 utility as recce command, a M5 Stuart and 2 M8 armoured cars. The aim was for the recce to motor down the road and find the Germans, with the follow on forces able to deploy anywhere off the baseline.


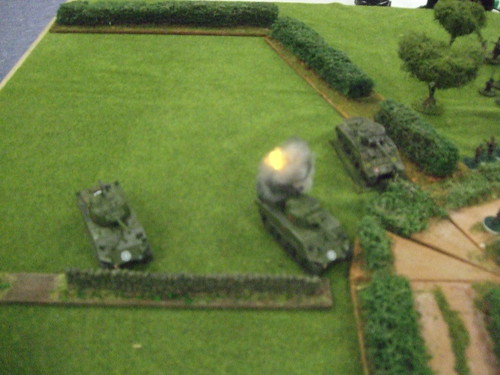
The recce shot down the road, drawing the Germans out of ambush, losing the M5 which got caught at the edge of the orchard by the 88mm. An M8 was picked off by the Marder at the top of the road. Reinforcements came on with the troop of Shermans, but the lead Sherman then got picked off by a Marder. Moving off the road, the US tried to flank the orchard on the left of the road, using the recce troop to scout out ahead of the tanks. This was also to allow the armoured infantry in halftracks to come on.


The recce troop then ran into an ambush by the Germans, a section of infantry in the edge of the orchard. They fired off a panzerfaust and retired across the lane back to the edge of the orchard. As the US built up their attack on the left of the road, bringing up their halftracks, the German PIV came out of ambush and reamed a Sherman. The remaining Sherman took a morale test, failed and bugged out.


An additional troop of Shermans became available to the US, and moved onto the table.  The US moved the armoured infantry up to the orchard, debussed and poured in heavy concentrated fire into the German infantry, at first suppressing and then eliminating the section. As the US pushed through 2 squads through the orchard, the 2nd Sherman troop was engaged by the PIV, losing a Sherman, and returning quite ineffective fire in return.


Whilst pulling back the PIV, and getting shot up by the 2 remaining Shermans, the main action was going on in the orchard, with the 2 AAA halftracks moving up to engage the US infantry. After a bit of a false start by the 37mm, the quad 20mm opened up. Truly awesome casualties resulting in the destruction of a US section - all 12 men, and pinning the other section. The Bazooka team from the HQ section got up to the wood, but was unable to shoot. It was unscathed by the fire.


The Marders began withdrawing back away from the orchard, away from the infantry and the bazooka. The 2 Shermans were moving up to mid table, with 2 sections of infantry available to support them. Time was called at this point. A solid German victory, even though they were in the process of moving back. The Germans would win the game by not losing, in this they were able to delay and blunt the US recce probe. Whilst the 20mm and 88mm didn't have a tractor/tow on table, they would have got  away. The US would have stopped, pounded the positions and moved on, replacing the shattered infantry platoon and Shermans.

Thankyou's to Mike and Chris.
 

Monday, 3 March 2014

Battlegroup Overlord - Continuing action around Haye farm

A very quickly organised game, no points, but a platoon a side with supporting tanks. The British - represented by Ian and Steve, were back in force against the Germans - played by myself, who were determined to regain Haye farm.

British

Battlegroup HQ
Plt of infantry
2 troops of Shermans with Fireflies

German

Battlegroup HQ
Plt of infantry armed with Panzerfausts
1 Panzershreck team - yes they're back for more!
3 Stug's, 1 JagdPzrIV and a PzrIV

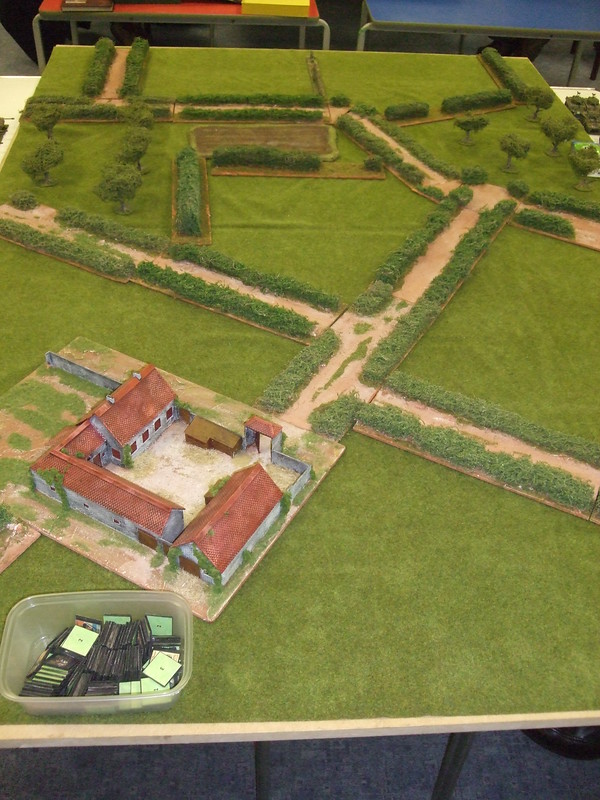
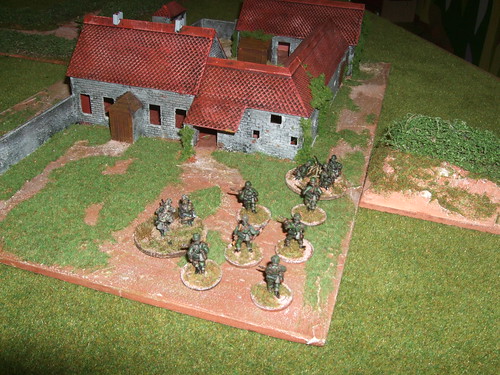
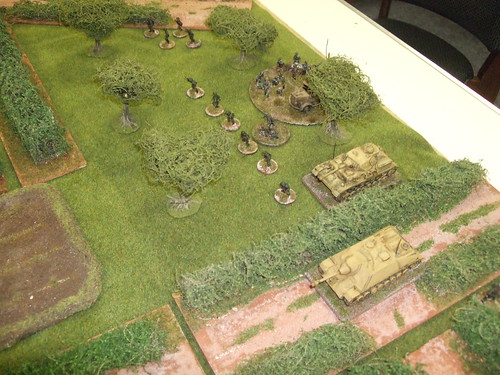
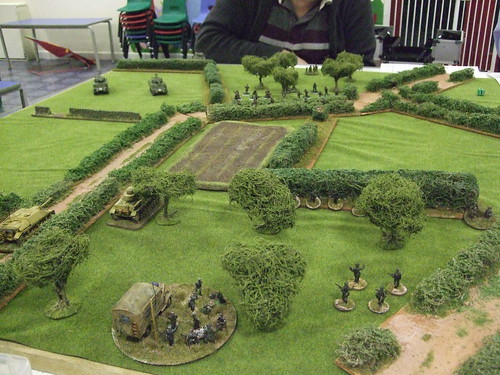
The terrain was close but not to close, with a fair bit of cover. The sides were fairly balanced with regard to forces. We deployed 6 inches in, Germans moving first. I moved  a section up to the farm, one into the wood with the battlegroup hq, another up the lane between the two. The Stugs were deployed around the farm, and the PzrIV and JagdPzrIV on my left securing the edge of the wood along with the heroic Panzershreck team from earlier games.


The above photo's showing the deployment I made of the Germans. I was thinking on the way home, that I made a proper 'horlicks' of the deployment, but on reflexion I'm not too sure. I think I did a proper job of the game as a whole, with added bad luck on the dice thrown in.

Anyway, the Brits with 2 troops of Shermans, they were divided equally, with a section of infantry each, and a bit in the middle. I thought I had a handful to contain either. but concentrated on the farm.
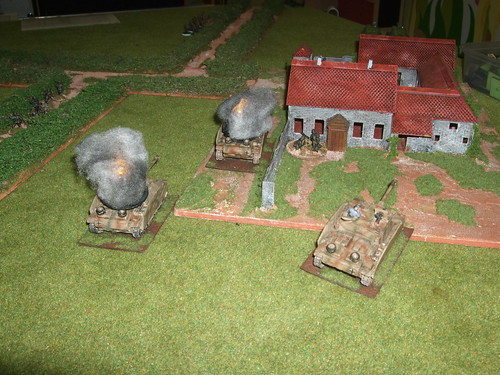
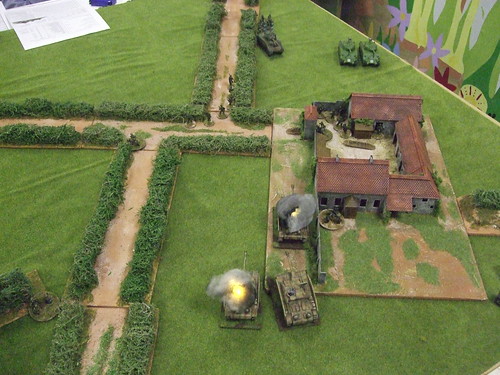
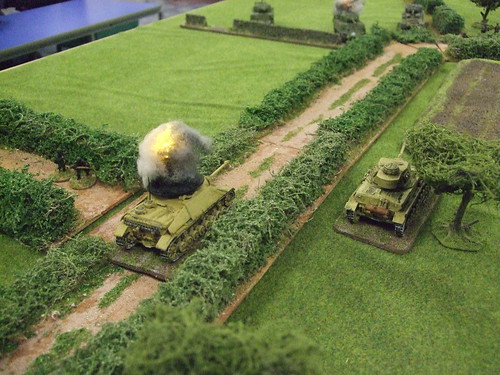
Moving up to the farm, the lead Stug was sniped by a Firefly, totally ineffectual return fire by the 2 remaining Stug's, resulting in a further Stug going up in smoke.


The infantry in the farm now, prepared to take on the Shermans, after forcing the supporting infantry away from them. A HMG in the rooftop of the farm managed to keep the British infantry away from the farm, and avoid return fire. The Shermans poured in a pretty concentrated HE fire into the farm to kill as opposed to suppress the German section. Pinning hits kept them down and unable to shoot their Panzerfausts at the Shermans who were within 10 inches. Oh botheration!!

 A long range duel developing between the Shermans on the left, and the PzrIV on the edge of the wood.
The attack developing on the right, and the closeness of the Shermans to the dug in Germans with Panzerfaust. If only they were not pinned- unpinned - then pinned again, unpinned - you get the idea.
The JagdPzrIV managed to get a shot on the advancing Shermans
And then took a shot in return from the Firefly.

What was really annoying was the hail of ineffectual shot dribbling across the table to knock timidly at the front hatch of a Sherman. The most effective unit was the HMG holed up in the farm covering the centre of the table, pinning the advancing British infantry.

A very enjoyable game all told, thanks to Steve and Ian and well done the Brits.


Friday, 28 February 2014

Gyros Teller - Battlegroup Modern - Background

I had a request a few days ago about the orbat's of the forces involved in our display game, and its also an opportunity to give some information on how the Battle Group rules were tweaked to fit in with the scenario we had arranged.
However, when I write that we did work on the adaptation, the vast majority of the research and work was undertaken by Nick T. I had a minor role and input with the rules, but the core of the display game came from Nick's experience in Germany in the mid 80's. Nato exercise -  Crossed Swords 1985.

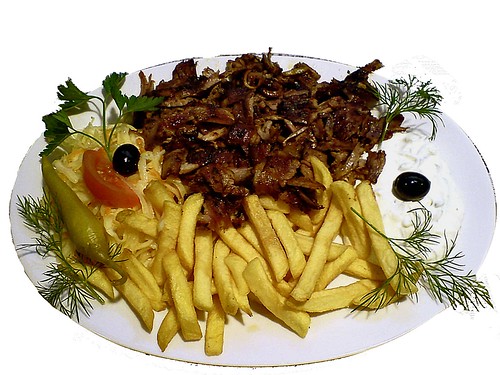
Firstly, I need to explain what and where Gyros Teller is. It is in fact, not a small town in the North German Plain, in the BAOR deployment operating area, but a well known and liked Greek Kebab and chips dish, fondly remembered by all who served in BAOR. As a keen fan of the Kebab, my eyes are starting to mist over just thinking about it.
 
The Belgian forces were 4 Leopard IA6's and 2 Scorpions. Regular forces which I believe would have been 3rd Lancers. The German forces were 3 M48G's and a platoon of infantry in 4 M113's, supported by a Gepard. German reservists.

Whilst on exercise Crossed Swords in 1985, with the Belgians and British,  a Battalion force of German Reservist M48's were driven through the British deployment area. They were not part of the exercise, but are included in the Nato setup accordingly.

The British forces are formed around the 1 Royal Scots battlegroup, as part of 33 [UK] Armoured Brigade. The 1 Royal Scots battlegroup comprised the following
1 and 2 troops of Scots DG, of 3 Chieftains, a reserve troop of 2 Chieftains, with a Squadron Commander in a Chieftain. Supporting the Chieftains was a Chieftain ARV. A Recce troop of 2 Scorpions and 2 Scimitars was attached to the 1 Royal Scots battlegroup.

The infantry company were 1 Royal Scots operating in FV432's, with a company HQ and 3 platoons and a weapons platoon. A Milan compact turret and a Wombat, 2 FV432's with mortars, 2 Troops of 2 Strikers equiped with Milan, a Samaritan and 2 Scorpions were in support. The infantry had 2 Blowpipe launchers.

The battlegroup had a tactical HQ, POL lorries, an observer in a Ferret and a Centurion AVRE. A troop of 2 mobile Rapier launchers gave air defence cover. Artillery support was a battery of 2 Abbot SPG's. Air support consisted of a Army Gazelle observer, and 2 Army Lynx's with anti tank missiles. Liason with the Belgians and Germans was represented by helicopters, allowing contact and control with them. No liason officers at the HQ would mean no control of the Belgians and Germans.

Rear area security was a Territorial Army platoon defending the bridge area. They were from 6th Airmobile Brigade, equipped with 4 LWB Landrovers and a troop of 2 Fox's from Royal Yeomanry.

If ground attack was rolled for, 2 RAF Harriers were available, with 2 German F104 Starfighters providing air superiority.

Pulling everything together as follows

Belgian:

One Plt 4 x Leopard
Recce One Plt (-) 2 x CVR(T)
A/Tk 2 x 90mm Kannone (Under construction for GT 3)
1 x Allouete Liaison

German:

One Plt - M-48G
One Plt -  M113
Flight 2 x BO105 Liaison & A/TK
2 x Starfighter
1 x Gepard

UK:

HQ 33 (UK) Armd Bde
Bde HQ and TAC
2 x Harrier
One Lynx Flt (1 x Gazelle, 2 x Lynx)
Arty - One x Abbot Tp
Recce Tp - 4 x CVR(T) Scorpion
2 x Striker

1 Royal Scots:

1 x Chieftain Sqn - 10 x Chieftain & ARV
1 Coy - Mech Inf Coy - 3 x Plt - 10 x 432
Bn HQ Sultan, Samaritan
2 x Mortar 432
2 x SF GPMG
2 x Atk - Milan MCT, 2 x 432 Milan carrier
2 x CVR(T) Scimtar
1 x AVRE, 1 x CET
2 x Tracked
2 x Spartan - Blowpipe SAM
2 x Ferret 
1 x 432 Arty OP
 
6 (Airmobile) Bde
 
1/2 Tp Royal Yeomanry - 2 x Fox
1 Plt Inf - 4 x Landrover, 1 x SF GPMG, 1 x Milan
 

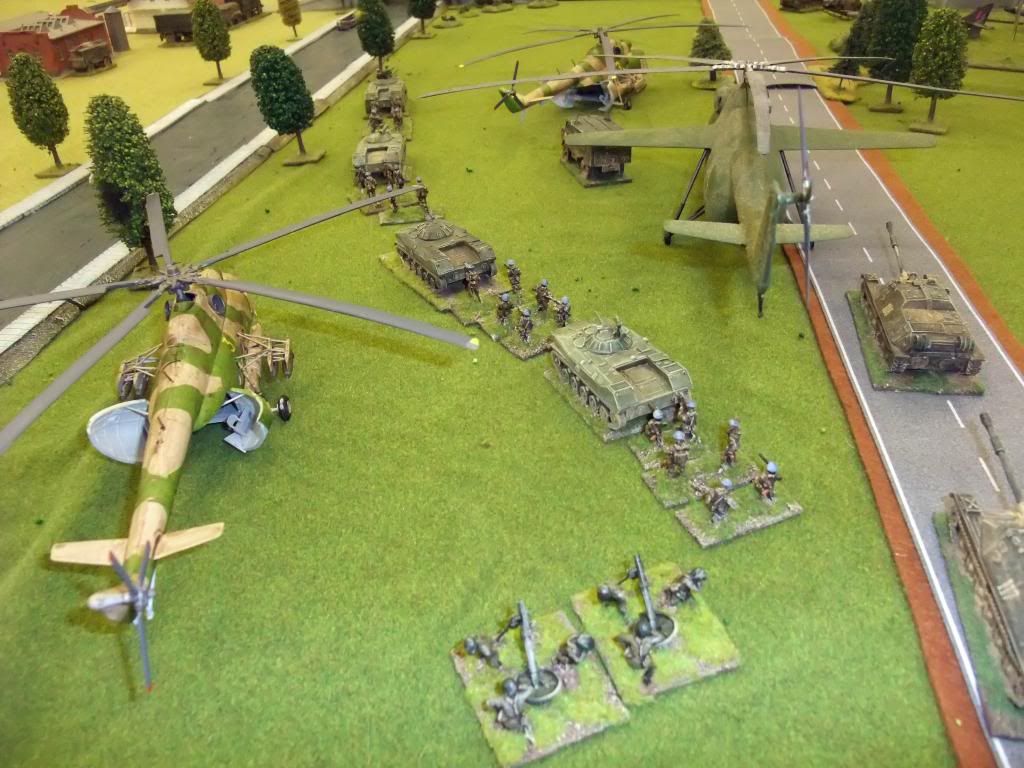
The Soviets were a Motorised Rifle Regiment battalion, supported by its parents Tank Regiment battalion. Modelwise this presented a problem in so far as this was a substantial amount of vehicles, 90+ , so some recycling of models would be required.

The Soviet advance to Gyros Teller would follow standard operating procedure for such an operation. There would be several thrusts/probes by the MRR towards the canal, parellal to the advance on Gyros Teller town. They would be tasked with securing a crossing of the canal, and would expect to be able to deal with any threat they came up against, either overwhelming the opposing forces or bypassing and isolating them and continuing on by other more sucessful advances.

Nato forces would be aware that rotary wing aircraft were operating in the general area, and these would be available to secure strategic points for the Soviets, in conjunction with their advance. This was part of the Soviet plan for Gyros Teller, though the presence of the 1 Royal Scots battlegroup was not known due to a failure in recconaisance. They had been unable to penetrate the Belgian forces in front of them, or the screen provided by the German reservists, either by recce troops of the MRR or airborne recce.

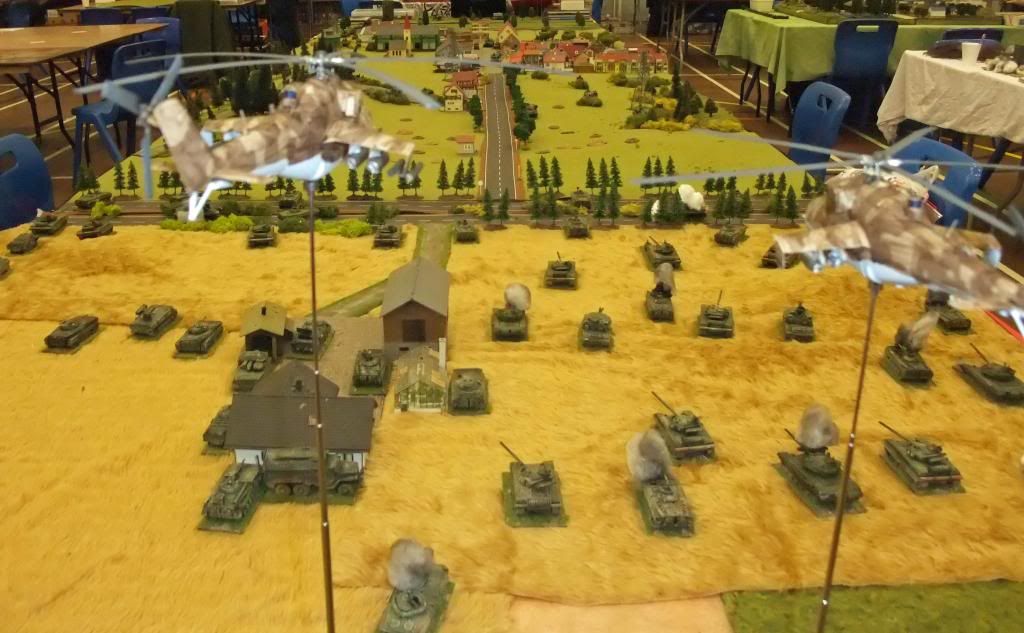
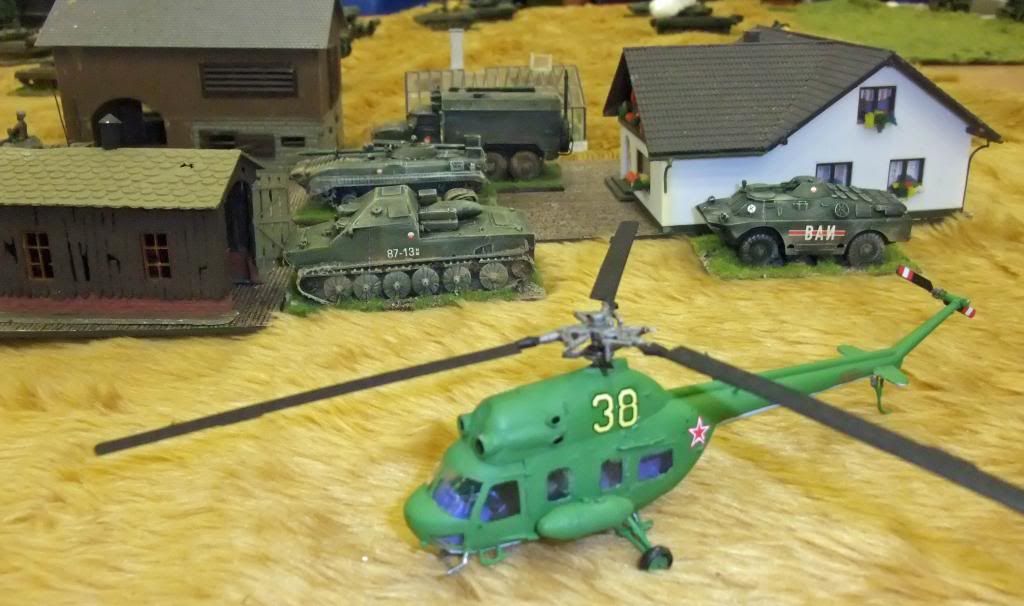
The Soviet attack would consist of 3 waves, lead by the recce troop. They would be supported by an Anti tank platoon, 2 fully kitted Mi24 Hinds, a mine clearing roller and a bridge layer. Coming on with the first wave would be the MRR battalion commander with support vehicles - counterbattery radar, and 1 SA13 launcher vehicles. Additional AAA came in the form of 2 Shilka's.
The MRR battalion comprised 2 companies of 18 BMP's and the HQ with its support. The BMP's were a mix of BMP1 and BMP2. The battalion HQ and support staff can be seen in the picture above, along with the Airborne liason helicopter.The Regiments recce troop of 2 BRDM's, 2 BMP2 and 2 BMP1, which would lead the attack. The recce troop would be approxiamately 15 km's in front of the main body, searching out the route of advance, identifying resistance hot spots and potential opportunities and problems. This they did, by drawing out the Germans behind the Belgians, who were withdrawing through them.

The supporting Tank battalion had 2 companies of T64 tanks and a battalion HQ with a total of 16 tanks. 6 T72's were used as replacements.

The Airborne assault was by a half company of Paratroopers  supported by a platoon of 2 ASU85's,  4 BMD's and 2 120mm mortars.

Putting it all together as follows

1 x RHQ MRR
2 x Coys T-64 - 16 x T-64 (+ 6 x T-72 for casualty replacement!)
2 Coys Inf - 18 x BMP
Atk - 3 x 9P148, 1 x BRDM-2, 1 x MT-12 & MTLB
4 x 2S1, 1 x PRP-3, 1 x Big Fred, 1 x ACRV
4 x 120mm Mortar & Gaz-66
AD - 2 x ZSU23/4, 1 x SA-13, 2 x BMP-2
Recce - 2 x BRM-1, 2 x BMP-1, 2 x BMP-2
 
Independent Tank Bn (Elements of!)
6 x T-80
1 x MT-55

1 x Fulcrum
2 x Hind-E
2 x Hip
1 x Hook
4 x BMD-1
2 x ASU-85
1 x MI-4


How does Battlegroup Kursk fit in with wargaming modern warfare, given that we were attempting a scenario from 1985? It was quite easy really, coming from a background of wargaming WW2. They were - for us - the best fit. The most important factor was the command and control element of BGK, that allows flexibility and the 'fog of war' to influence what you can do on the table.
In such a large game, the Nato forces had to follow a plan of action, which we had played out beforehand, integration of the 3 armies on the table, only possible by the presence of the liason officers at the Nato HQ set up near the bridge. The same was true for the Soviet forces as well, with a clear direction and approach for the 3 successive waves of forces.
What also helped was a comprehensive understanding of the operational procedures of the forces involved and how they would respond to changes to expected situations. Essentially, the Soviets would be 'doctrinaire' and follow procedure, not blindly, but would have set ways of dealing with the situations, whereas the Nato - especially 1 Royal Scots battlegroup, would be far more flexible. The difference due to training and tactical doctrine placing leadership and iniative down to a lower level than the Soviets. These elements are in BGK. There would be less command dice for the Soviets, but they would have the ability to move and fire by company and platoon.They would still be able to move and fire individually, but this would then affect their ability to control their large formations, which would effectively grind to a halt, whilst micromanagement of the battlefield tookover for the senior officers. Again this was a feature of BGK, but one which we tweaked to suit the scenario we were recreating.

With the emphasis on training and junior officer leadership, having restricted the Soviets, there was no need to modify any factors for the British, or indeed the Belgians and Germans. There were therefore more officers for the Nato forces than the Soviets, thus affecting the action point baseline score before adjustment by the dice. Also, the Nato force would have the ability to reroll a dice per turn, so long as the Brigade HQ was operational. This was available to the Soviets, but only once per game.
Communications were different, with better communications for Nato than Soviet,  but we did not go into jamming. Counterbattery fire was live, with counterbattery radar operating  through the game, the chances of being picked up and tracked to source significant if a second turn of fire was done. It was basically shoot and scoot.

The gun penetration tables, armour values, missiles and ranges were going to be different, but actually were transposed onto the BGK table, with the King Tiger being the baseline set to the Chieftain/T72. The ranges were extended due to improved optics and electronics. A important factor was the Improved Fire Control system that was used by the Brits in the Chieftains. This allowed the Brits to take advantage of the range increase of the guns, and closer to allow better control of targeting. Missiles were used, much more on the Soviet side, but a significant amount by the Brits. They had minimum ranges for engaging, which in game terms were 10 inches minimum. Technology for missiles meant that they would be guided onto target visualy, and there would therefore be an opportunity to suppress the firer in ambush fire, otherwise the missile could be flown onto target.

We used artillery in the game, but limited its effect. The principal reason for this was the fact that we did not have a 200li sack of cotton wool to dump on the table to simulate the effect of the Soviet artillery support that would be available. Part of the rationale behind this, was that what was availble was allocated to the attacking forces before hand and used on an ad hoc basis, not preplanned. Counterbattery as well as air assets would limit the amount of artillery support available due to effects detailed earlier. It could still be called down, but there were risks associated with it, as well as competing demands on it. The recce troop of the Soviets, as well as their Senior officers could generate calls for targeting, and Nato officers as well as recce elements could do the same. However game wise, it was a visual non starter.

How did the game play out with BGK,and the number of models etc involved. Firstly, Nick and myself had/have played a lot of large games using BGK and Kampfgruppe. We were familiar with the rule systems, and scale. Secondly, the tempo of the game was such that we slowed things down to allow conversation and interaction with the people who came to ask about the display and what we were doing. This meant that things/actions/reactions could be a little bit more considered, than trying to scrabble around the table and get everything done. Thirdly, although it was expected that 1 Royal Scots would die heroically retreating back to the canal only to find it held by the Soviet paratroopers, this wasn't the case. They managed to keep standing whilst being able to hold the Soviet assault waves off, forcing them to split their attack, and to commit piecemeal.

Overall, the game worked within the parameters we set it. BGK worked with the tweaks that we used to play it. Hopefully everyone enjoyed the display.

Thanks for your interest.

 There are 2 excellent blogs out there that are worth mentioning, and to be honest , are really on the button with information, pictures and modelling.
http://coldwargamer.blogspot.co.uk/
and
http://coldwarhot.blogspot.co.uk/
 An excellent source for orders of battle and how Soviet forces operate.
http://www.fas.org/irp/doddir/army/fm100-2-3.pdf                    


Wednesday, 12 February 2014

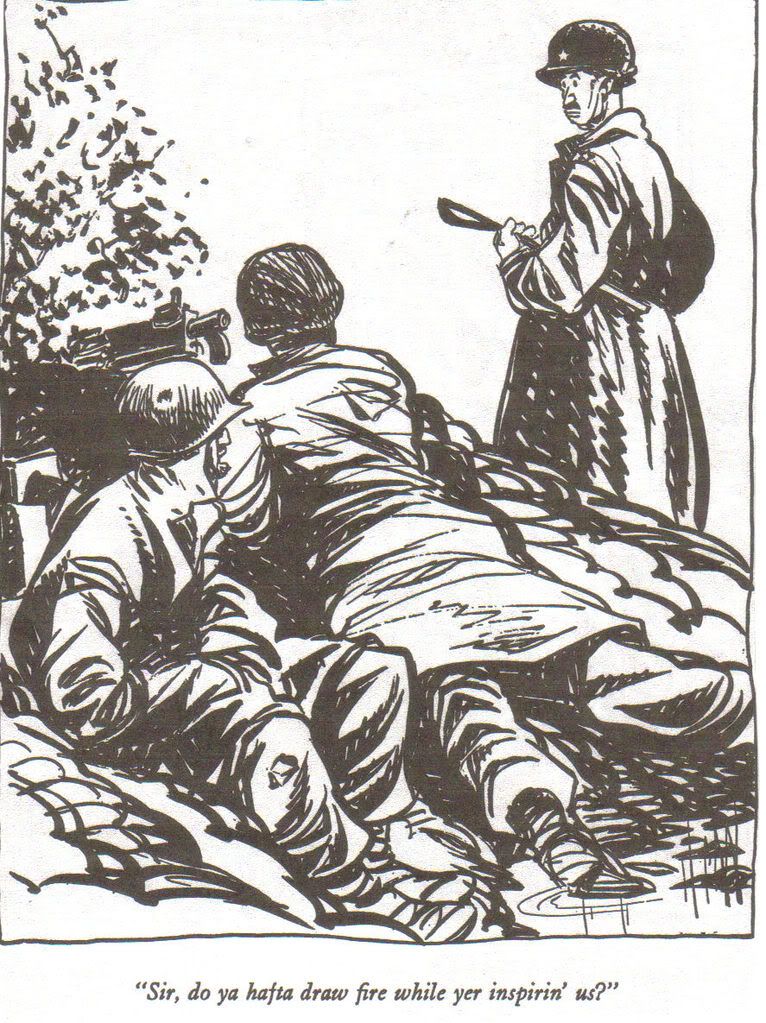
Willie and Joe - The real US Army. A tribute to Bill Mauldin

This is a project/post that I have been wanting to write up for a long while. I first came across them when I was looking for an avatar for a bit of self indulgent whimsy. I wanted a little cartoon character to stick on the blog signature, and I ended up with this little cartoon colour drawing. He reminded me of Mauldin's Willie and Joe.
However, I had caught the humour that Bill Mauldin had drawn into his 2 protagonists. I couldn't use any of his drawings as an avatar, but I wanted to get them out into the blog. It was a feeling that I had got from reading the Wipers Times. I got a copy of the full edition when it first came out, not the originals !, but a copy, and the sense of humour was very similar. The TV serial of the Wipers Times gave that humour a twist of colour. Bill Mauldin's characters managed to get into film after WW2, and were very popular, but the film is no longer available, on DVD or any other format.

The cartoons appeared in 'The Stars and Stripes', and attracted attention throughout the US forces in Europe, to the extent that General Patton wanted Mauldin sent back to the US and the cartoons withdrawn. He made fun of Pattons obsession with uniform and dress code, and his fining of soldiers who were found to be in breach.

The popularity of them, and their piquant reportage ensured that they and their creator remained. Mauldin served as a reporter in Italy for Stars and Stripes, and the cartoons draw on his observations and experience.


Anyway, I could 'blog' on, putting in more and more cartoons. This is just a sample of some of the drawings. The complete collection, in a box set of 2 volumes is available from Fantagraphics Books, via Amazon . A definate must get.


A photo of Mauldin, taken when he was serving in Italy.