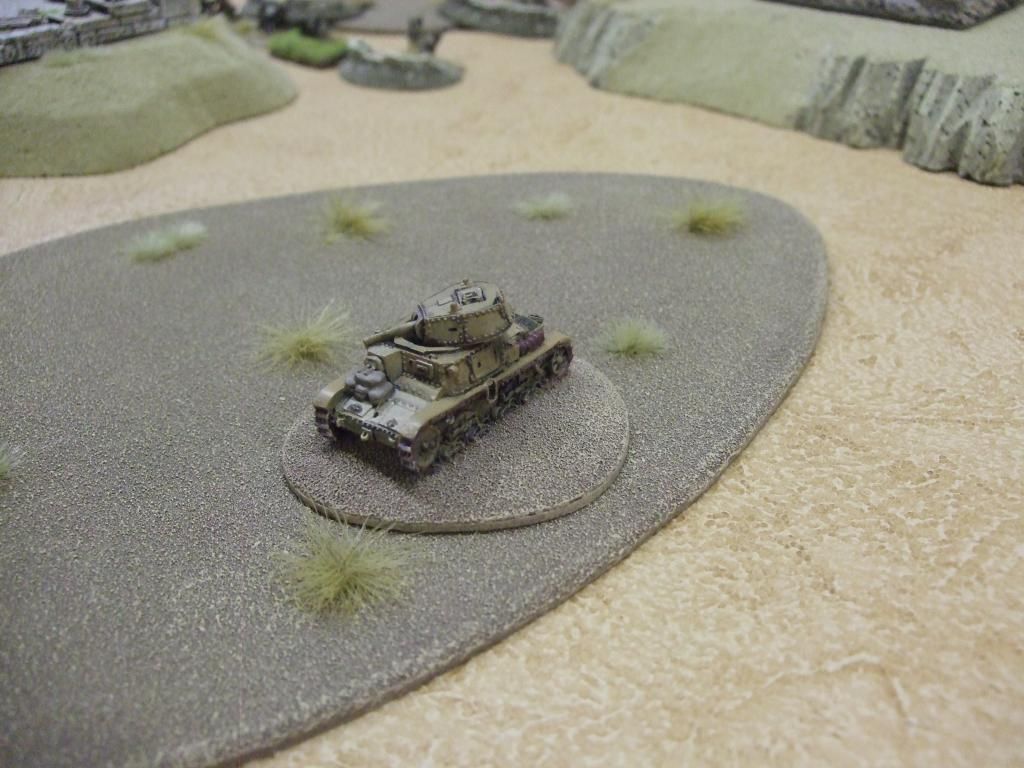
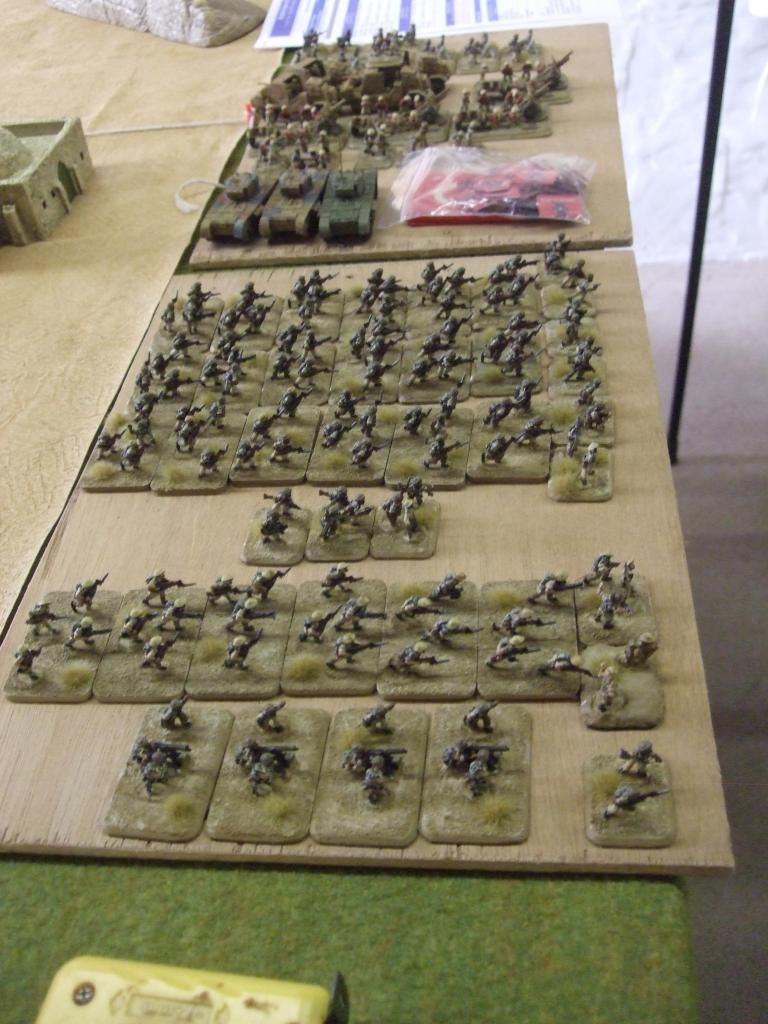
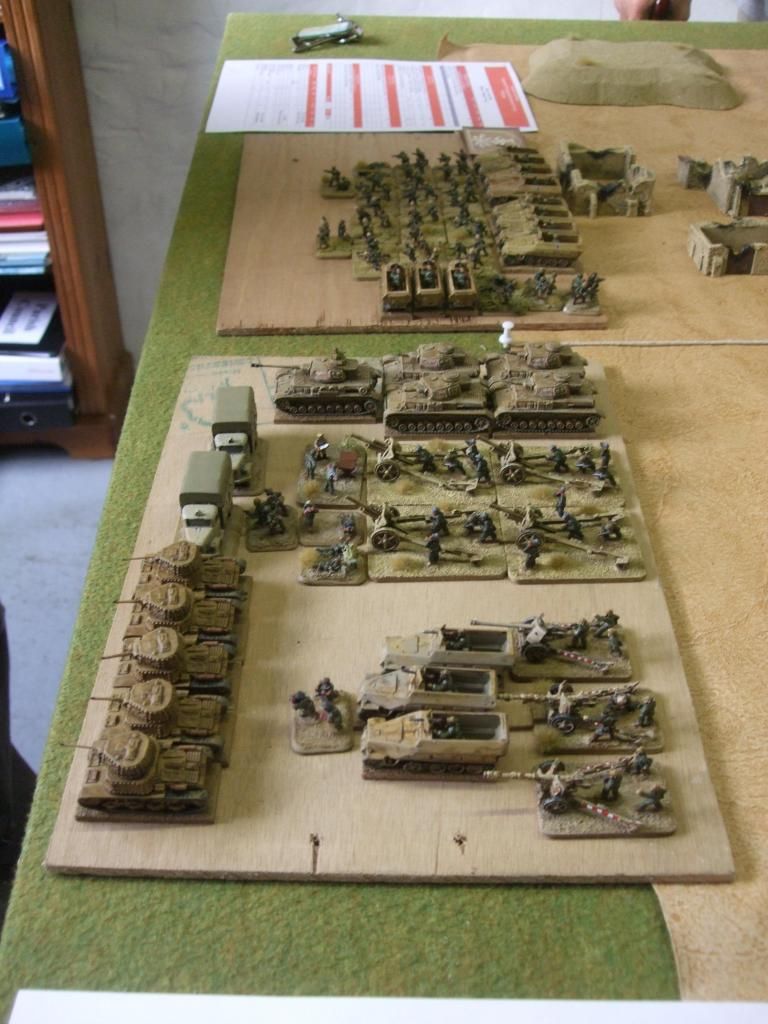
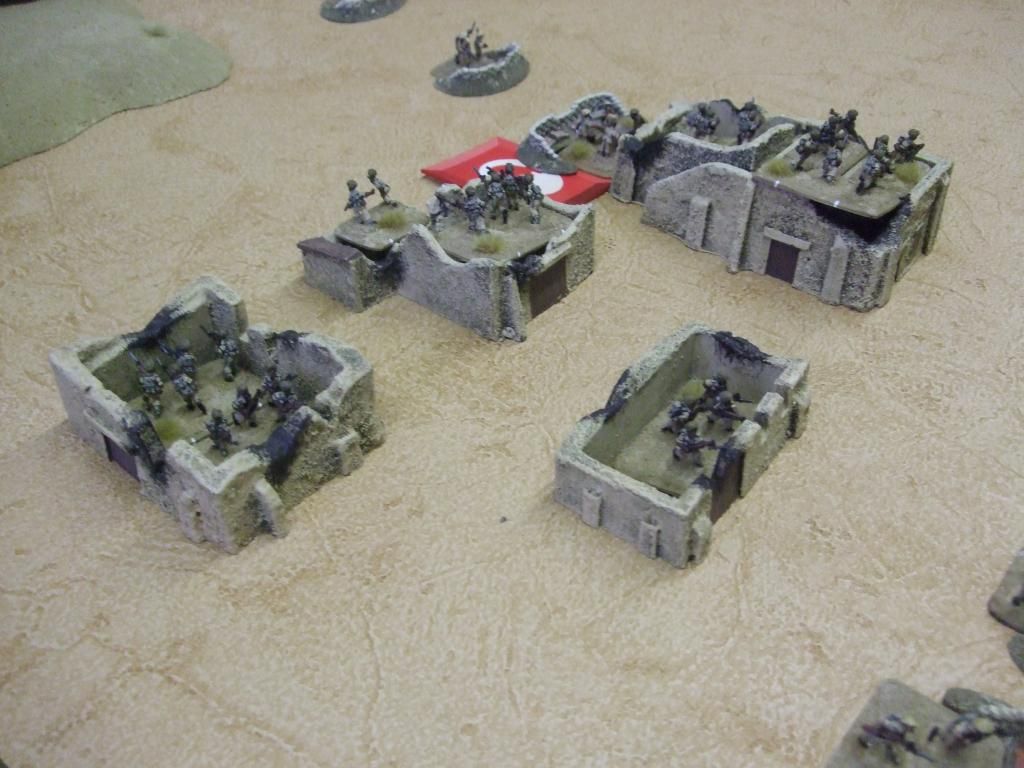
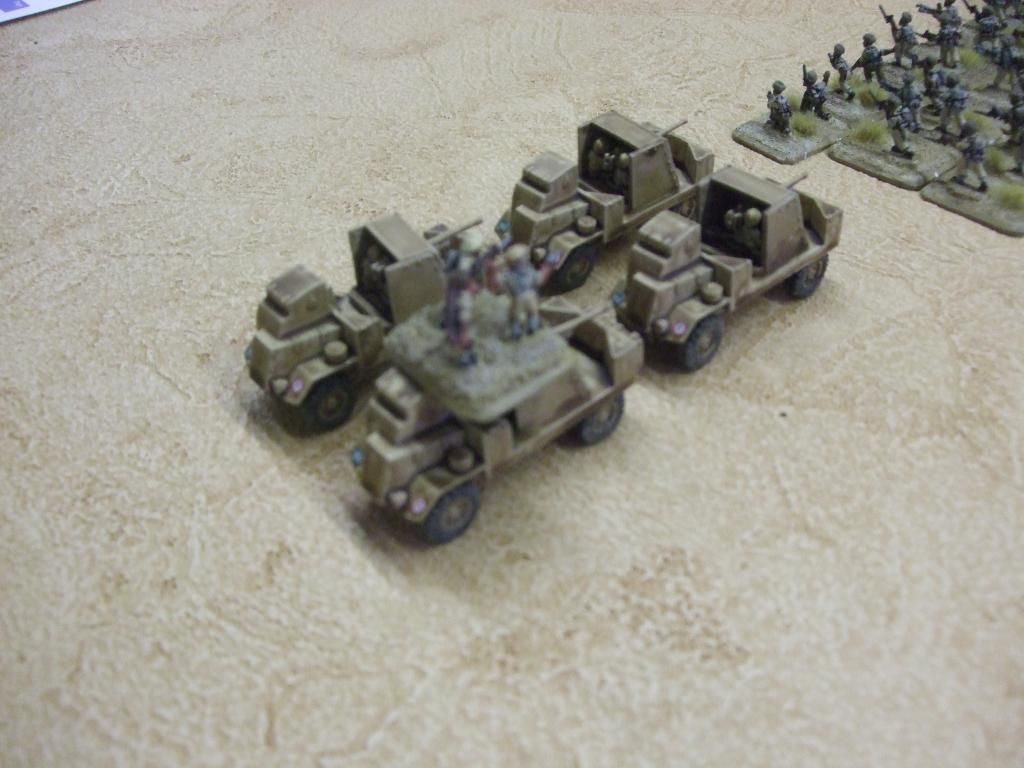
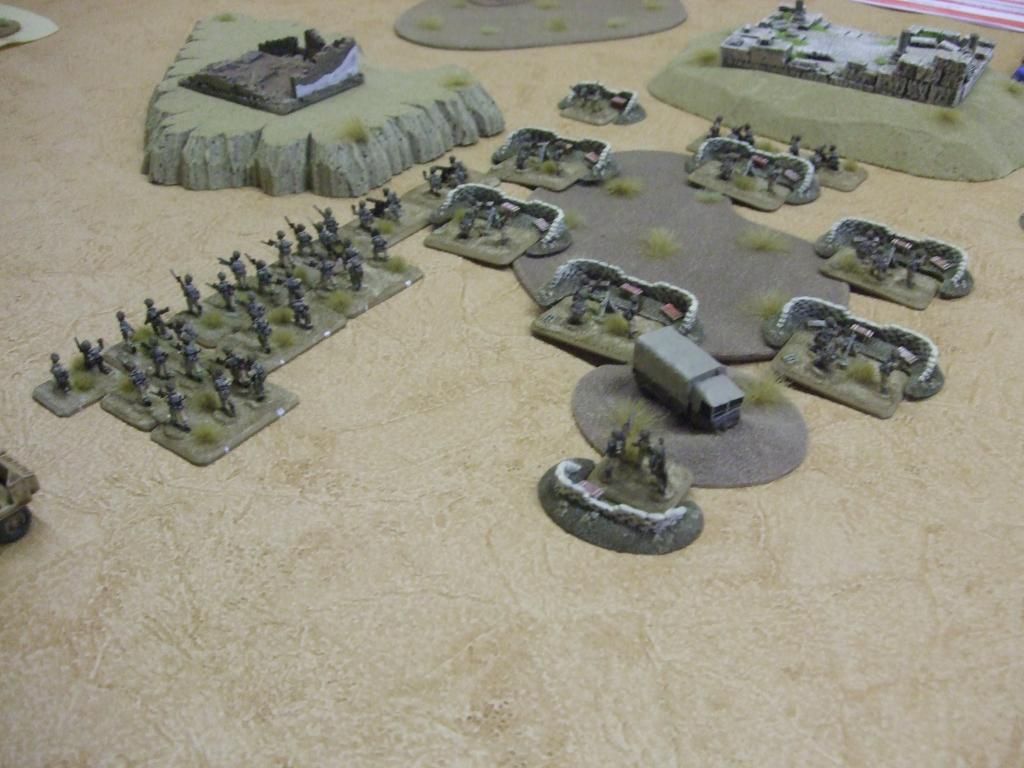
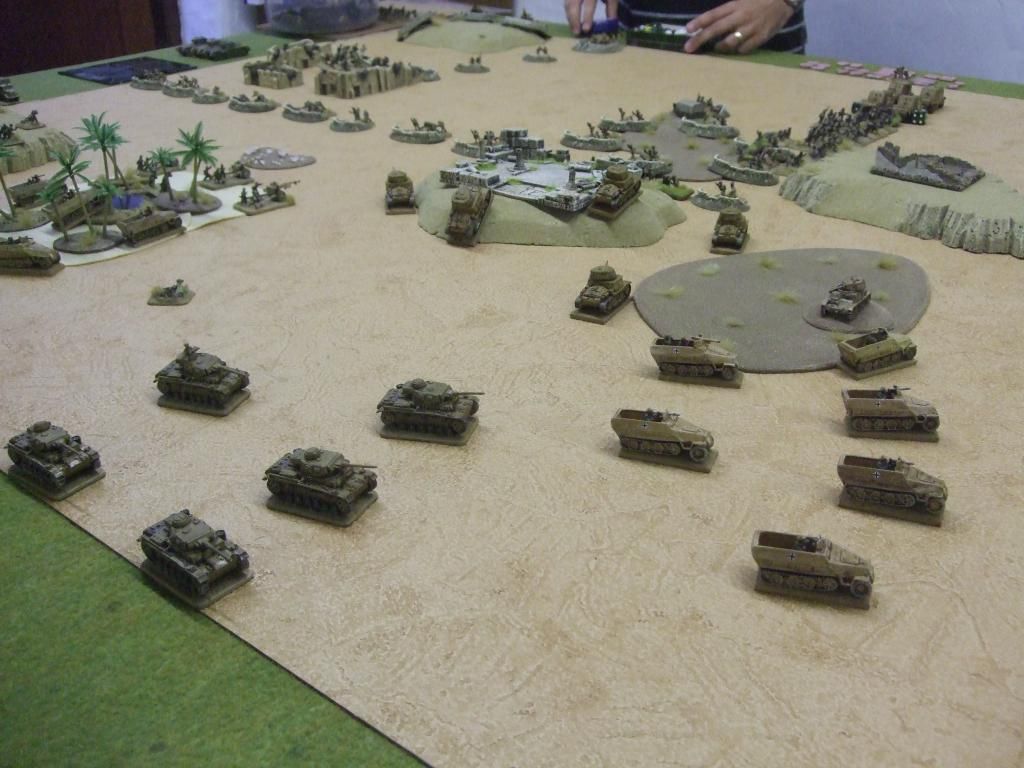
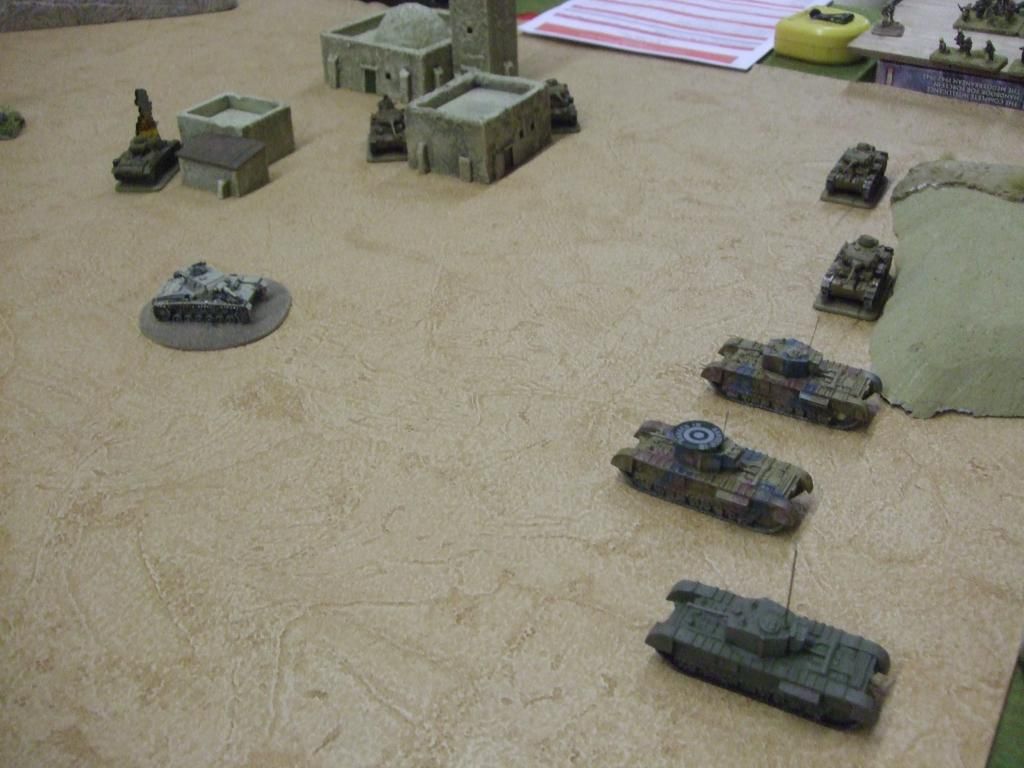
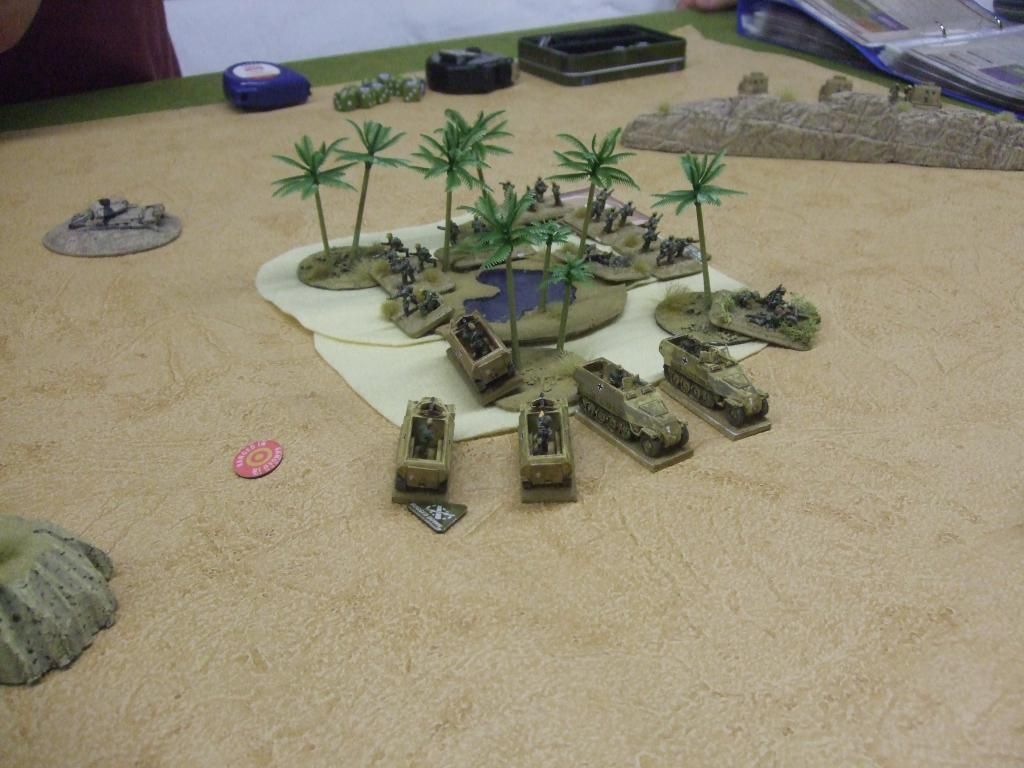
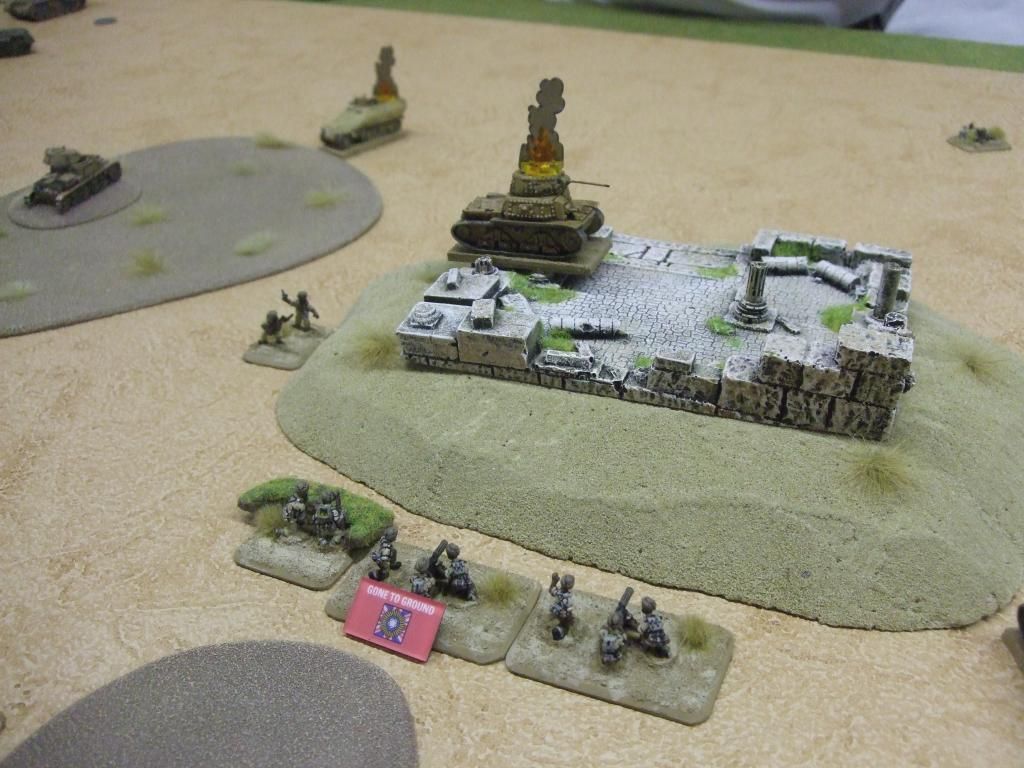
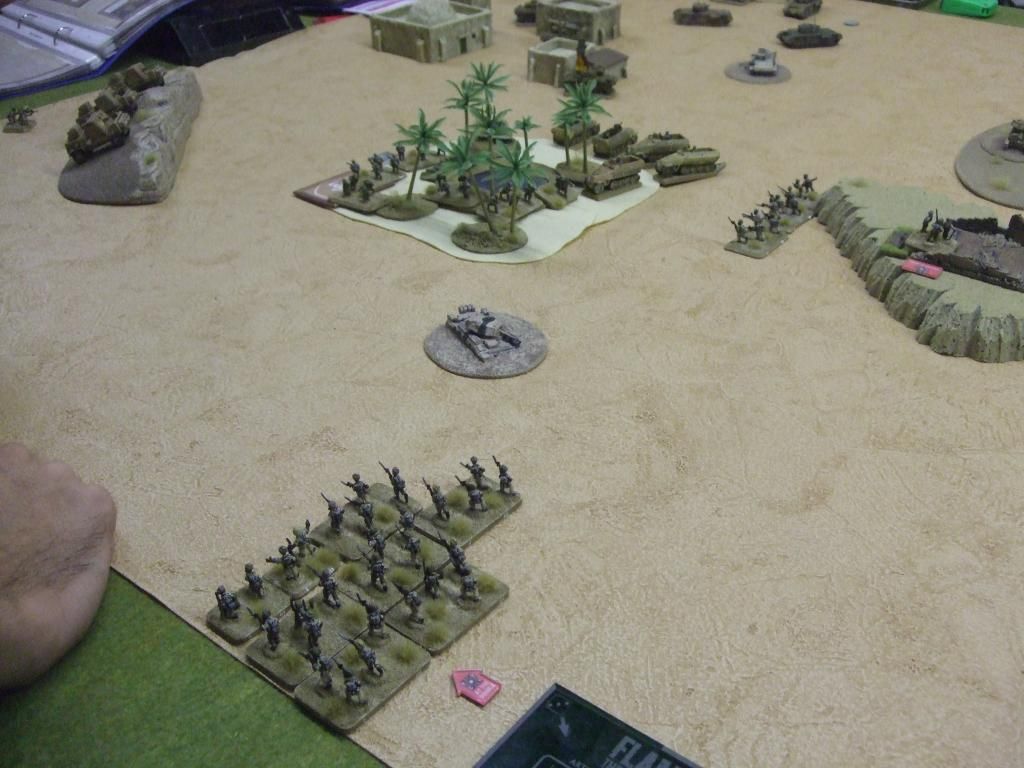
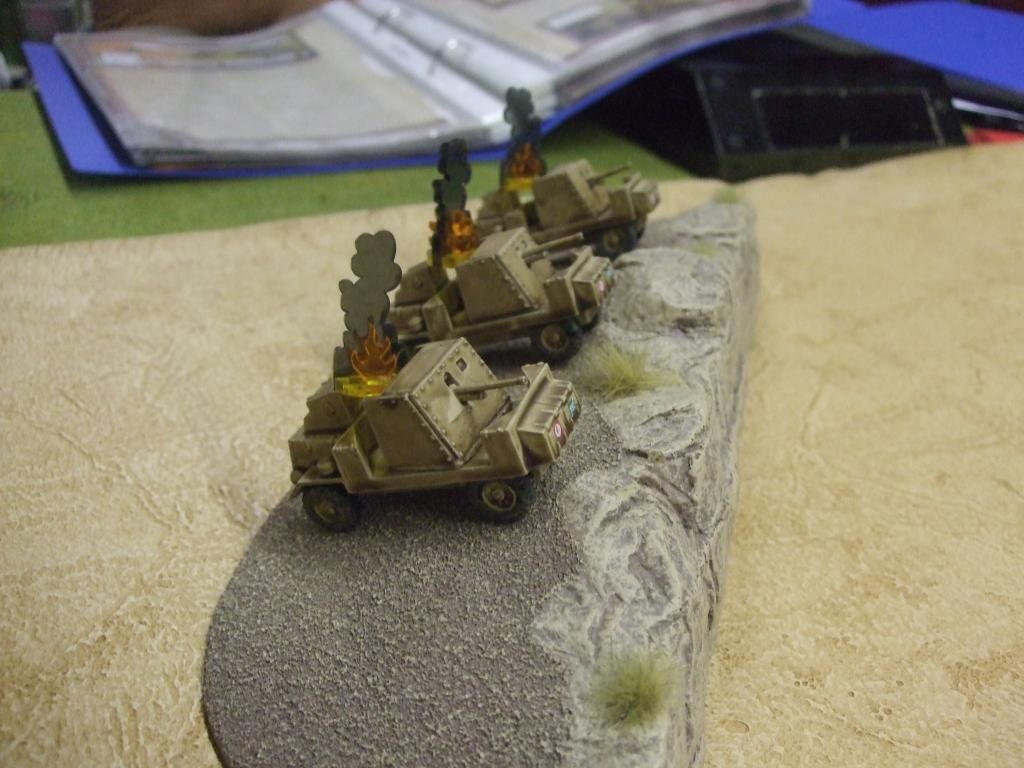
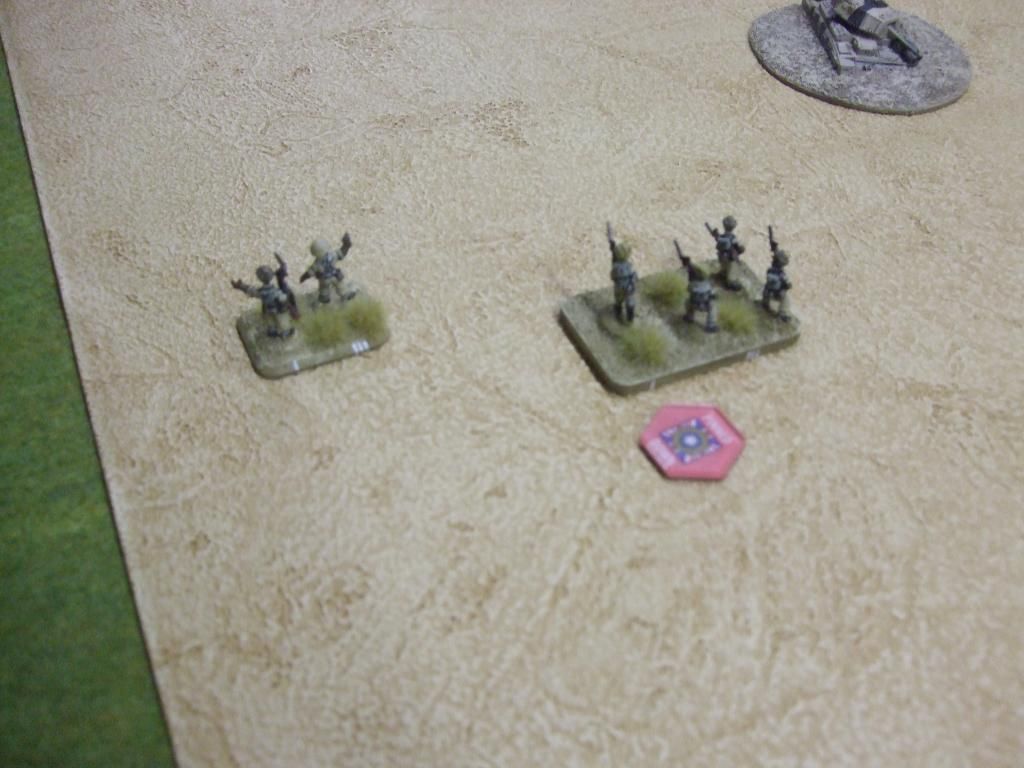
South West Model Engineers Exhibition at the Bath and West was the location for Part III in the Gyros Teller franchise.
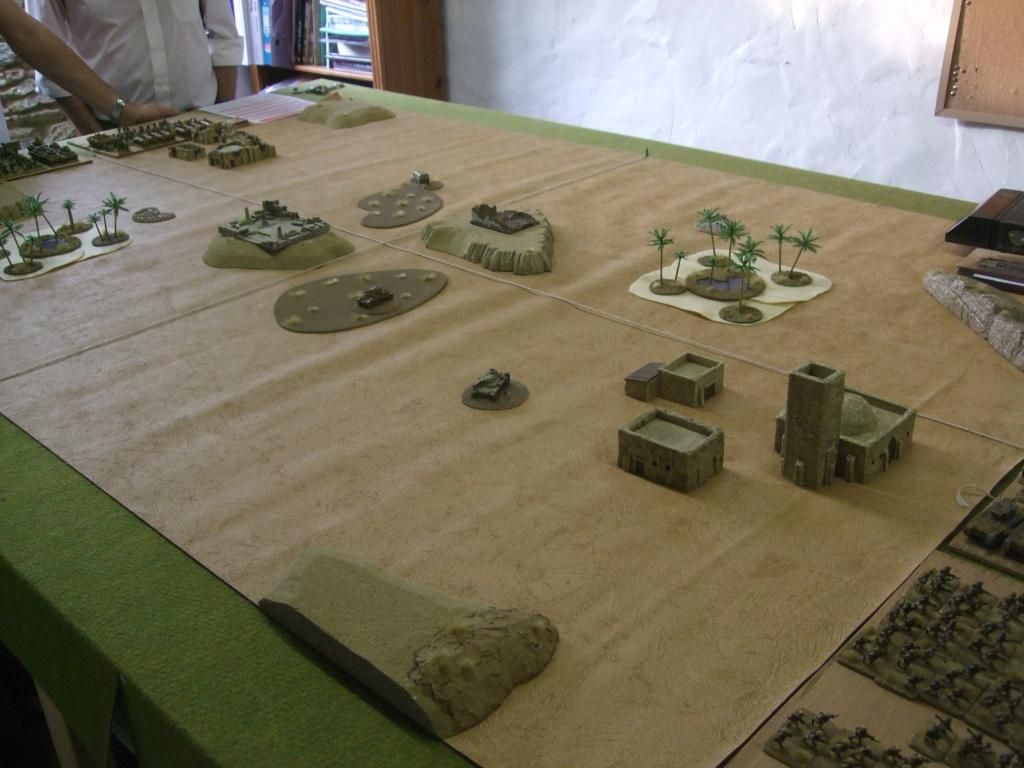
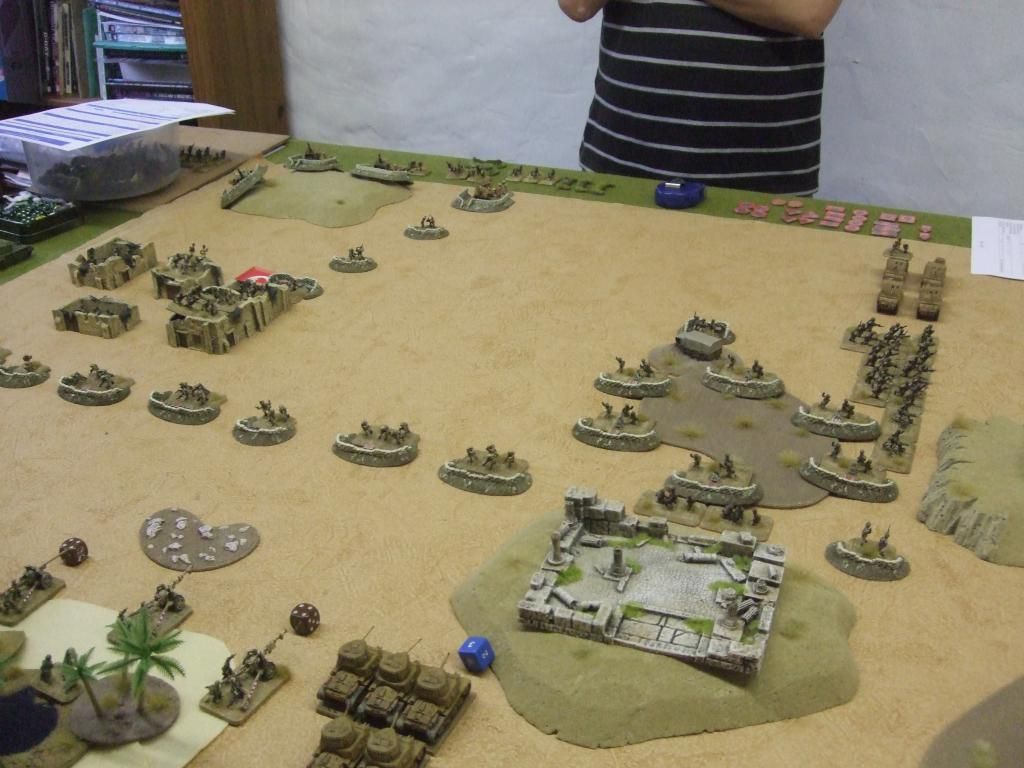
 The table - 30ft x just under 6ft. Hazy and dark due to shootng into morning sun. Sorry.


On the left the remnants of the Germans fell back through a Plt (-). The Sovs advanced to a position with a number of support wpns and a T-64 Plt in overwatch, hoping to trigger the British with a section then using overwhelming firepower to snot them. The British did not wait around but popped smoke and headed back to the next defence line in their speedy 432s, covered by 2 x Striker and 2 Tp (Chieftain). The final act was the 2 Chieftains on the centre right taking out the 1st Sov T-64 as it came over the central ridge.
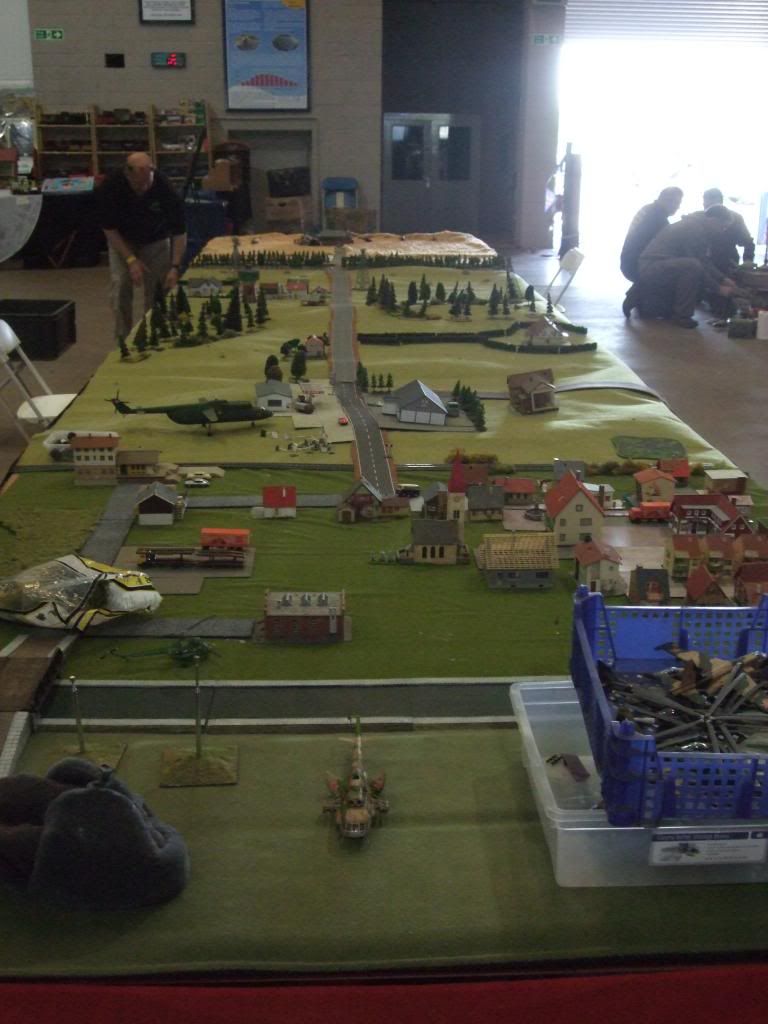

Nato end of the table, positioning of figures and models
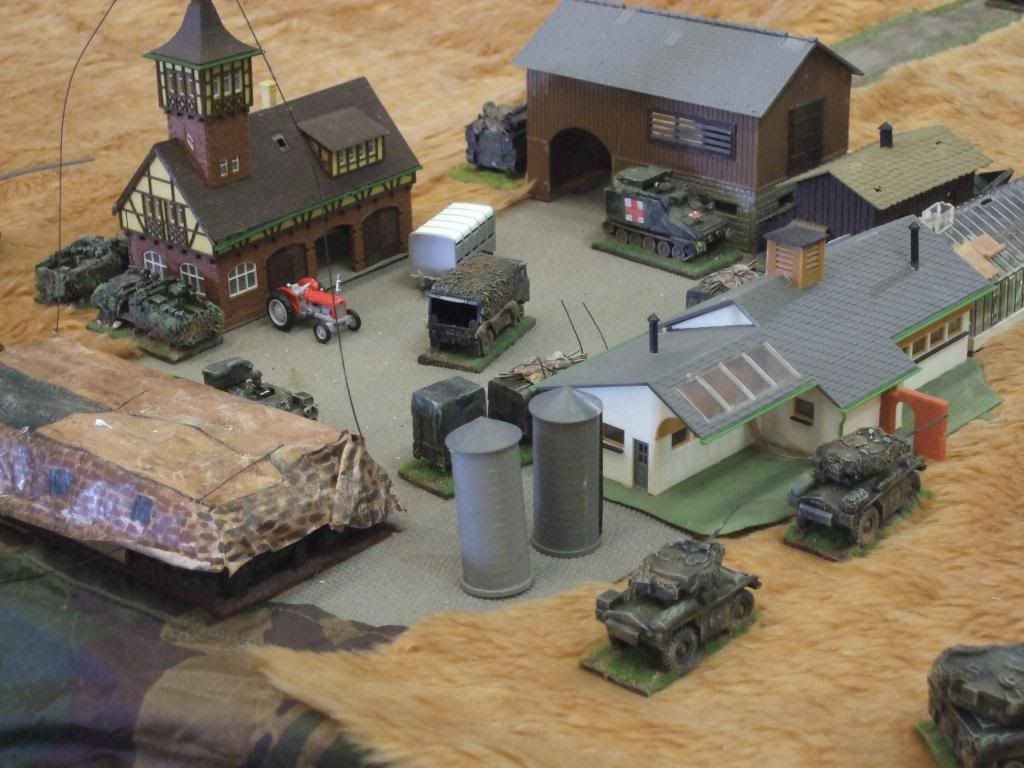
Nato Tac HQ - actually 1RS with liason groups from Germans and Belgians
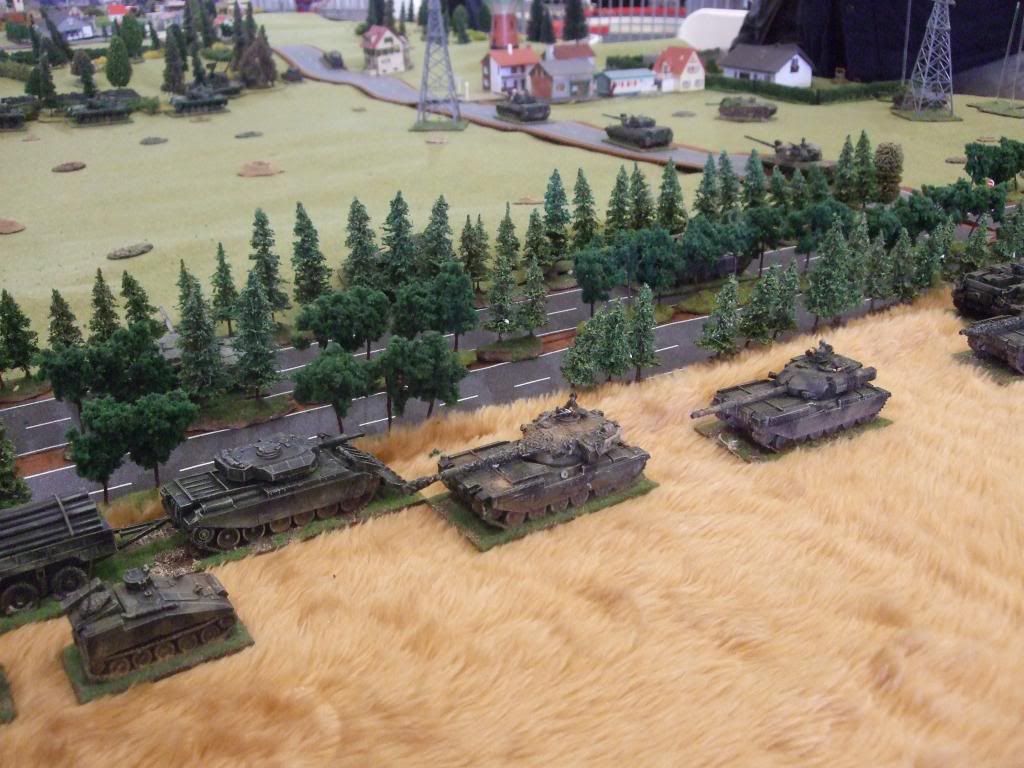
Forward positions of Brits, along Autobahn
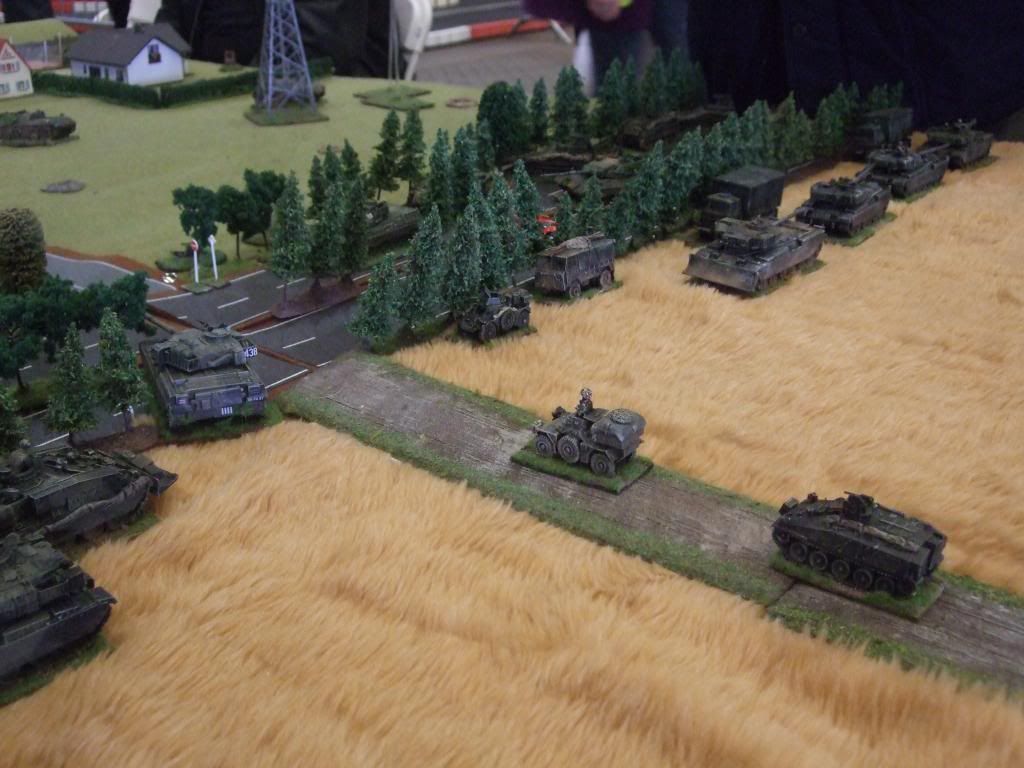
Centre of Brit line
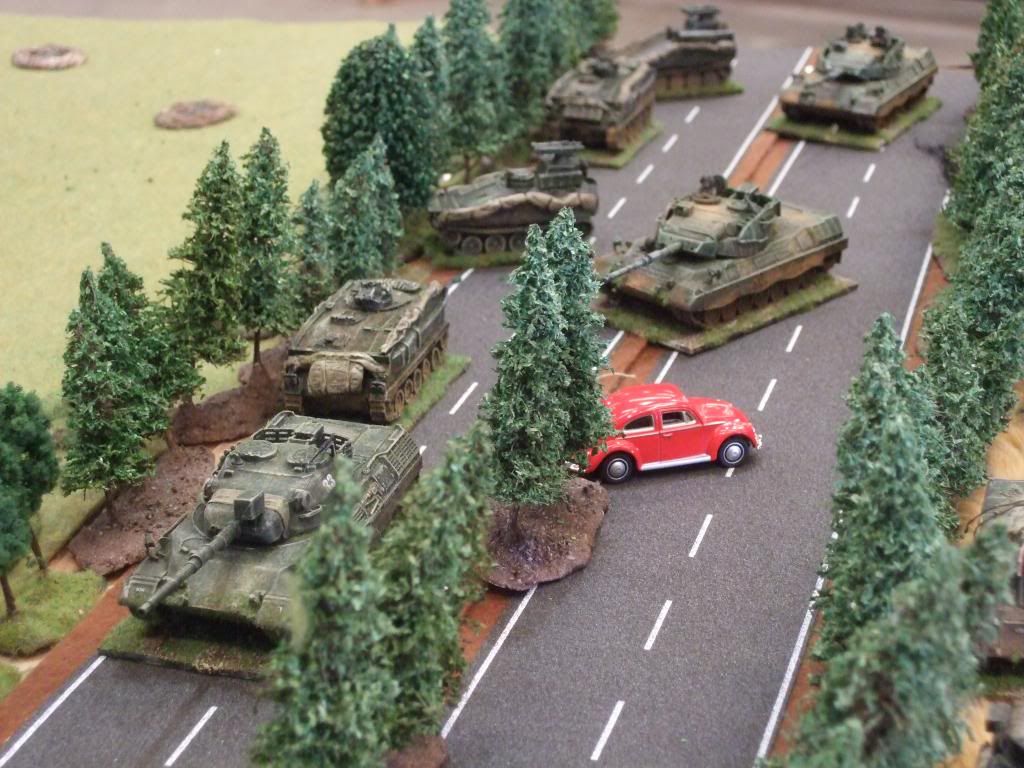
Belgians moving up to the attack, scaring the hell out of a Beetle, left abandoned on the road
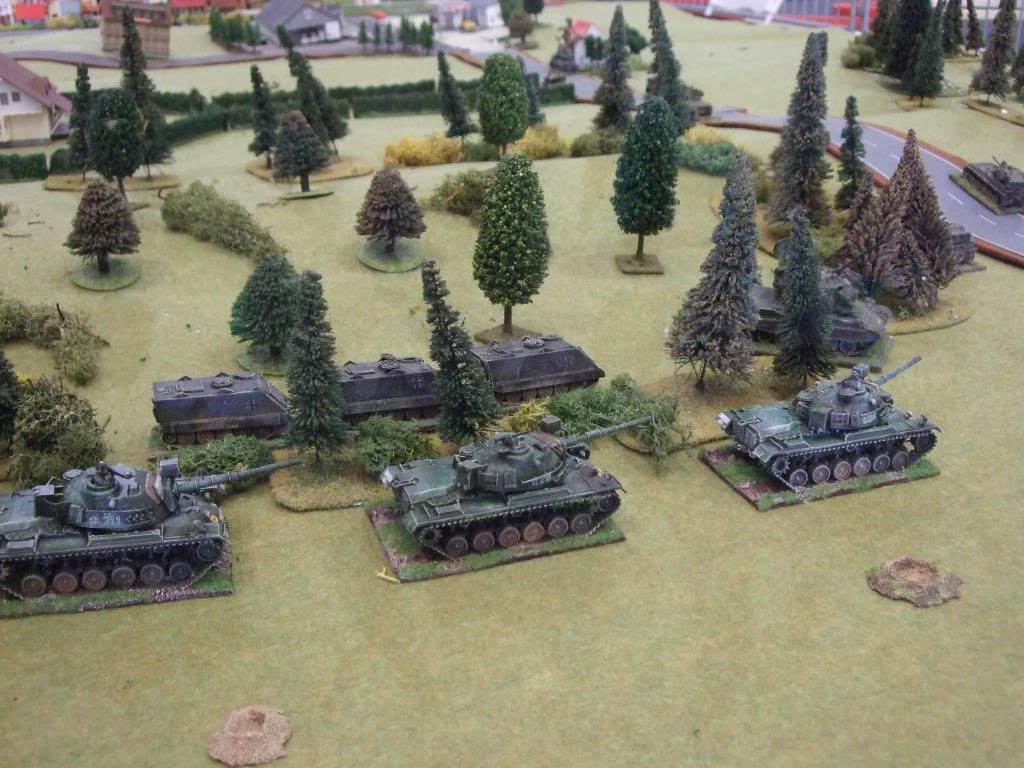
German Reserve Panzers and infantry, behind wood ready to support Belgian cautious advance on the Soviet forces.
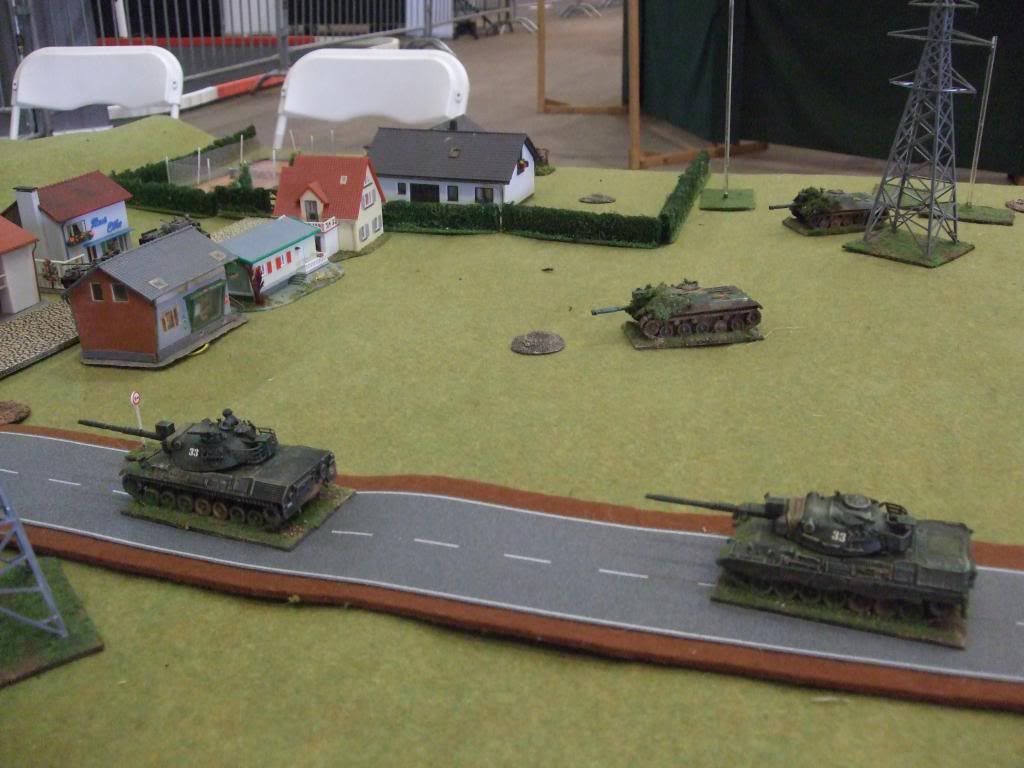
Moving up along the road from the treelined Autobahn, Leopards and Jagdkanone
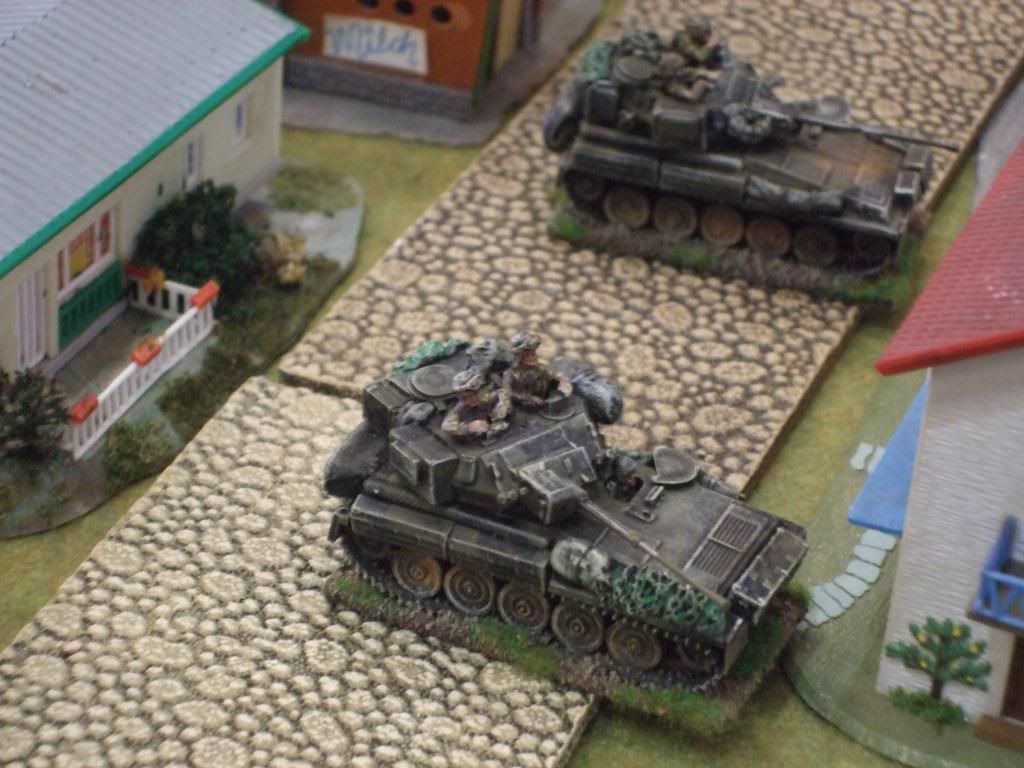
Belgian light tanks ready to recce the advance
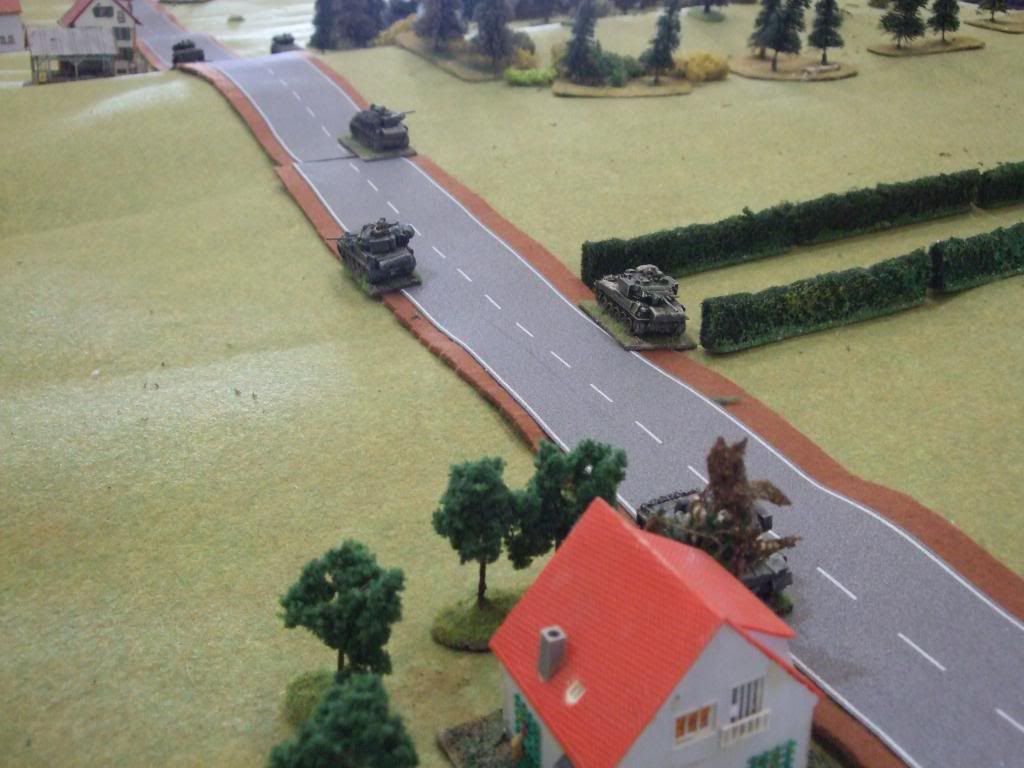
The recce is advancing in front to determine opposition and locations
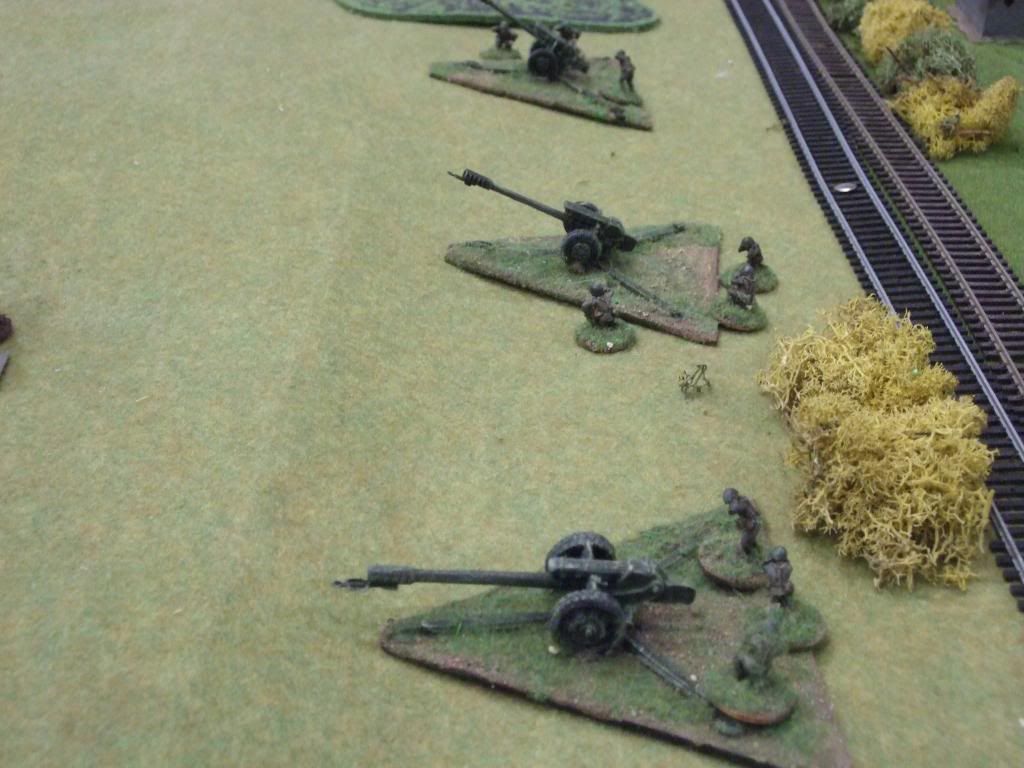
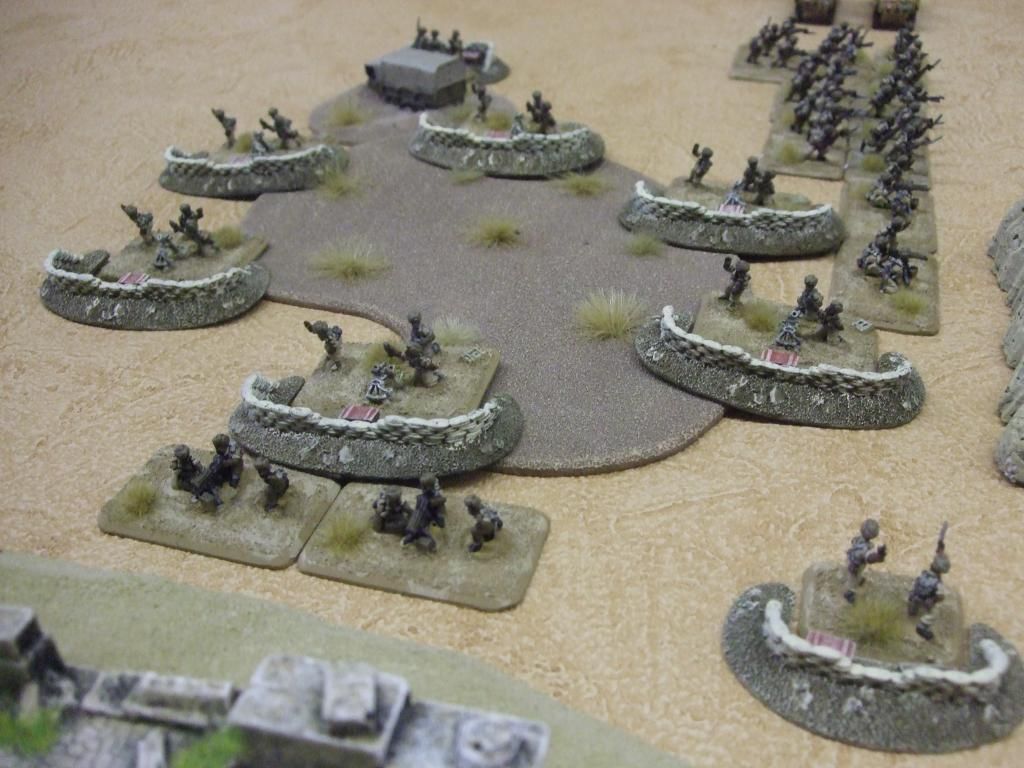
Soviet forces have prepared a defensive position on the outskirts of Gyros Teller - artillery and a 100mm A/T gun, with infantry stationed in the town.
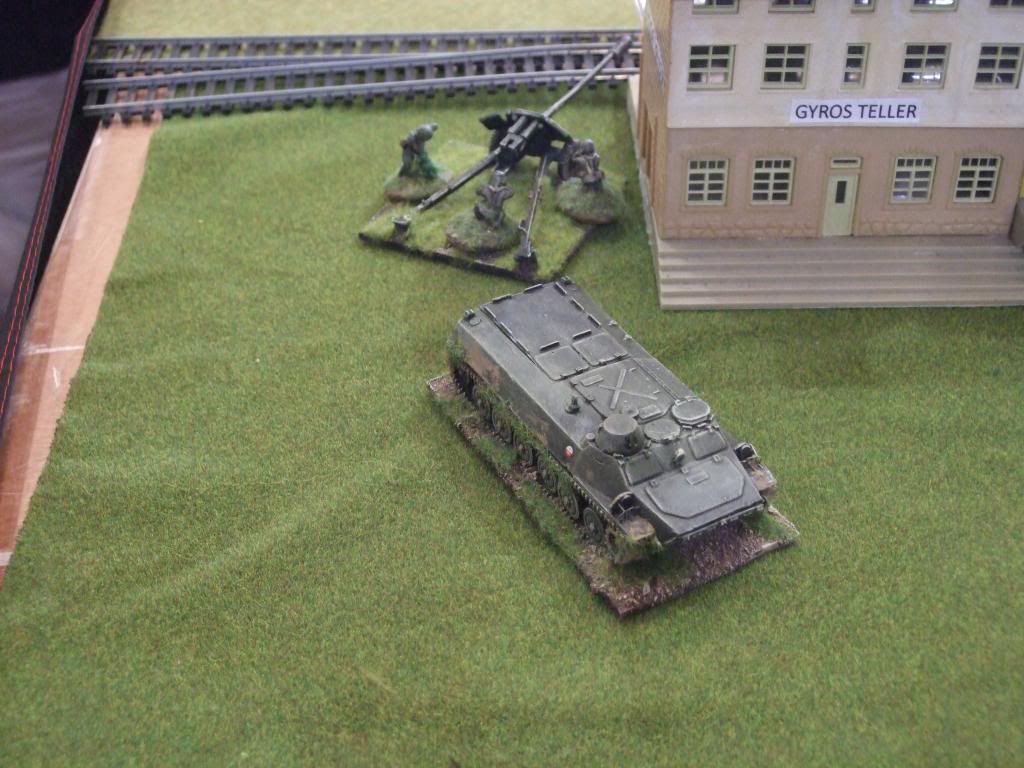
100mm A/T gun and tow
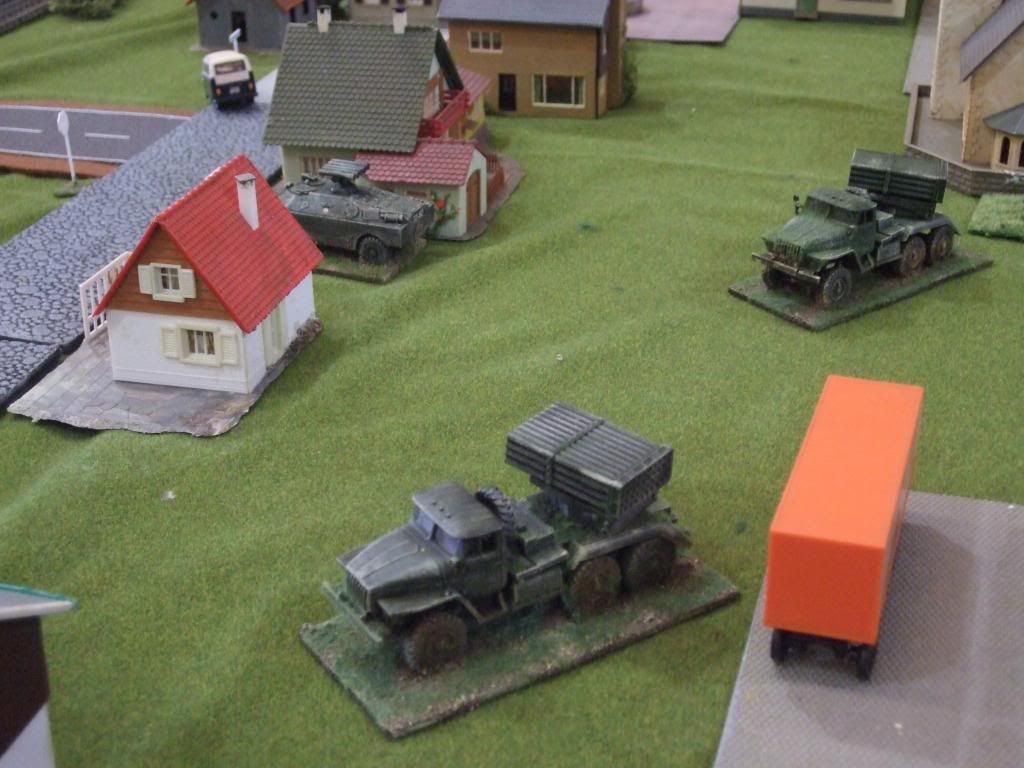
Rocket artillery support deployed in the town for cover and to support
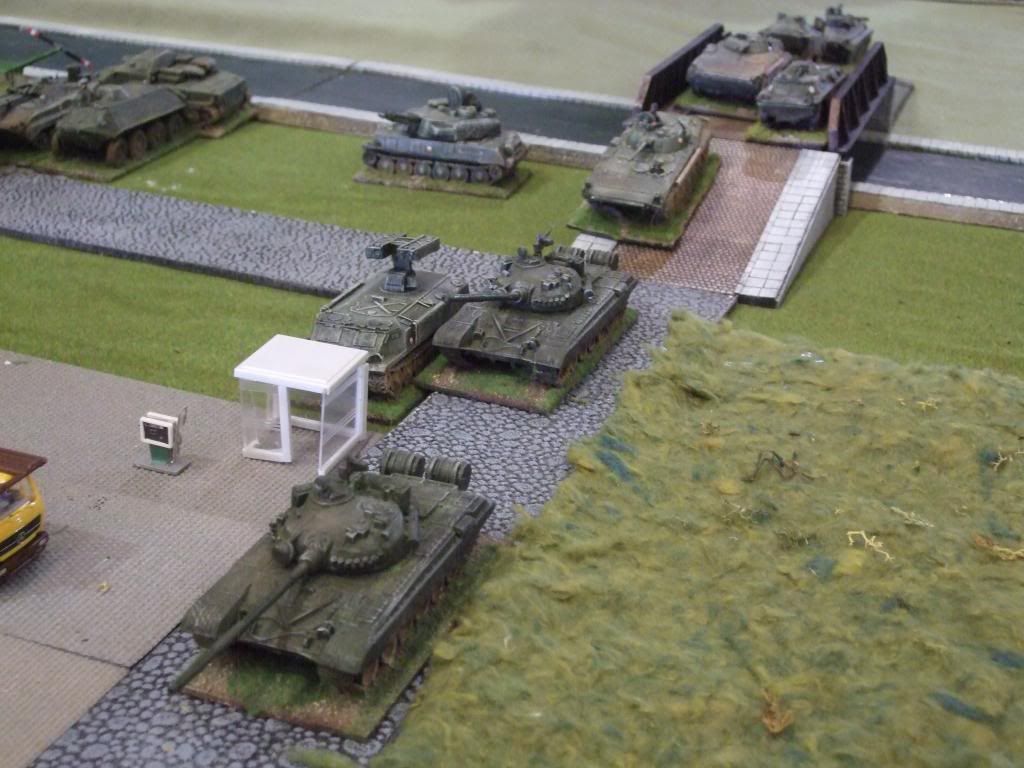
The armour is moving into position over the canal, past local air defence assets
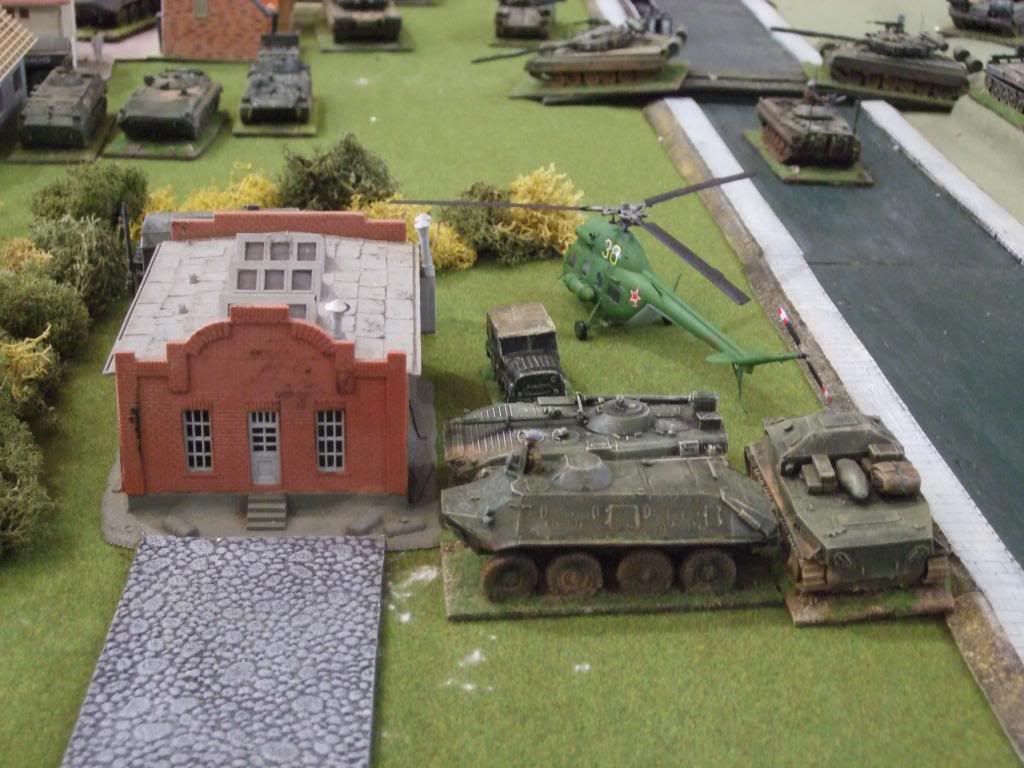
Soviet Tac HQ for the operation. A Liason helicopter and other assets located at the pumping station. They have been ordered to advance and secure the Autobahn, to push on as far as possible. Meanwhile, off table similar probes by other Soviet Motor Rifle Regiments are being set up and planned.
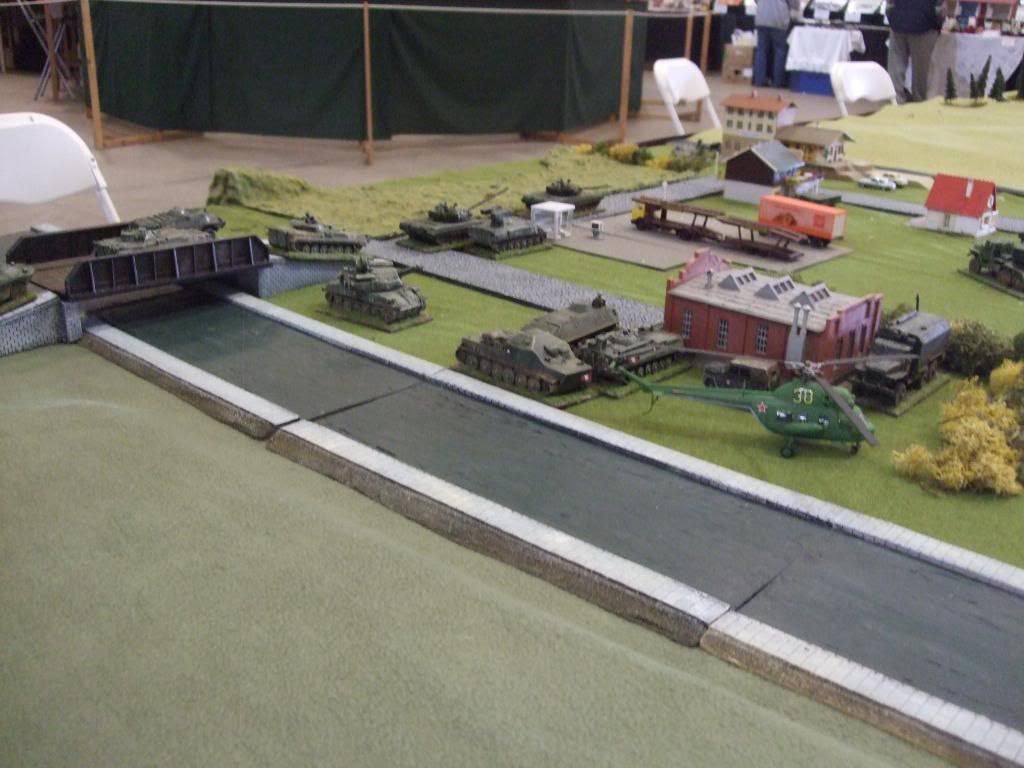
The build up of forces, from the the rear of the table showing the canal bridge and pumping station.

Not all traffic is crossing by the bridge, a bridge layer has laid a second bridge over to assist with movement forward of the attacking troops.
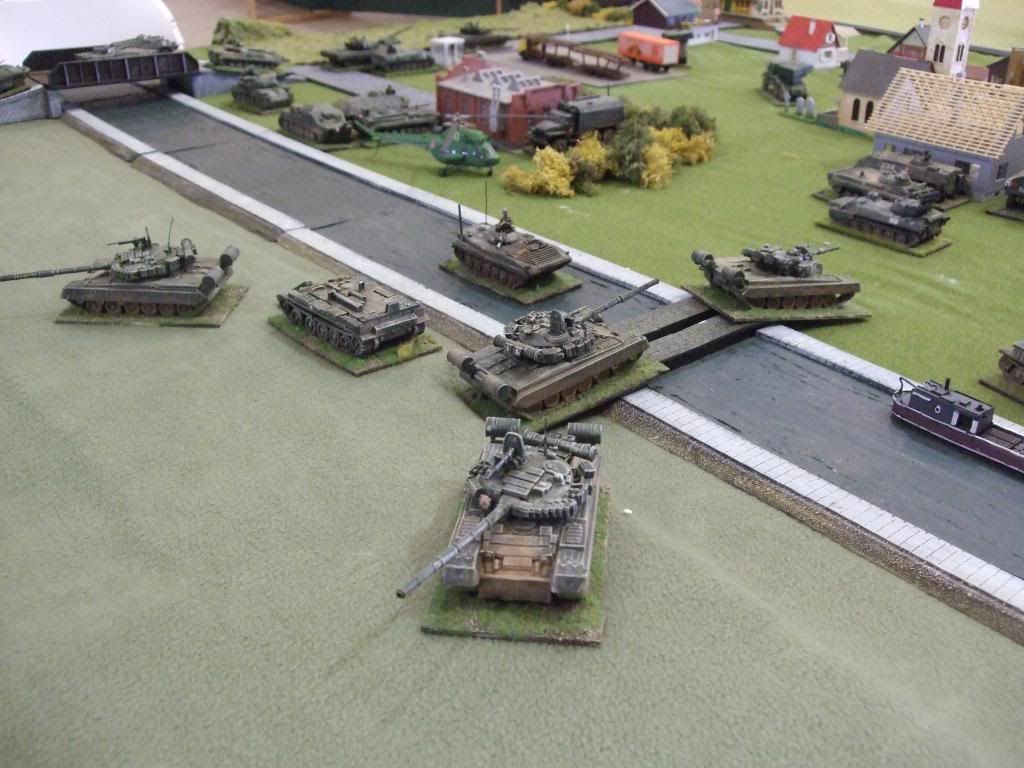
wide angle shot of the temporary bridge.
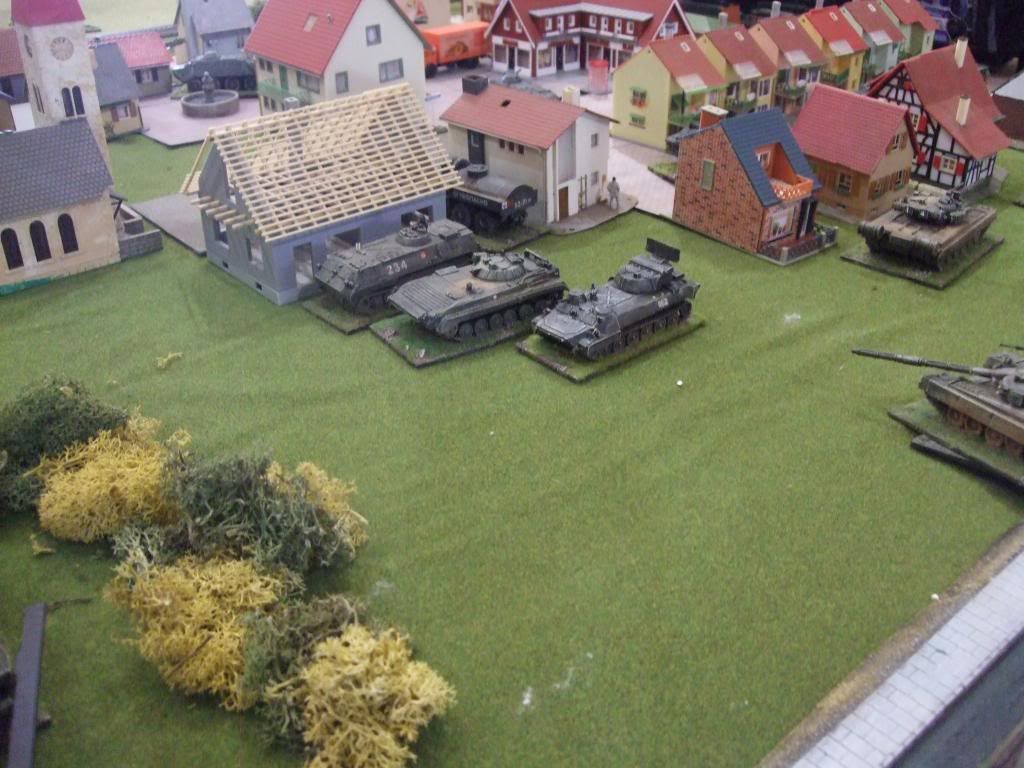
Deployment in the town
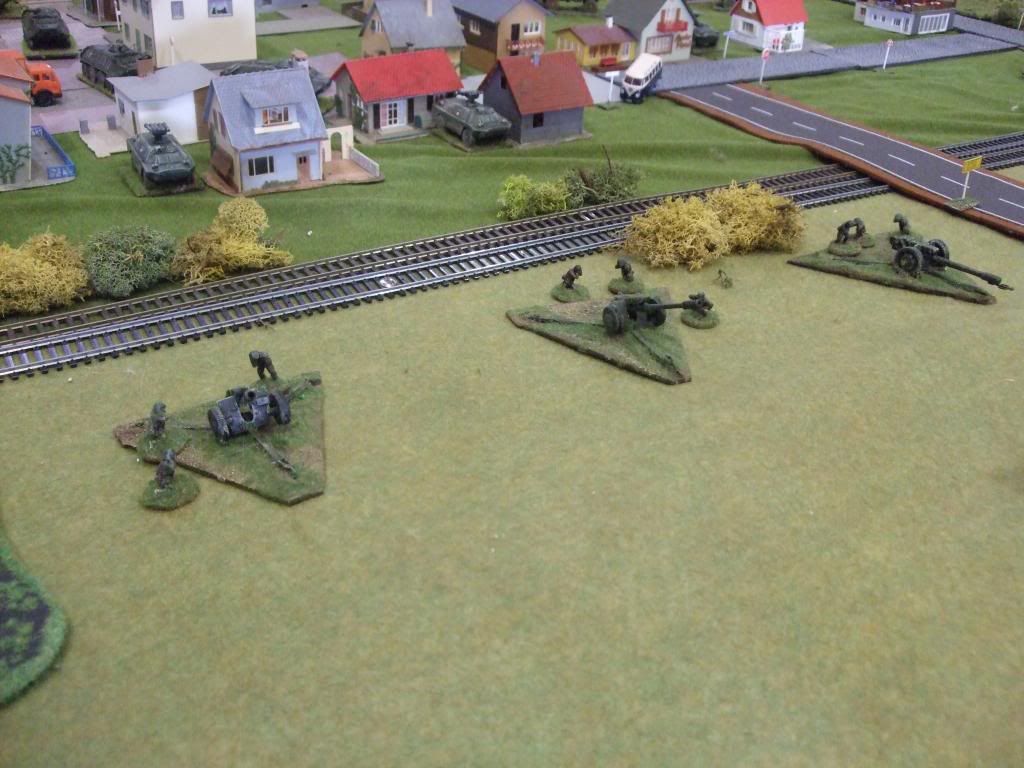
The Soviet screen protecting the rear echelon manoevres
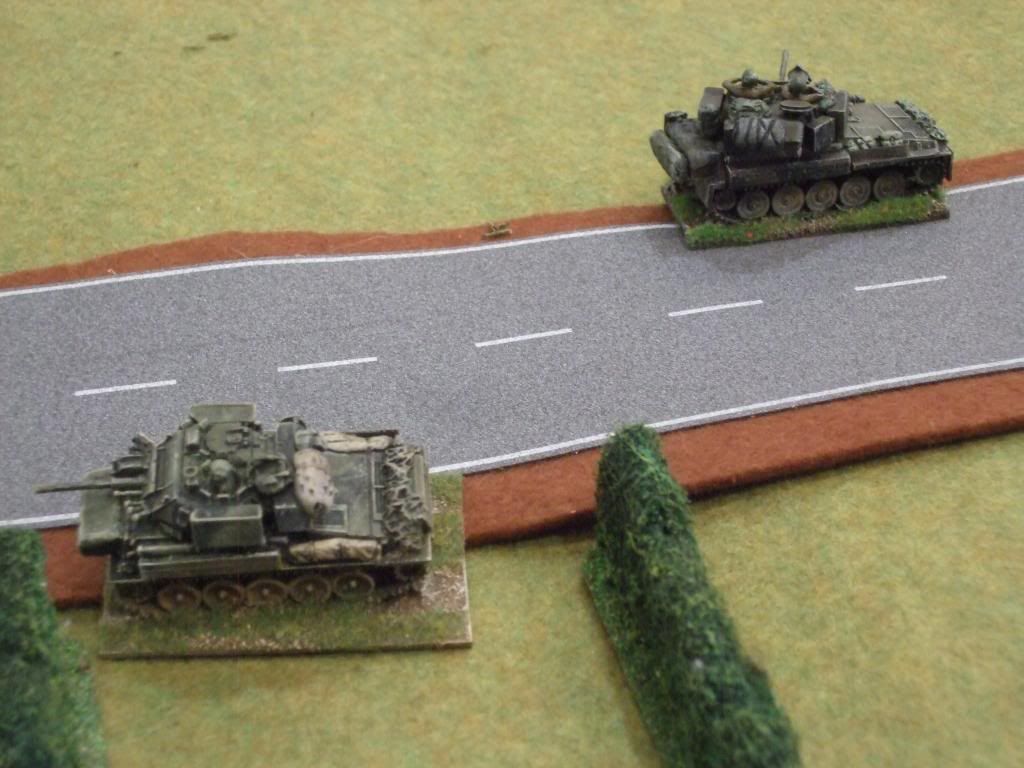
Recce observing movement - dust, smoke and noise coming from the town. Facing the rear, with turrets turned, to allow a quick getaway.
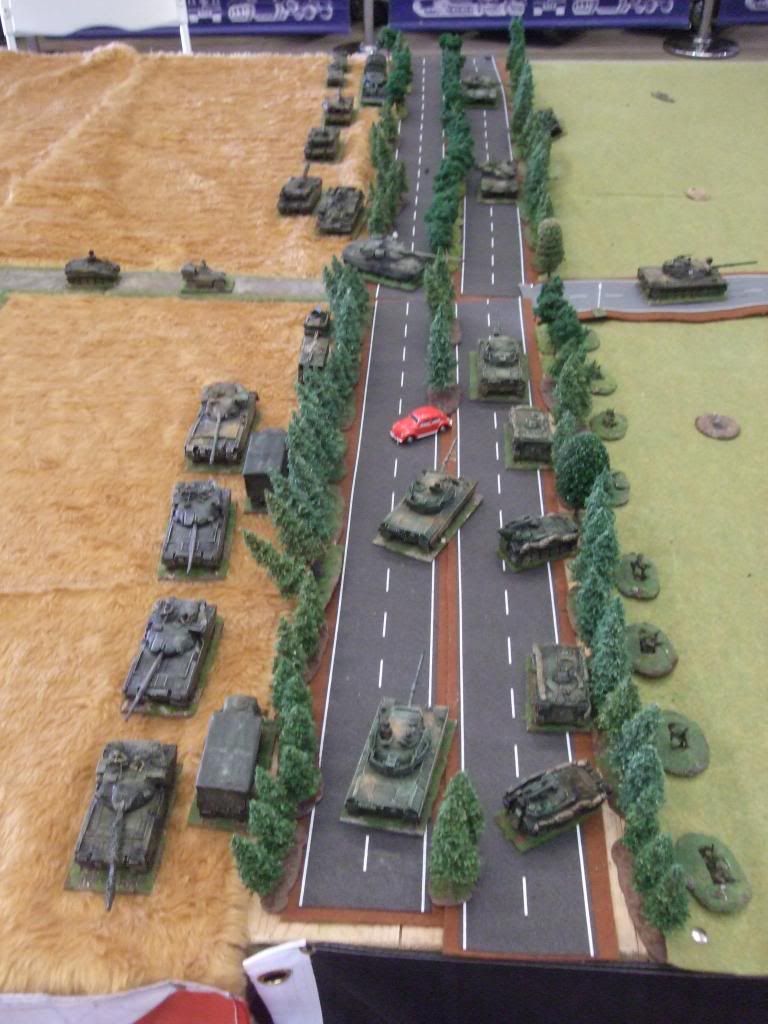
Brit positions showing the tail end of the Belgians moving forward, with 1RS dug in to the treeline.
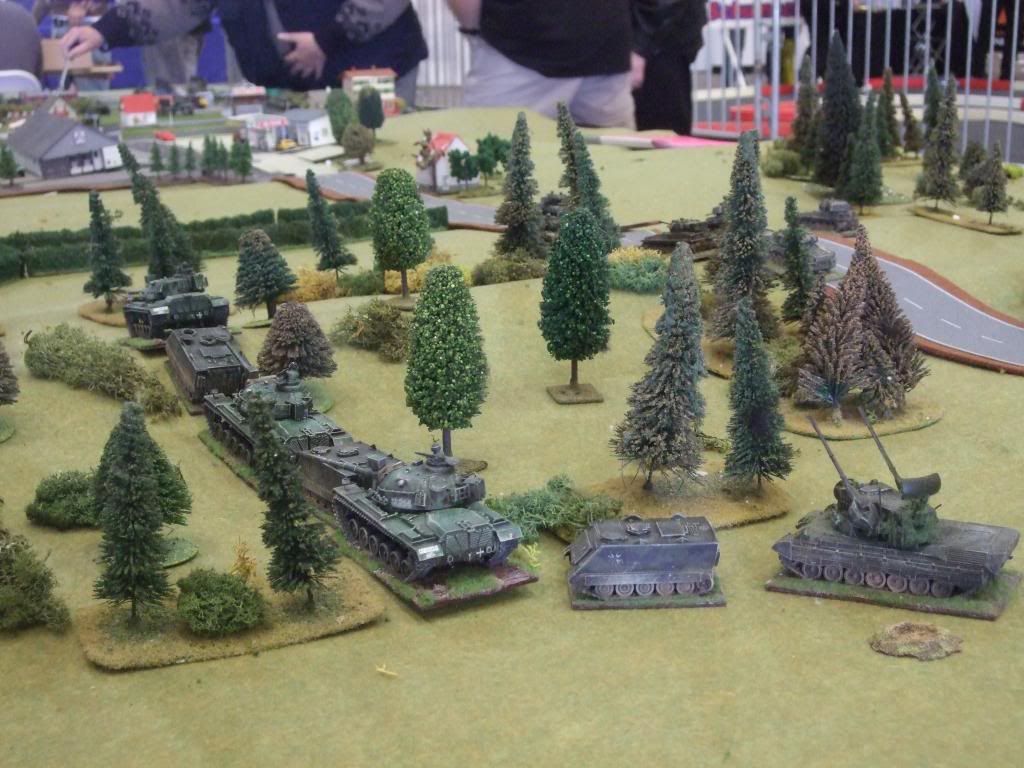
The Germans have decided to move through the wood to deploy and support the Belgians rather than move around and go by the road. Fear of Soviet artillery and rotary wing aviation have made their decision.
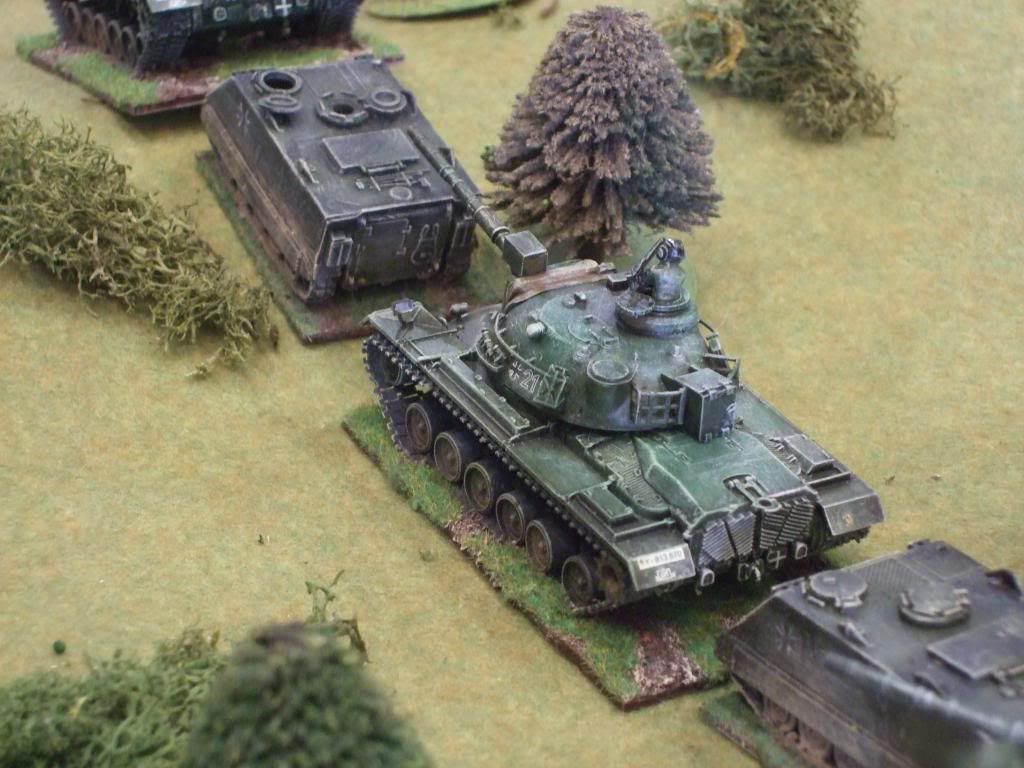
Advancing through a track/logging path through the wood in column.
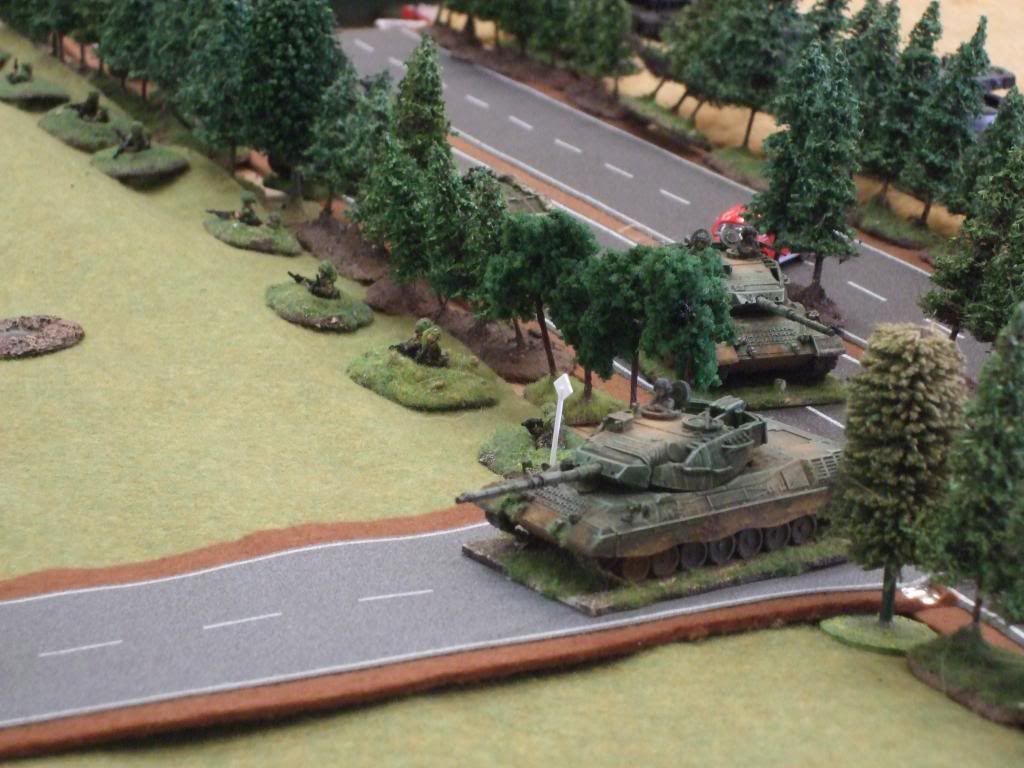
After a final snack of lager, chips and mayo, the last Belgian Leopards are getting to position
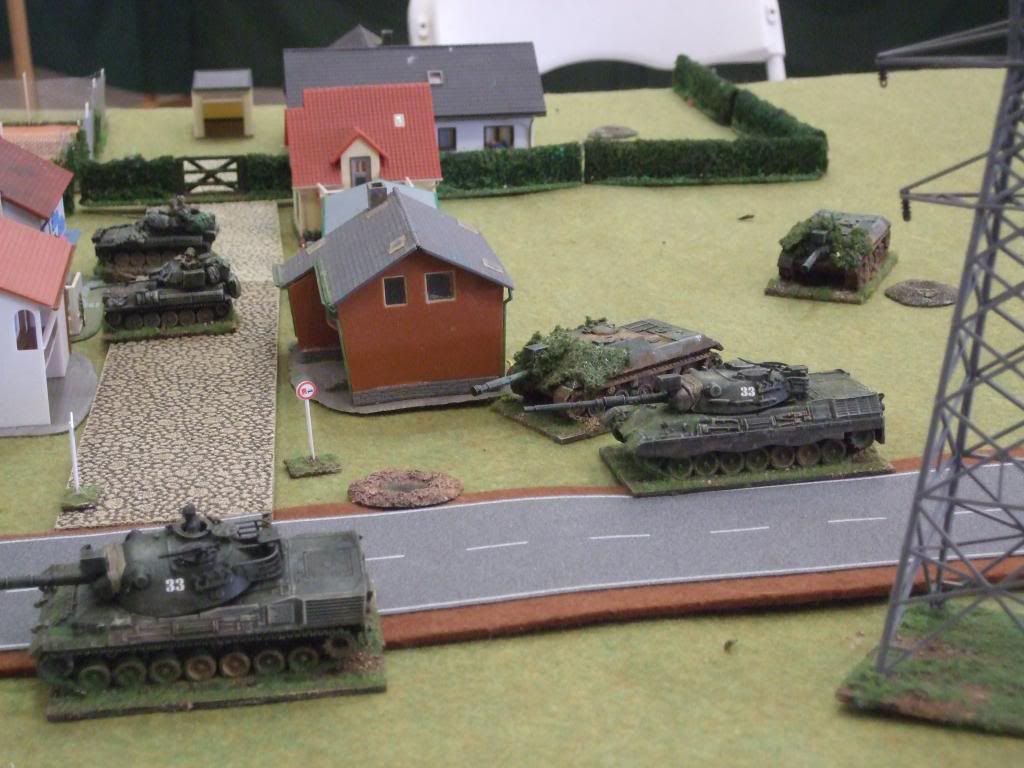
Belgian advance, with 2 CVRT's from 1RS battlegroup in rear fo the picture, providing a screen to 1RS.
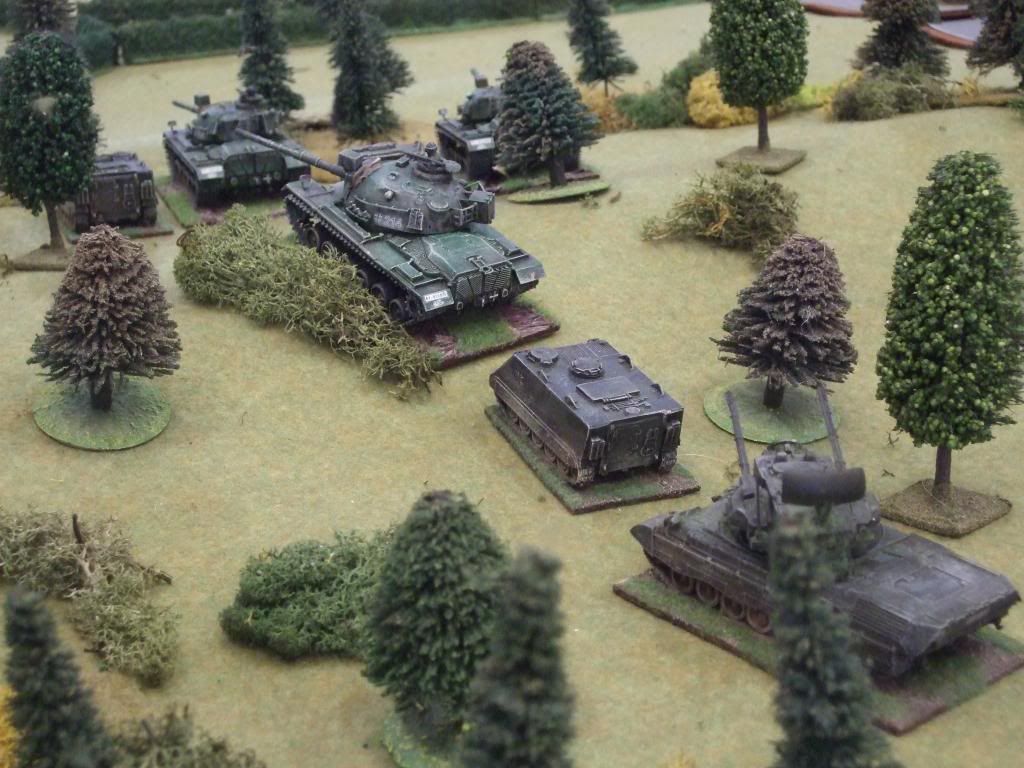
The Germans moving up to the treeline of the woods, about to deploy out along it.
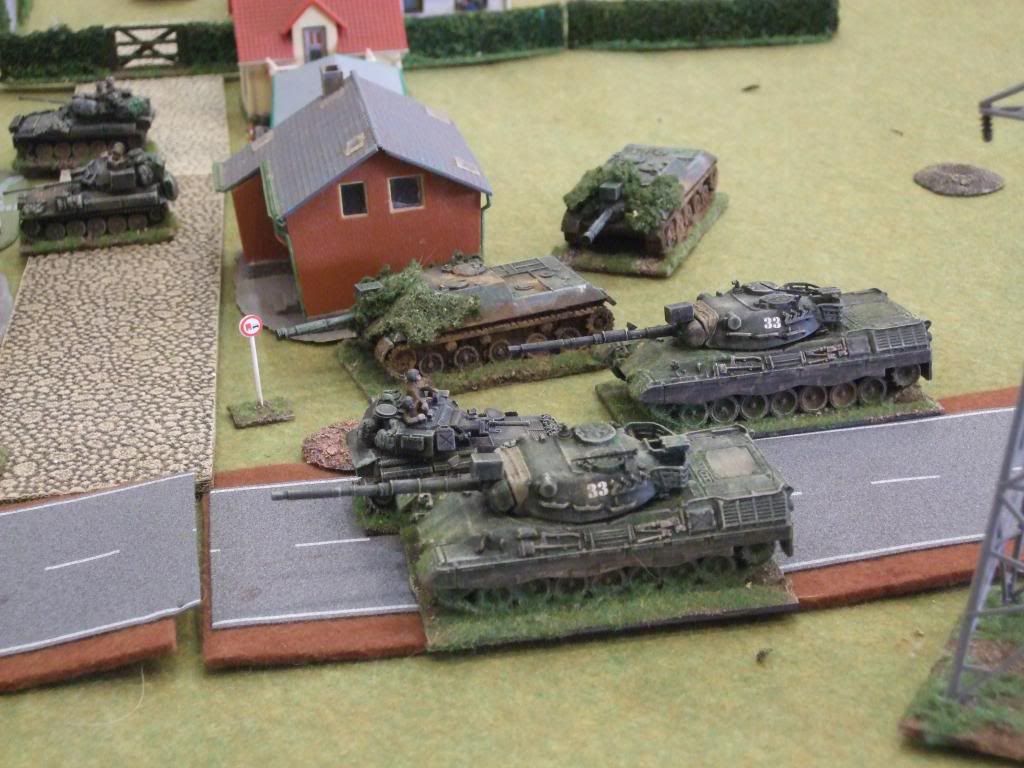
The Belgians
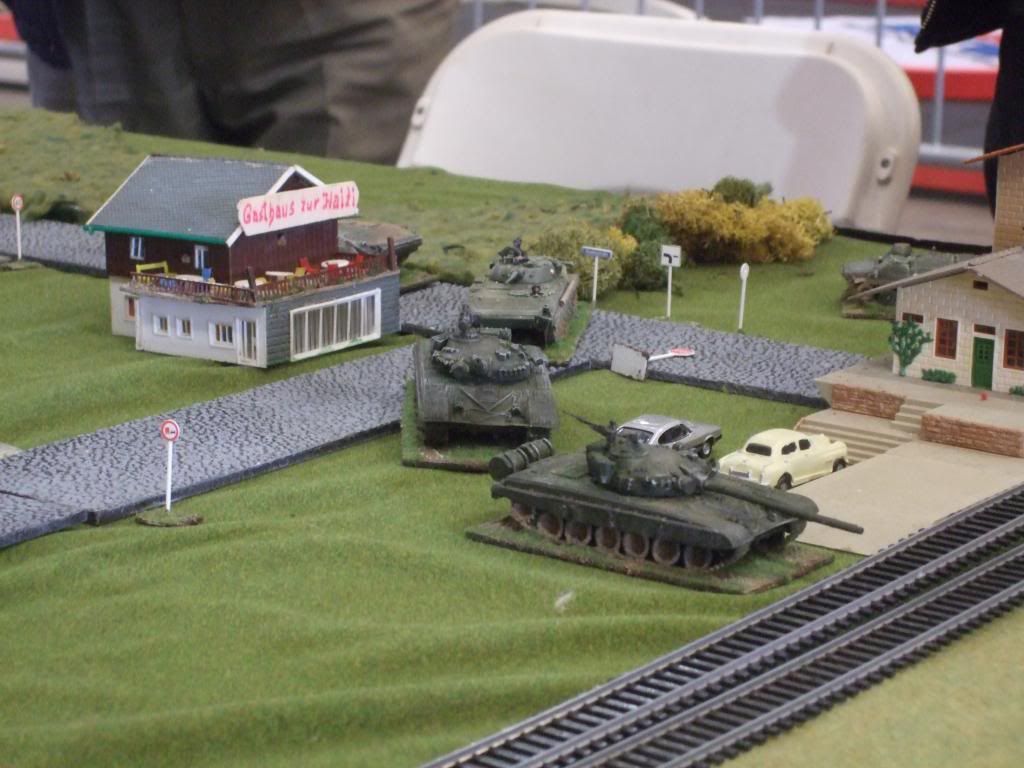
Soviet tanks moving up
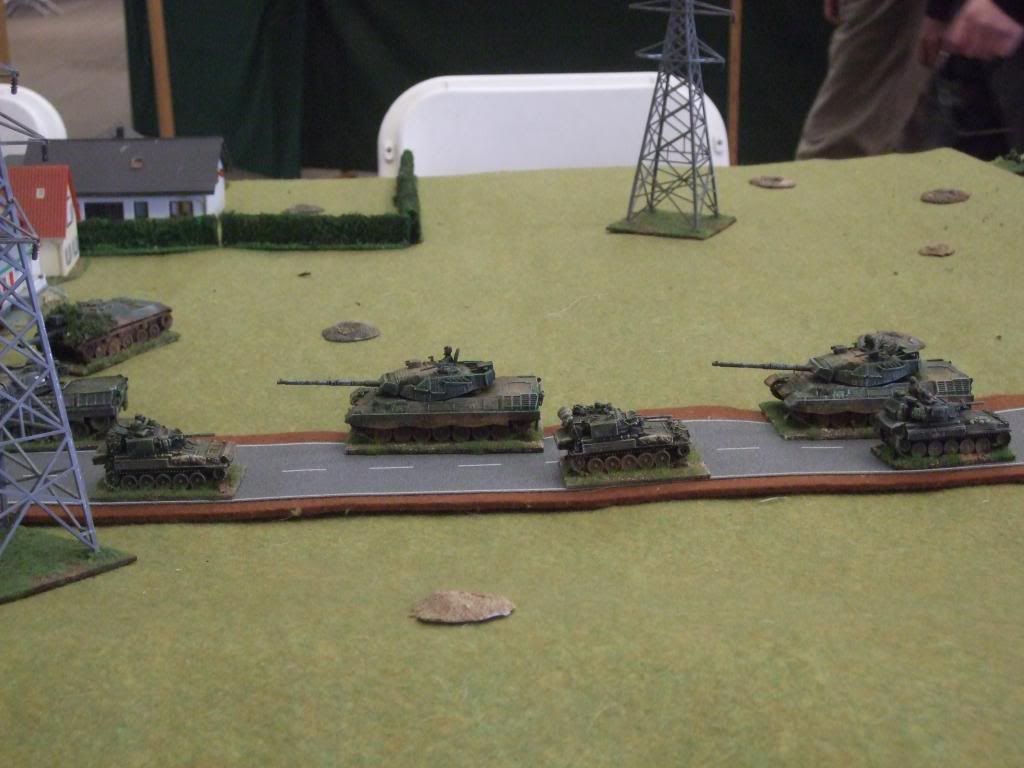
The road from the Autobahn is starting to get busy
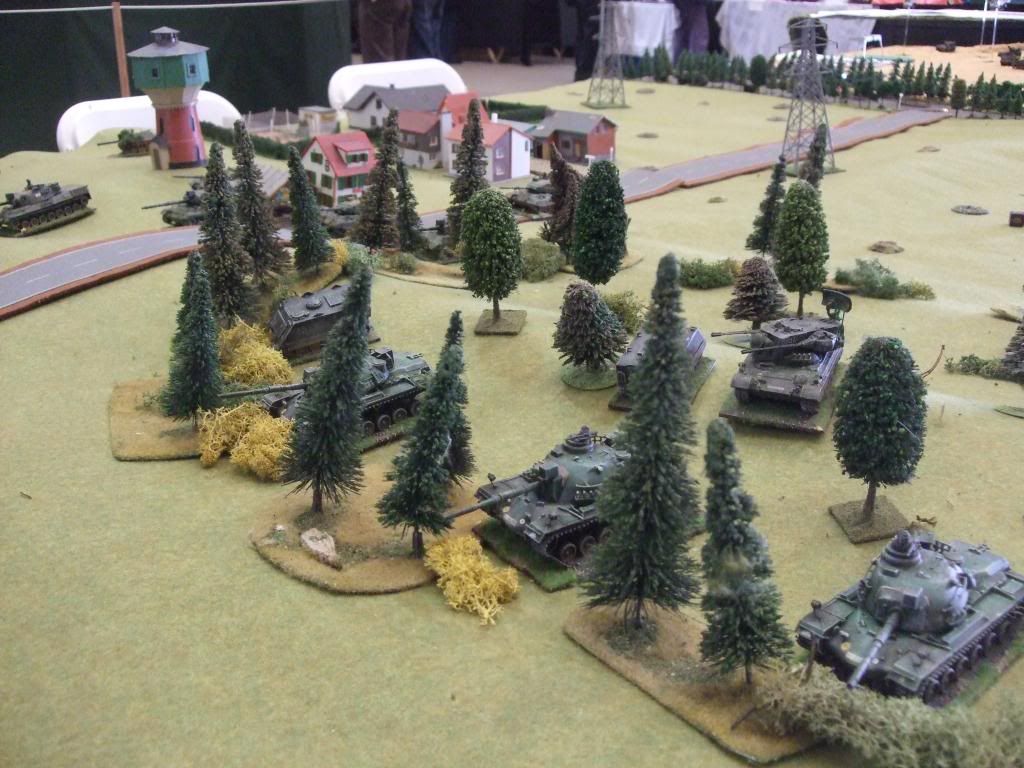
The German Reservists have deployed out into ambush along the treeline, waiting for the Belgian advance.
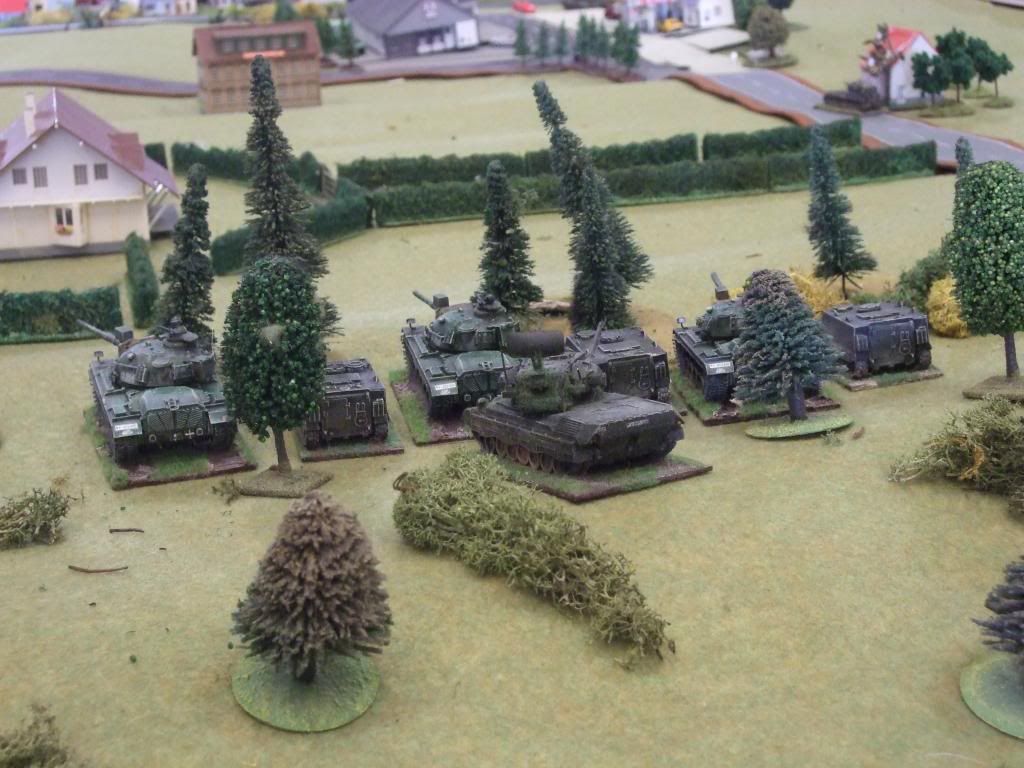
Rear view of the German position, covering the approach up the road from Gyros Teller.
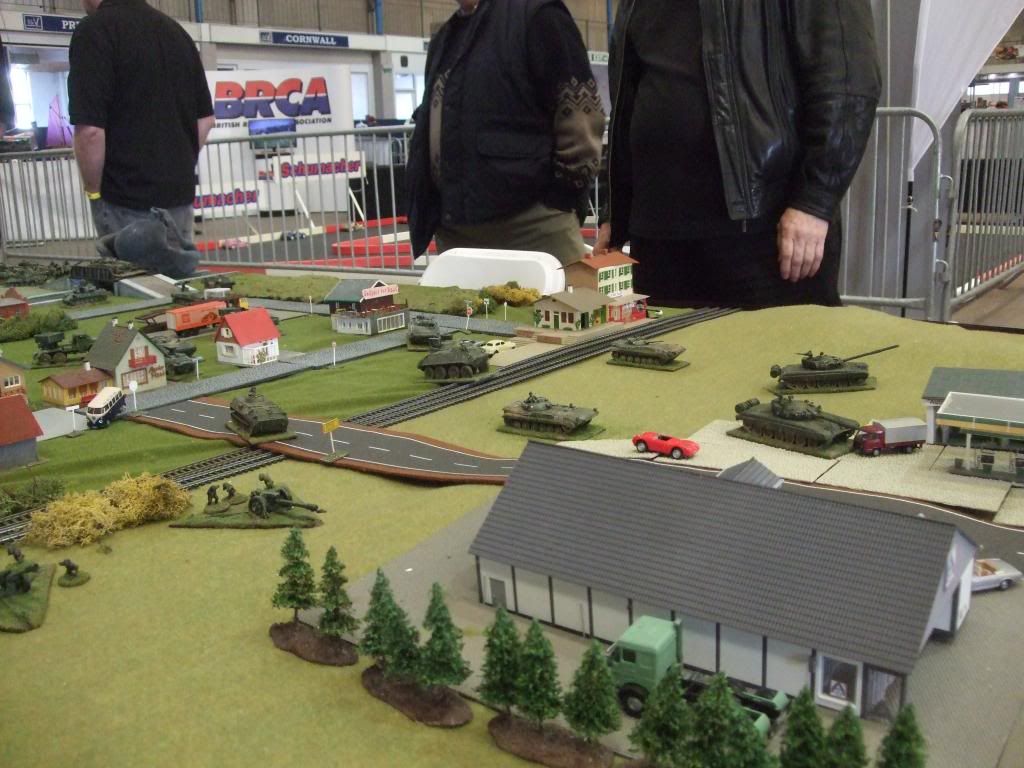
Soviet recce screen is advancing from the town, whilst the Belgians are preparing to advance.
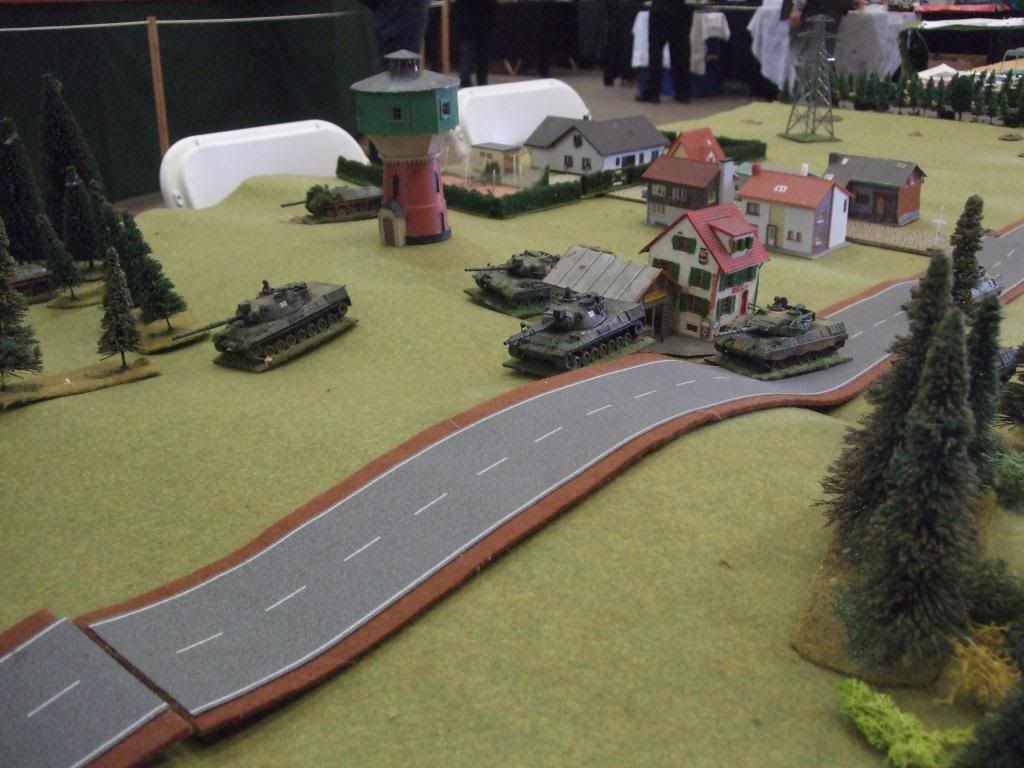
Having picked upthe presence of the advancing Soviet screen/probe, the Belgians deploy along the ridge of the hill, between the 2 woods. A natural chokepoint, if the woods are secured.

Nato recce out along the road, exposed and now caught out by the advancing Soviet recce
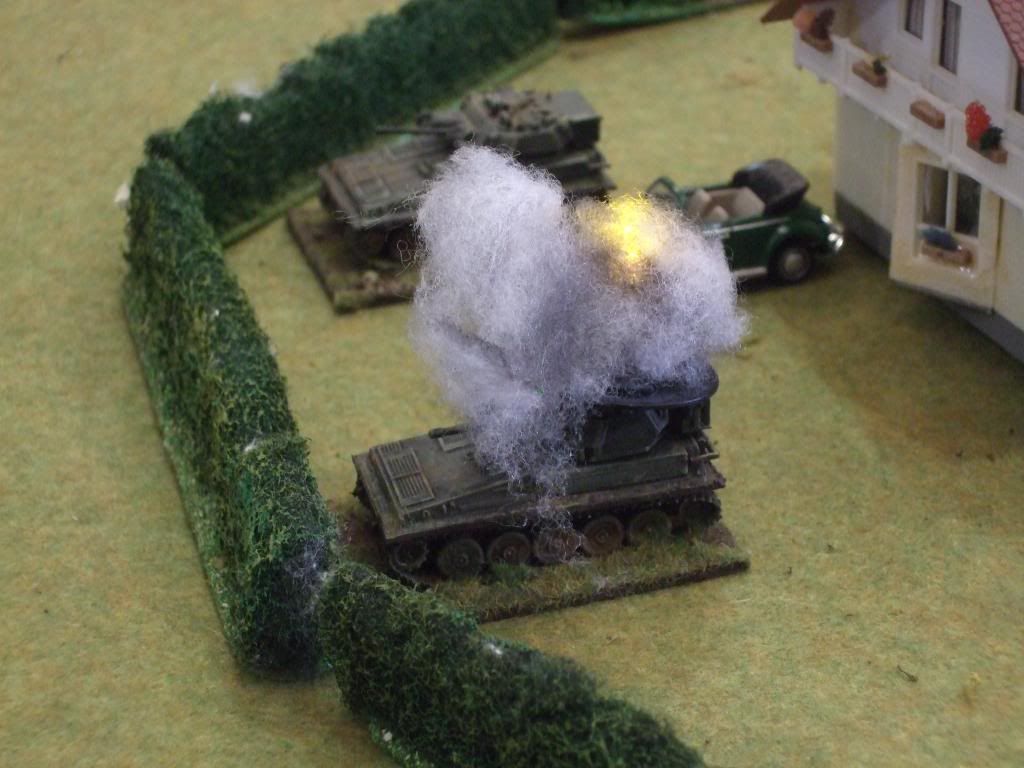
They attempt to engage the recce probe, and slow it down whilst the Belgians get themselves organised into position. They should have left, and allowed the Soviets to move up, but fears over the wood on the right, not yet secured have made the Belgian commander commit them forward.

The Soviets recce are slowly picking them off
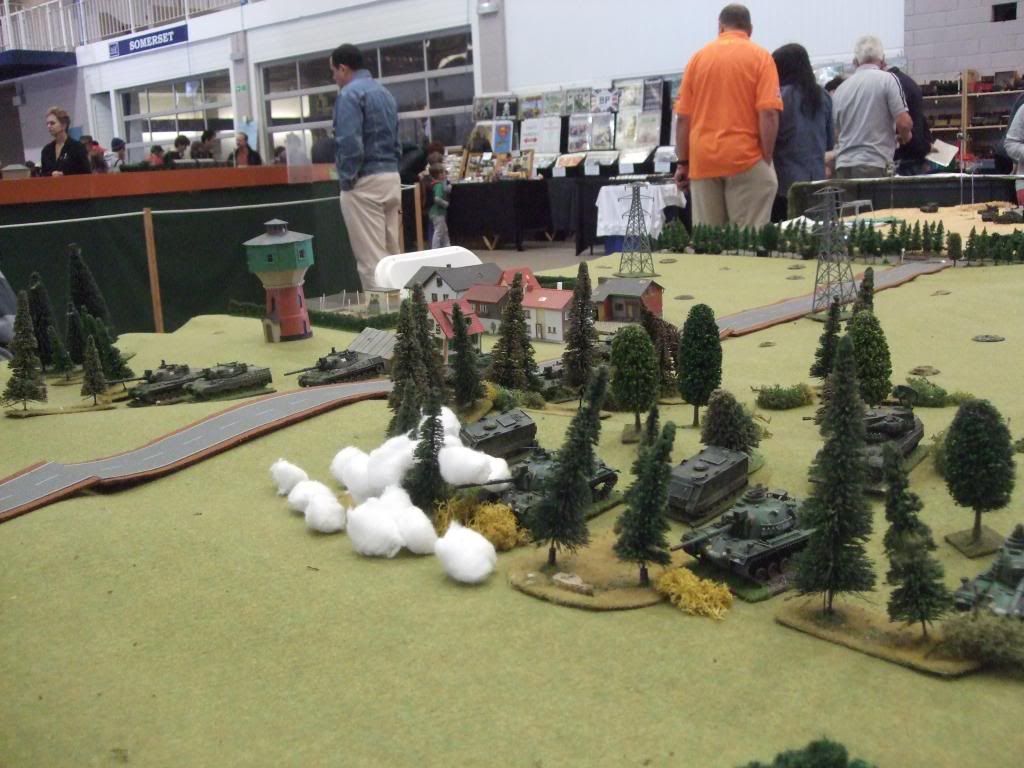
Fear of what might be in the wood, has meant that the Soviets have called a rocket strike on the wood. Bad die rolling - or Bad Vodka, has meant that the strike is slightly off target, and ineffectual. Close shave for the Germans.
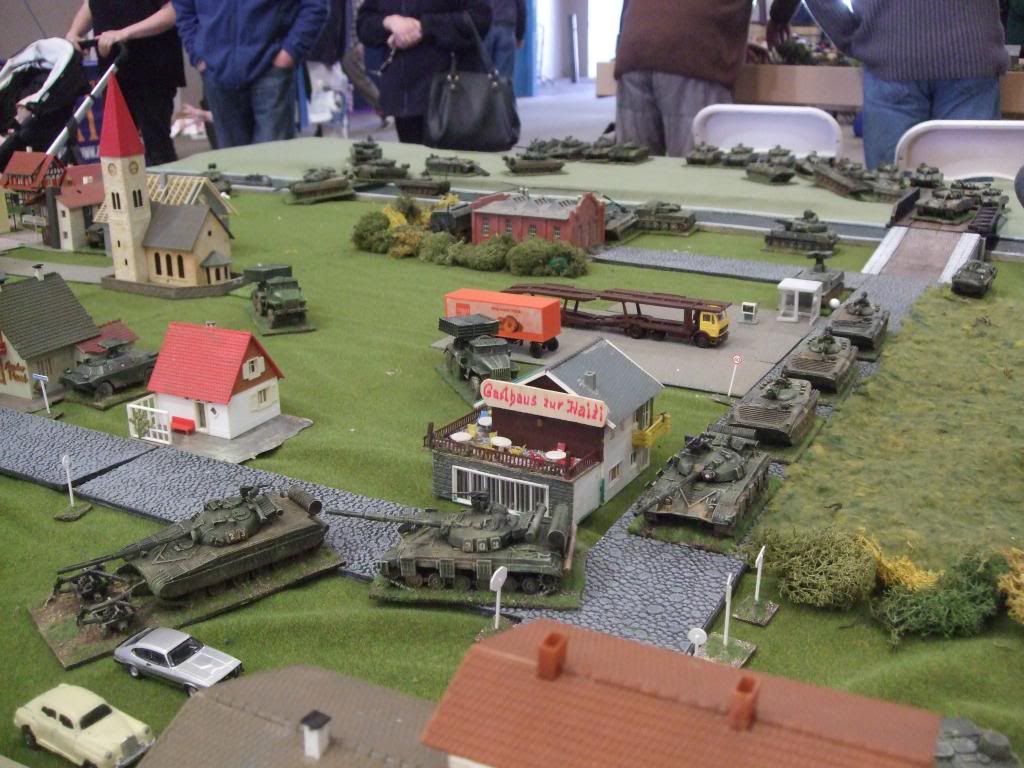
The main force attacking/advancing through is shown building up
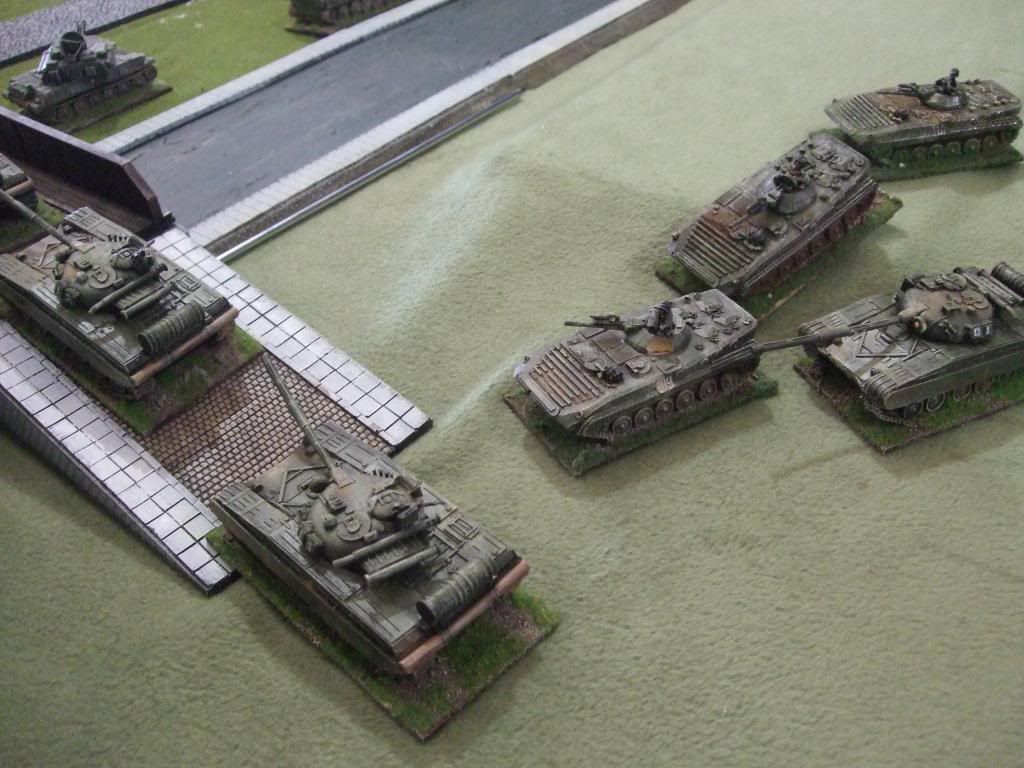
The infantry in BMP's with their T64's
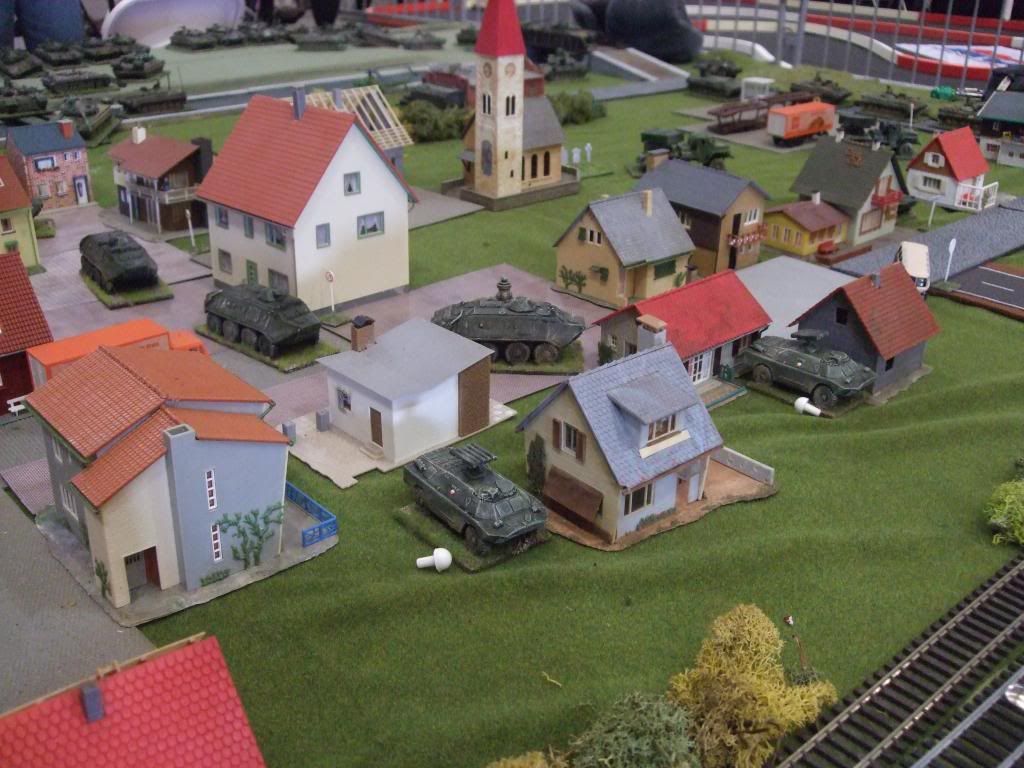
More forces are coming through from the temporary bridge into the town and advancing.

Artillery from the Soviet defensive line comes down on the Germans, again a lucky escape for them.
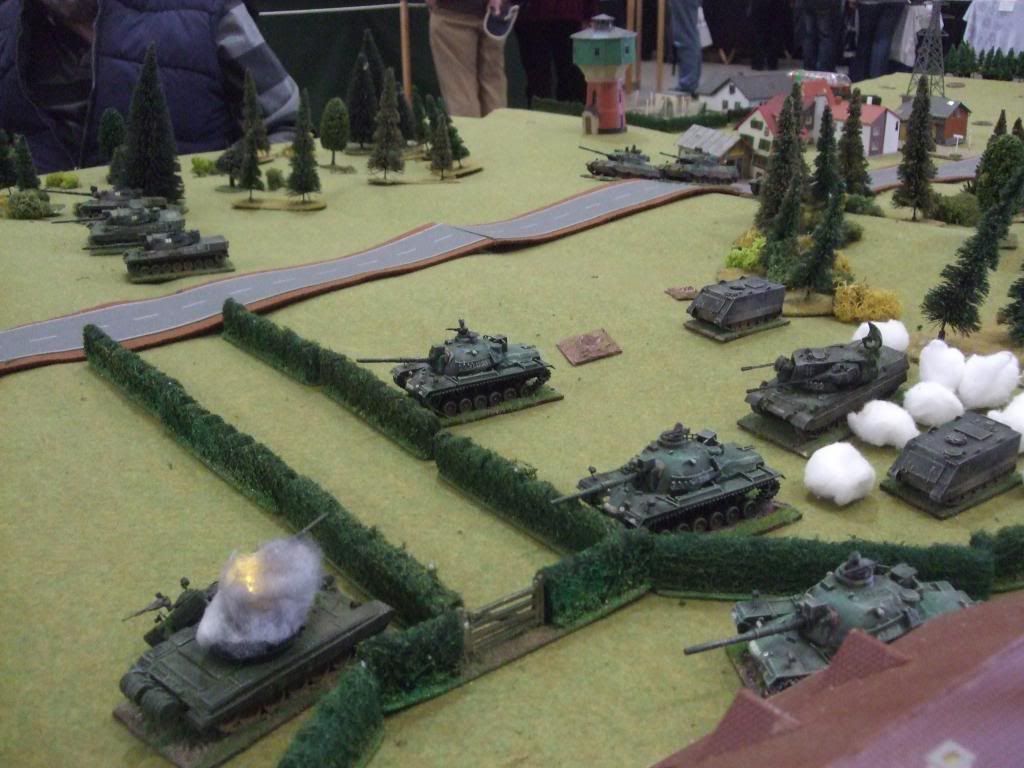
The Germans advance out to take on the Soviet recce probe, as do the Belgians - the cautious advance. The shooting is very poor from the Belgians and Germans.
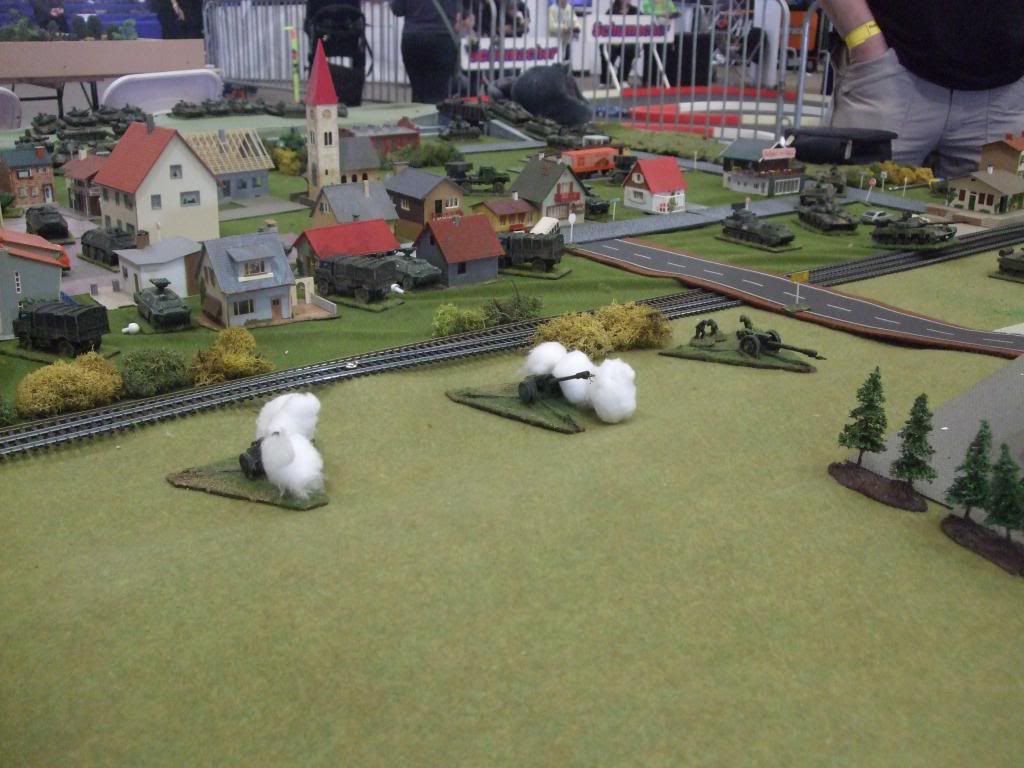
However, things are not going the Soviets way, as artillery counterbattery fire by Nato, directing 2 Abbot 105mm, picks up the Soviet battery and completely neutralises it. No more gun fire.
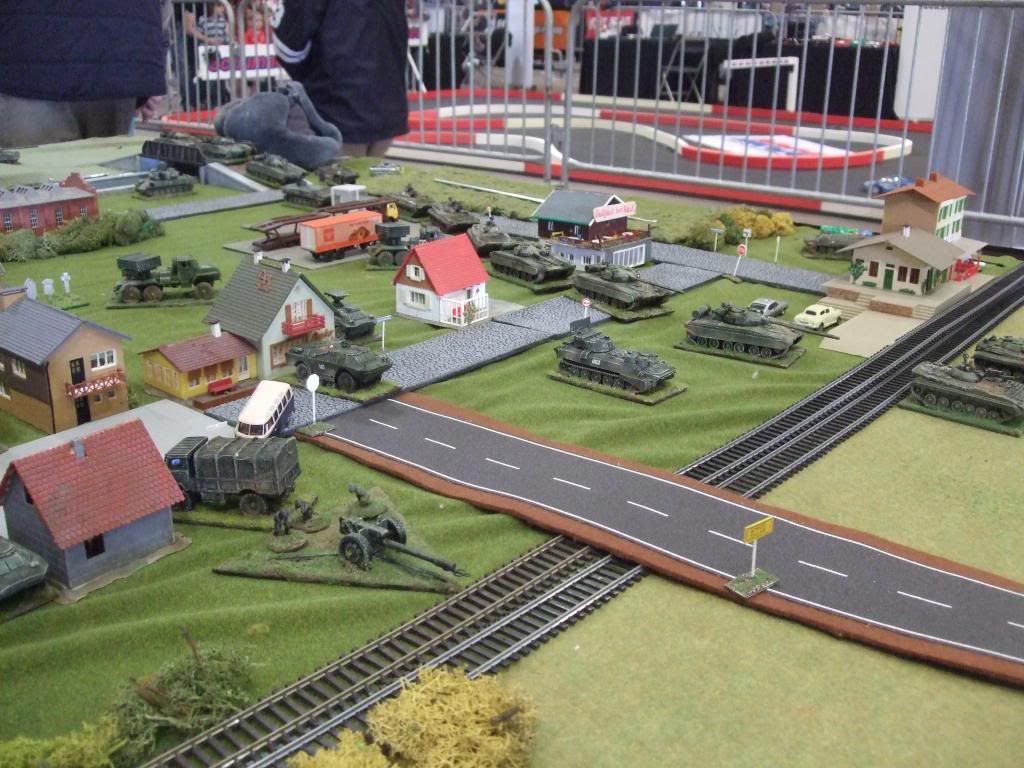
The 100mm A/T gun is quickly hooked up and towed into cover
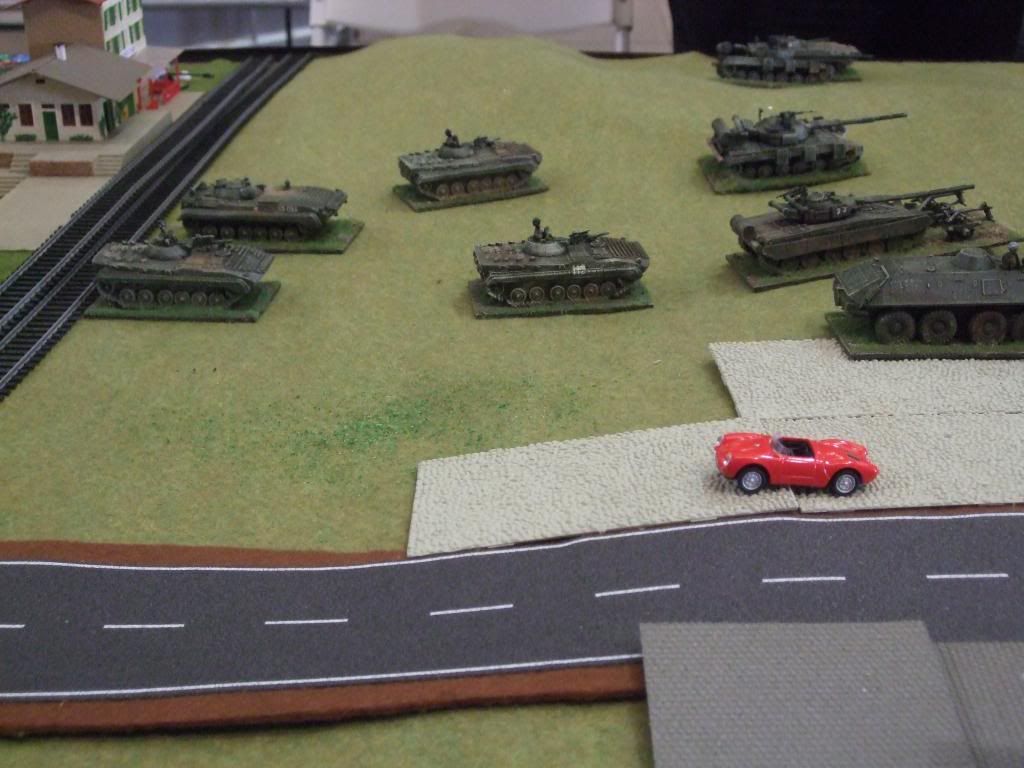
The recce probe is slowing down, to make effective shots on target, but the main attack force is catching them up. They are doing their job of locating the enemy positions and forces.
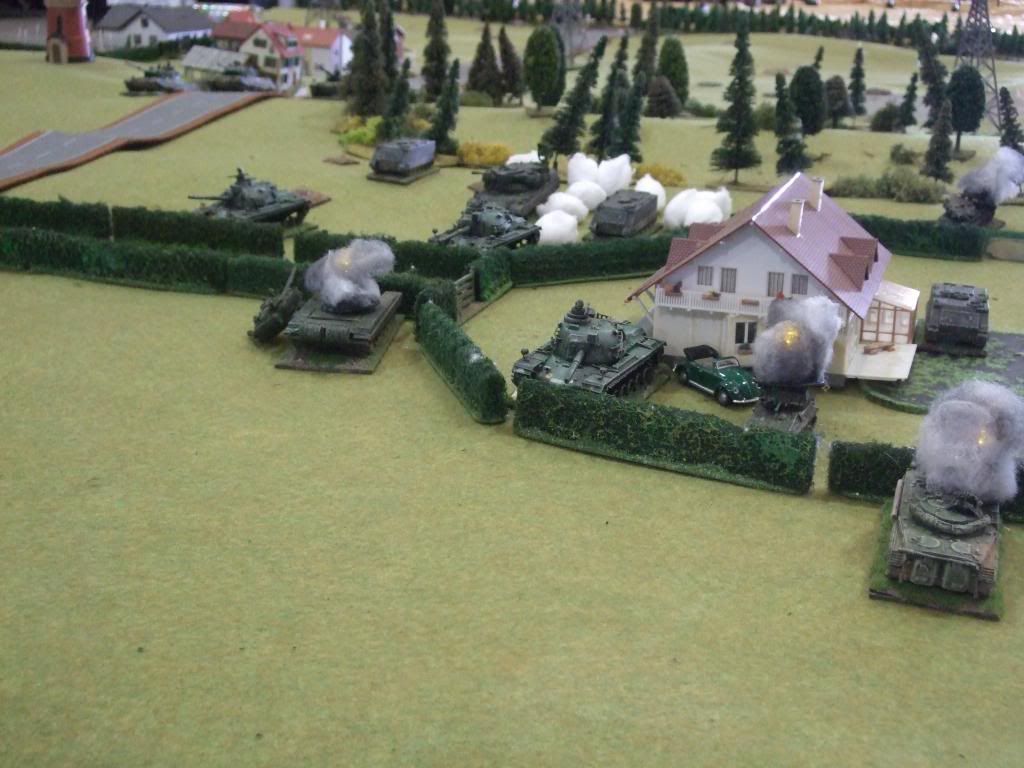
Soviet gunnery is on top form, with the German M48's getting a pasting, with few Soviet casualties. Is this a forewarning of what will come?
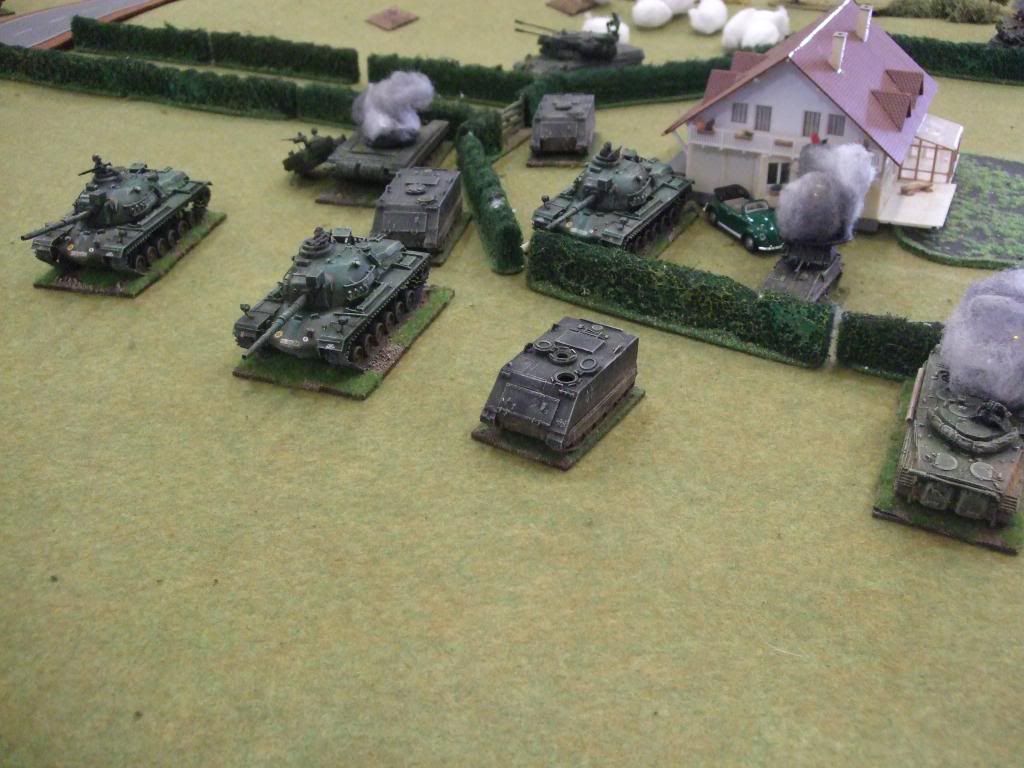
The Germans push forward to the farm complex in front, to secure it and threaten the advance, hoping to do this before its too late, helping to contain the Soviets in the town. This is wishful thinking, they are too slow and too late.
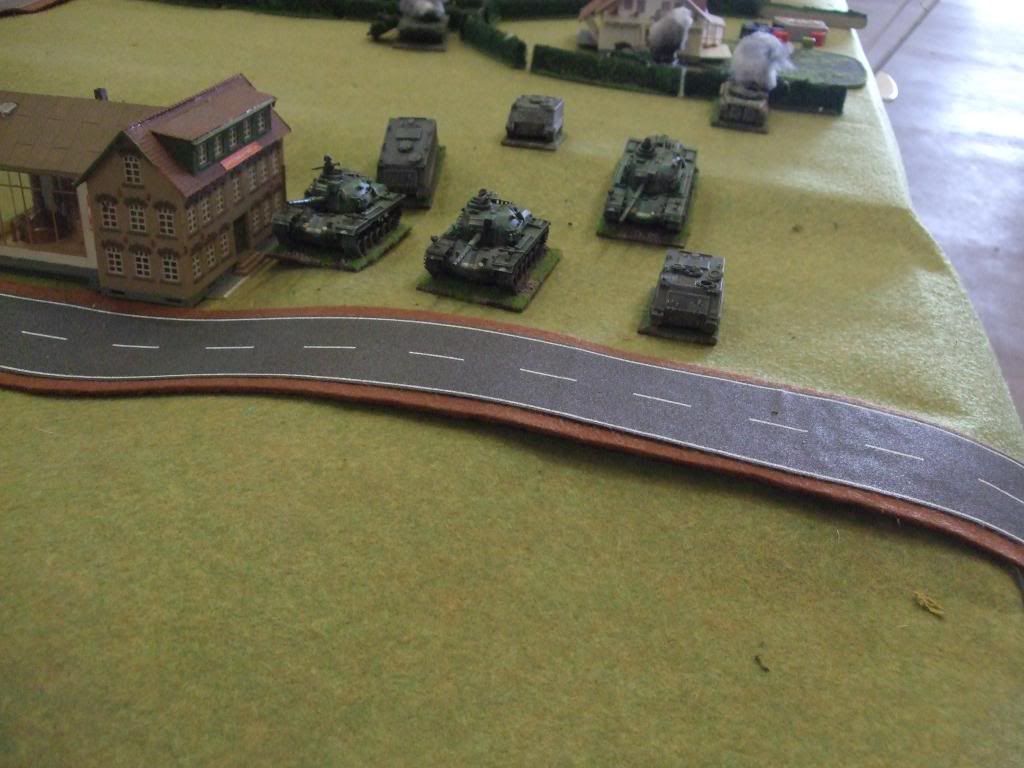
There but not quite, they are now exposed.
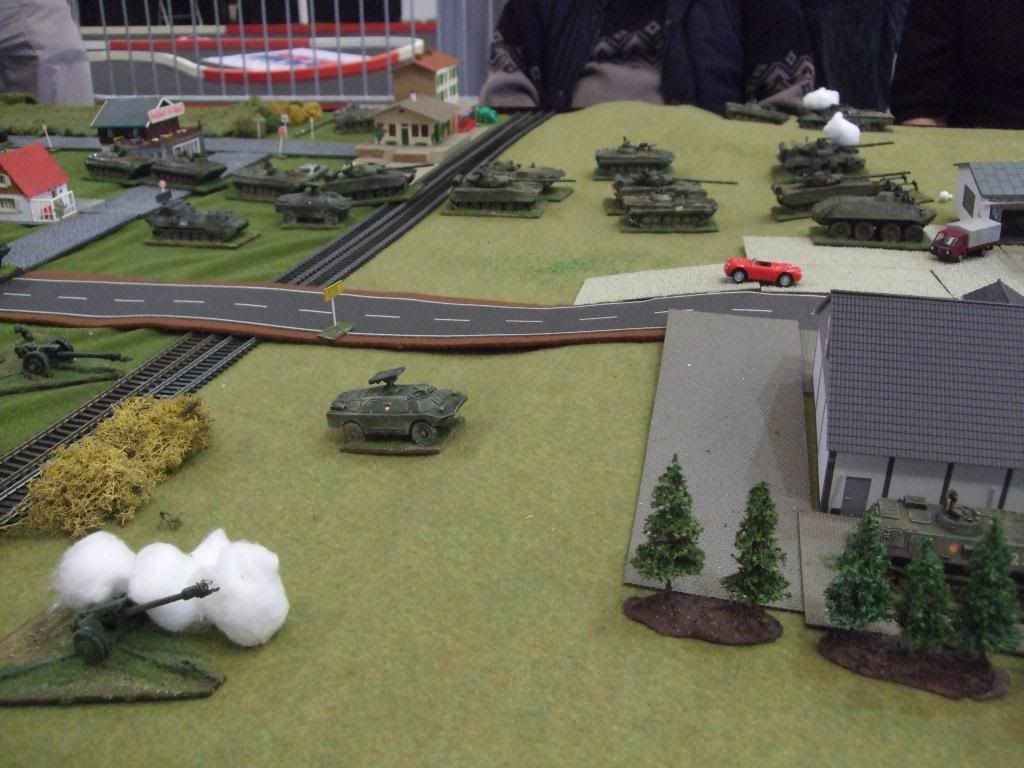
The Soviet forces moving up
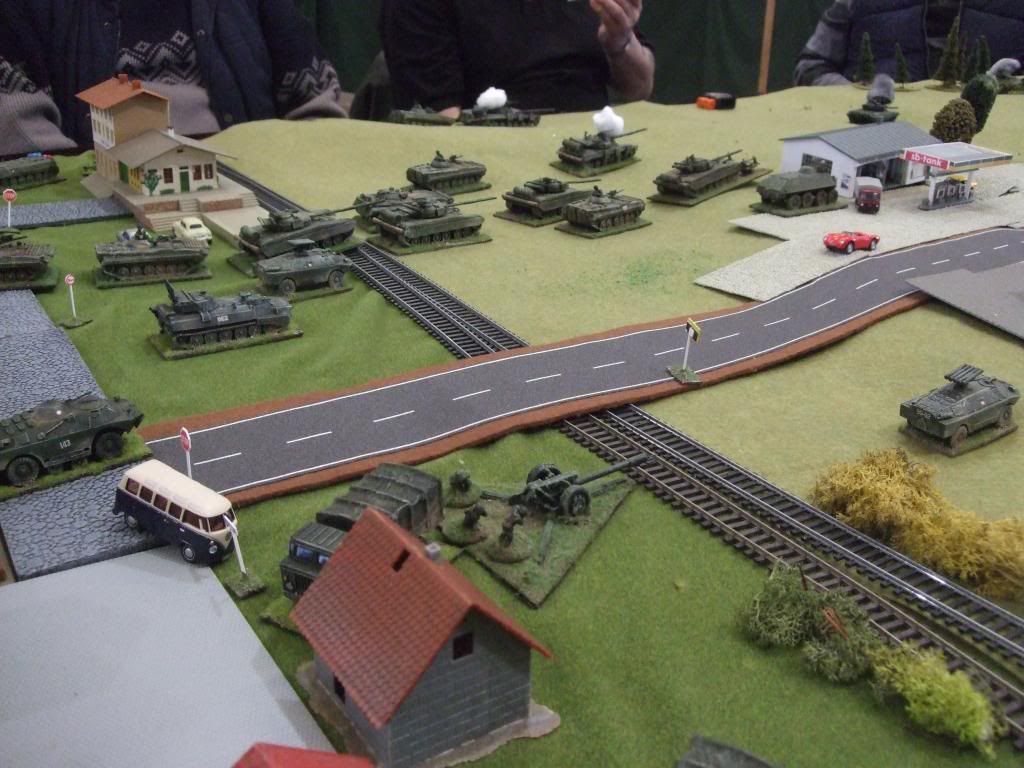
A view from the Soviet side, also showing some BRDM's with A/T missiles moving up to the supermarket on the road.
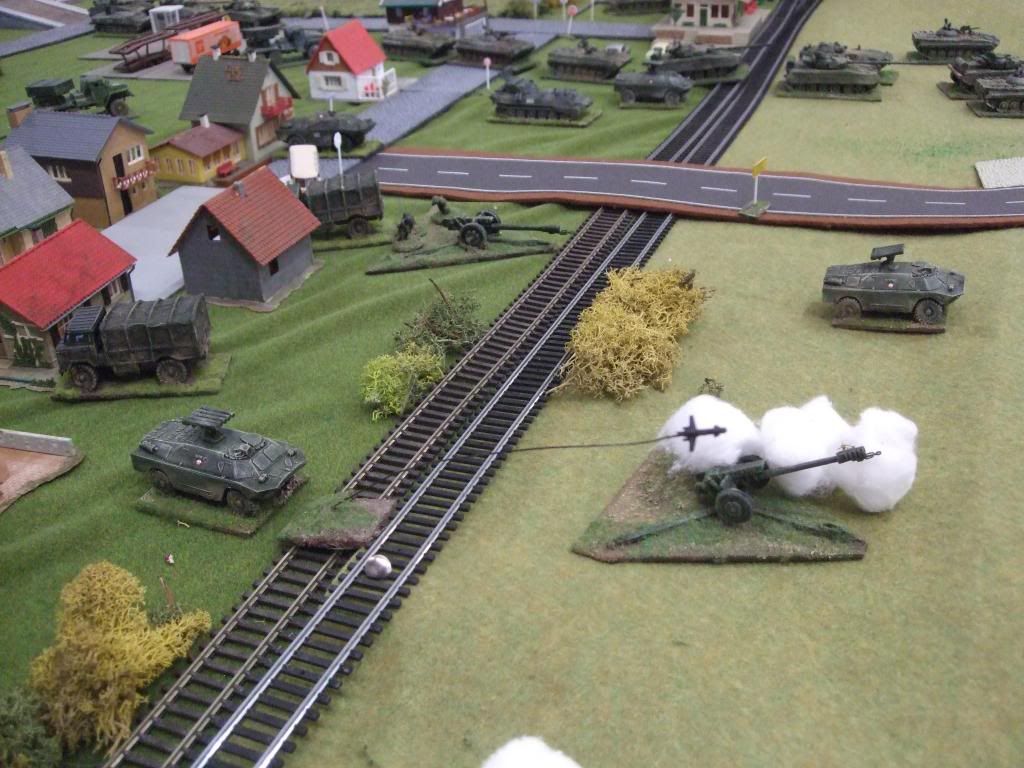
The BRDM's
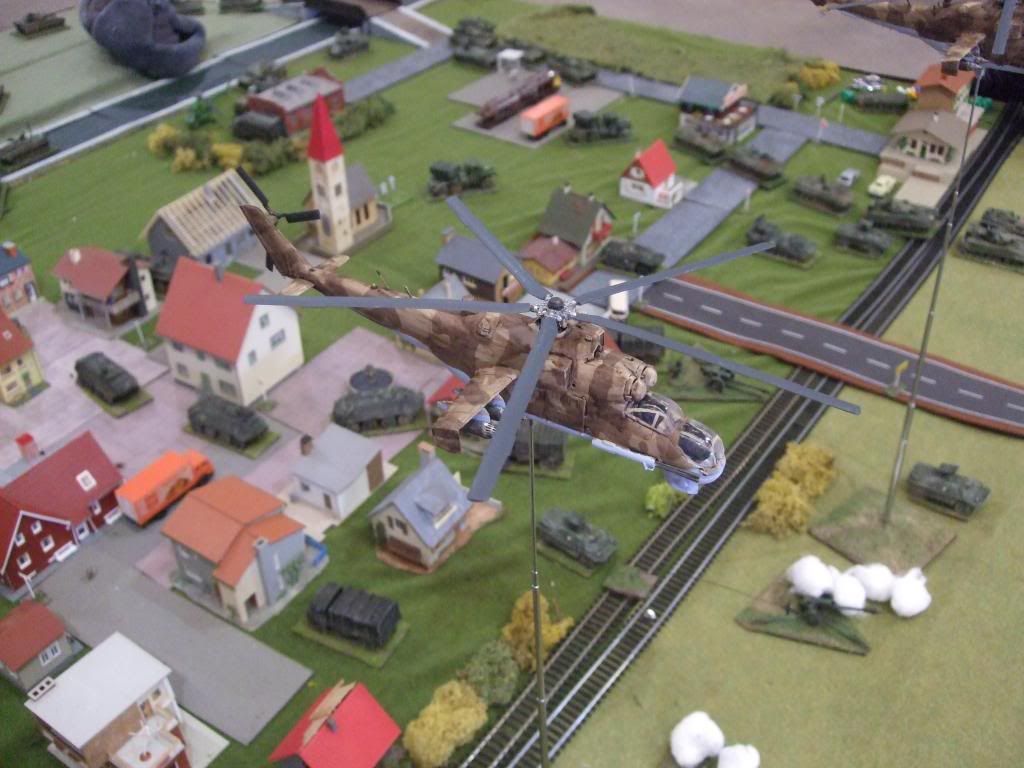
The Mil Mi24 Hinds come on, directly in front of the Germans

A close up of a Hind
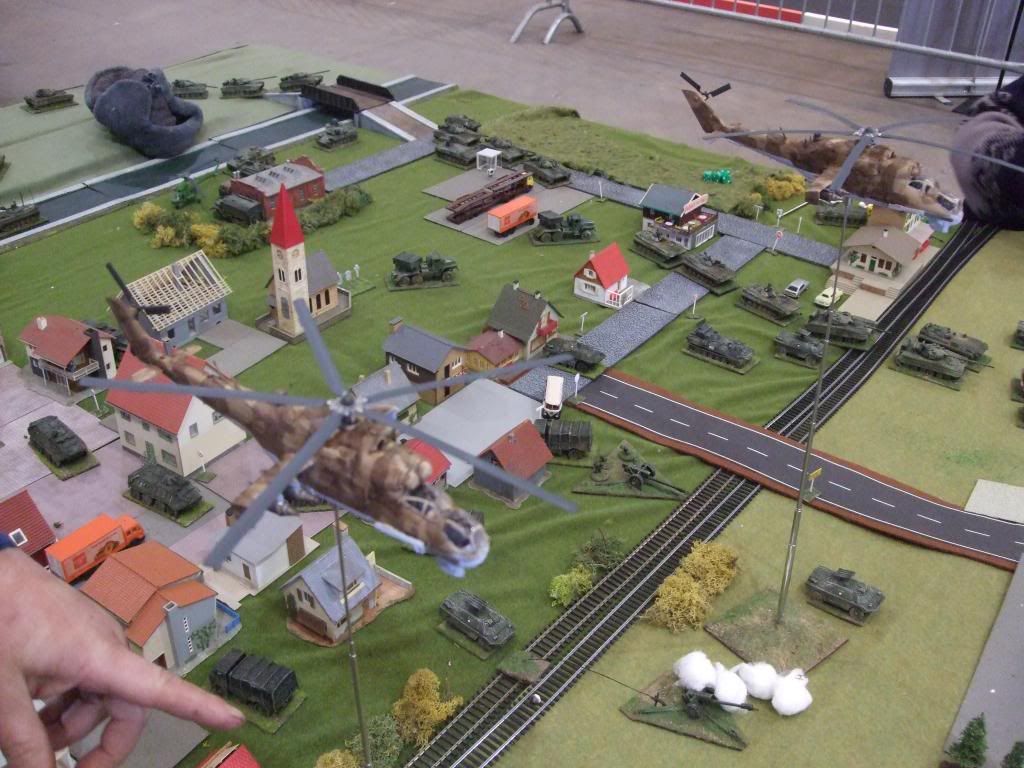
They engage the Germans with rockets and cannon
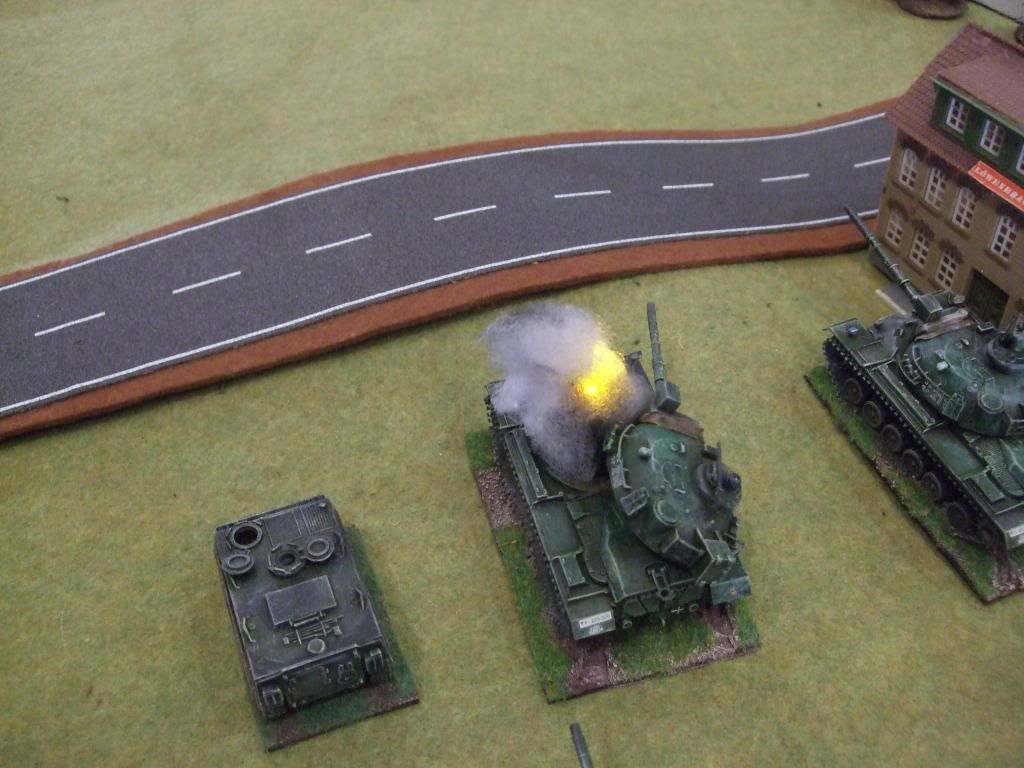
Luckily for the Germans only 1 M48 is lost.
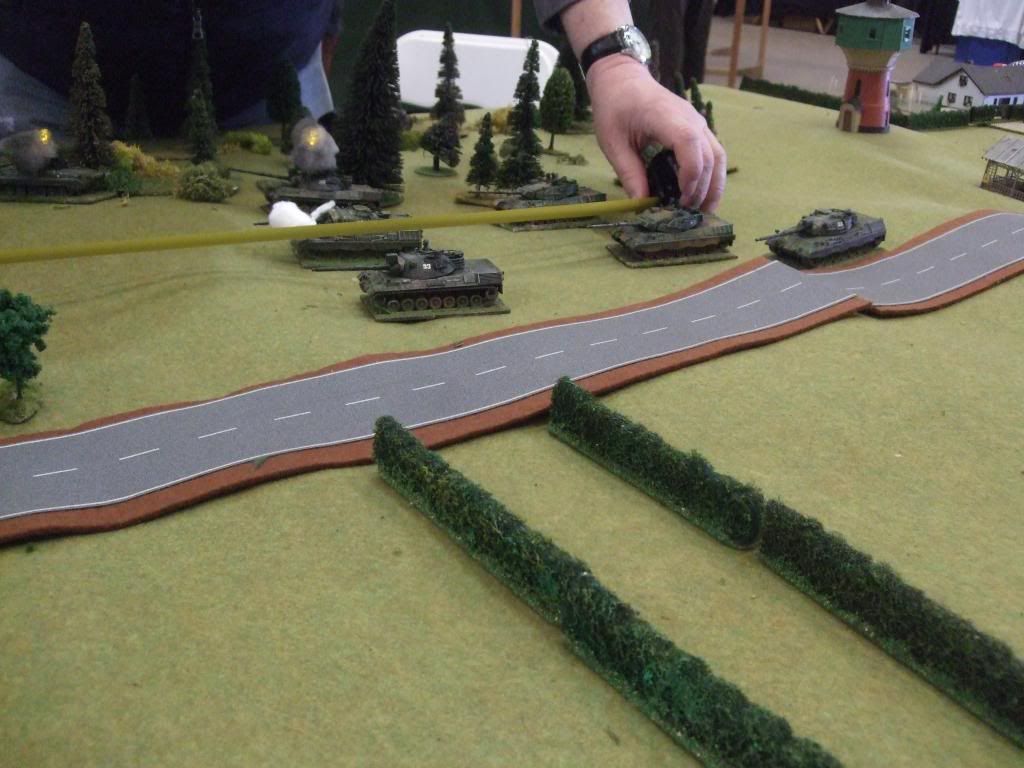
The Belgians are making heavy work of the shooting, and call up their 2nd troop of Leopards to assist.
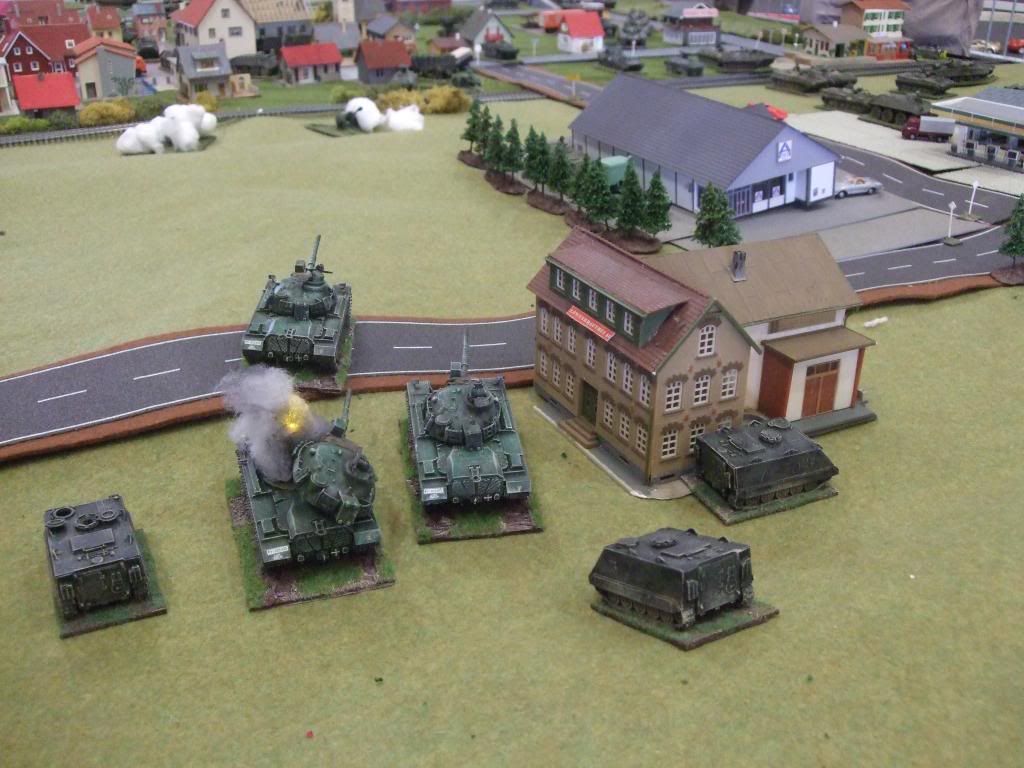
Decision time for the Germans. They can't slow down the shooting to allow the infantry into the buildings, and if they do, they will not be able to protect them. There are to many Soviet forces advancing towards them. A bad move has just got worse.
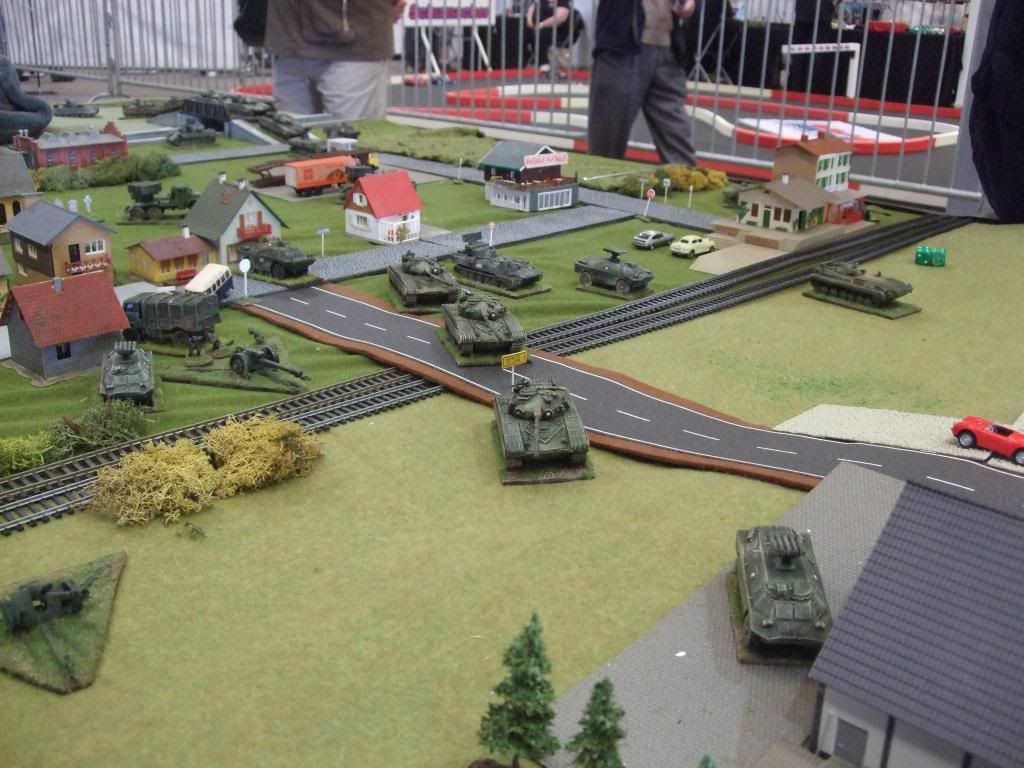
The A/T and tank forces are at the supermarket alongside the road.
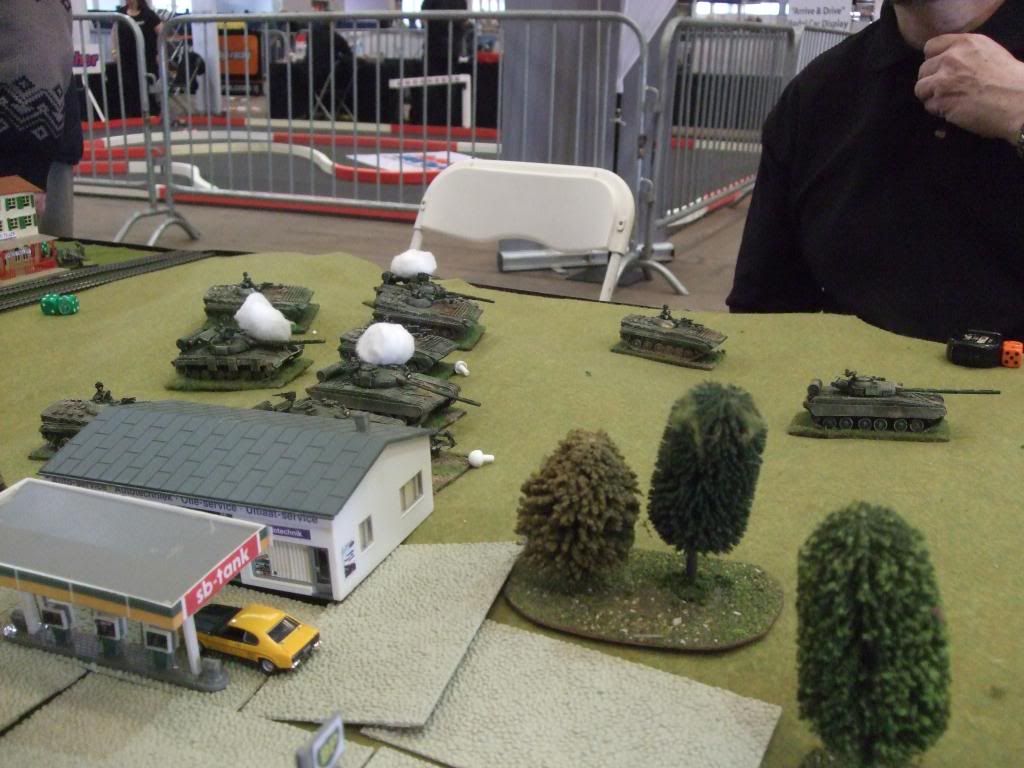
The recce screen is slowly being reduced, but more forces are moving up, and the Nato forces are being drawn out into combat.
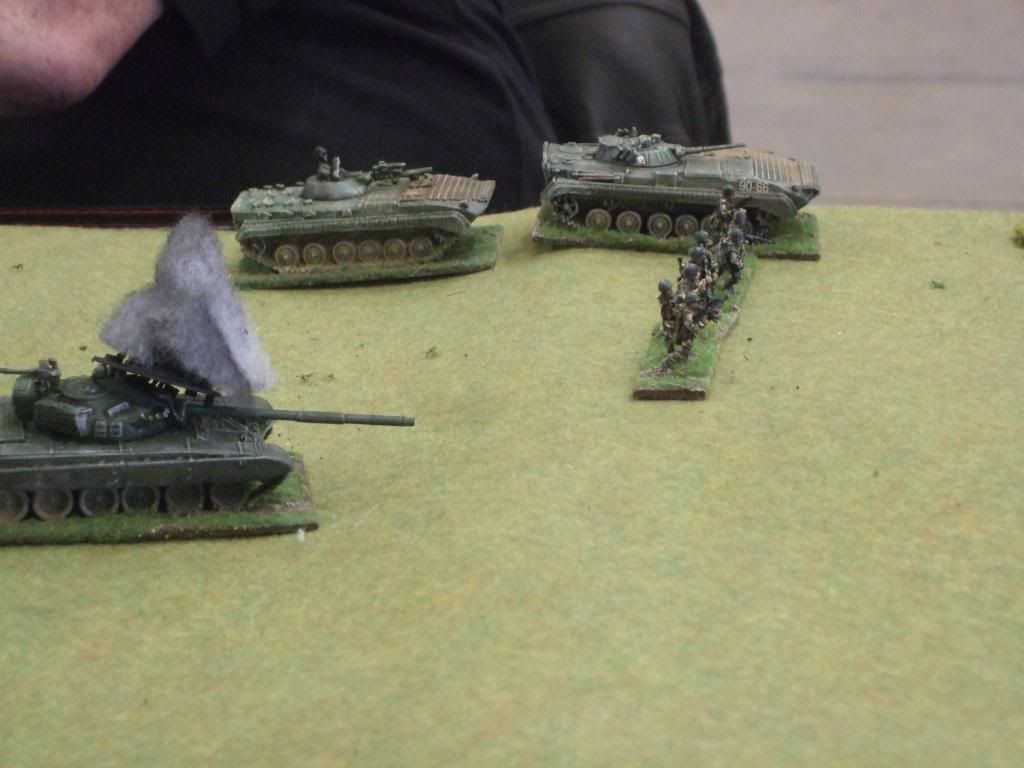
A move up by the BMP's to the right hand wood, the key defensive feature of the treeline/hill position. Both woods are needed to advance on to the Autobahn. The start of the process to do this.
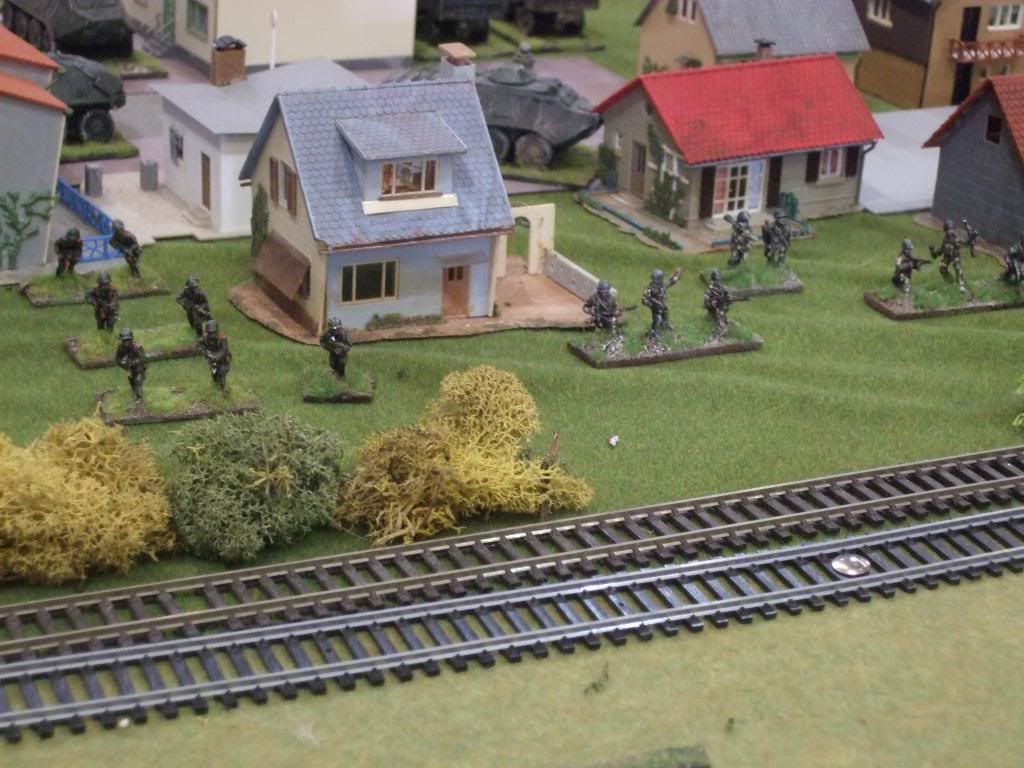
The Germans did do something with their advance. They managed to frighten the Soviets into deploying out of their APC's into the defensive position on the edge of the town. They did not intend to do this by their reckless advance.
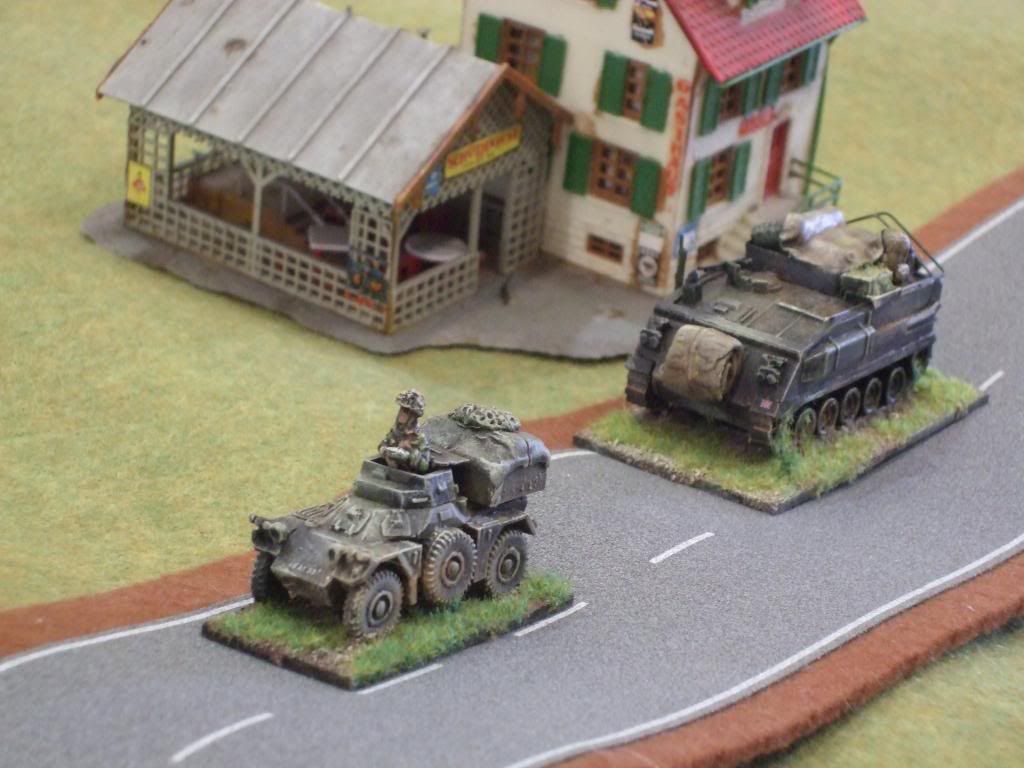
Brit OP and spotter has moved up to the ridgeline, observing the engagement.
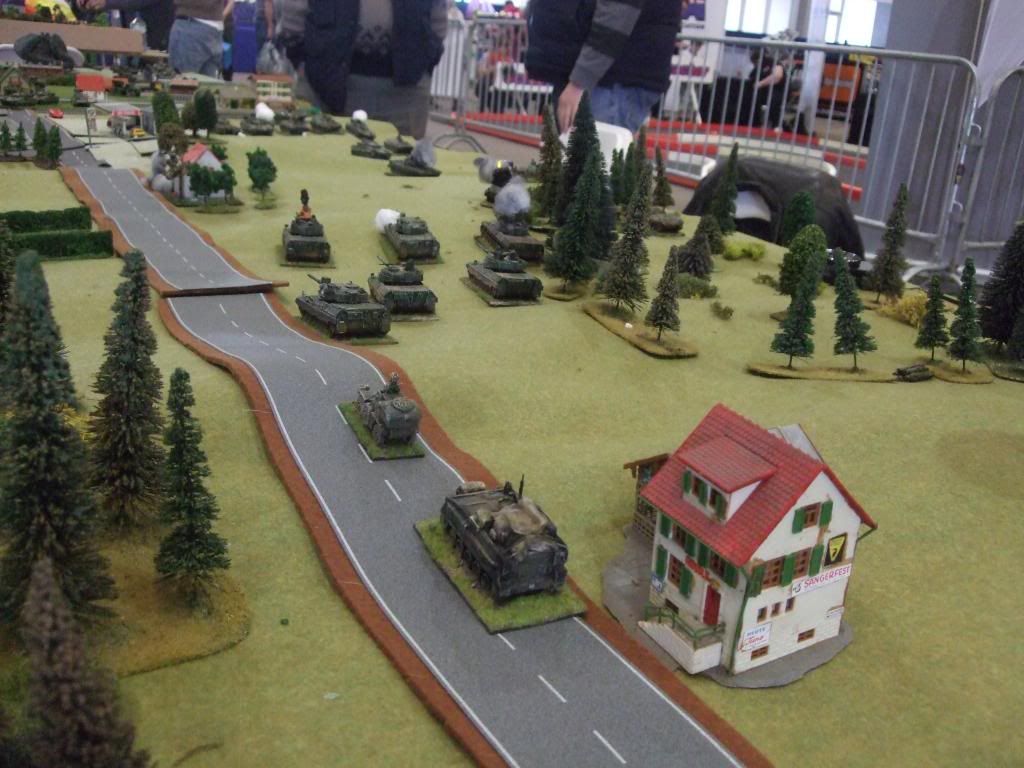
A view down the road of the engagement and the critical nature of the right flank wood
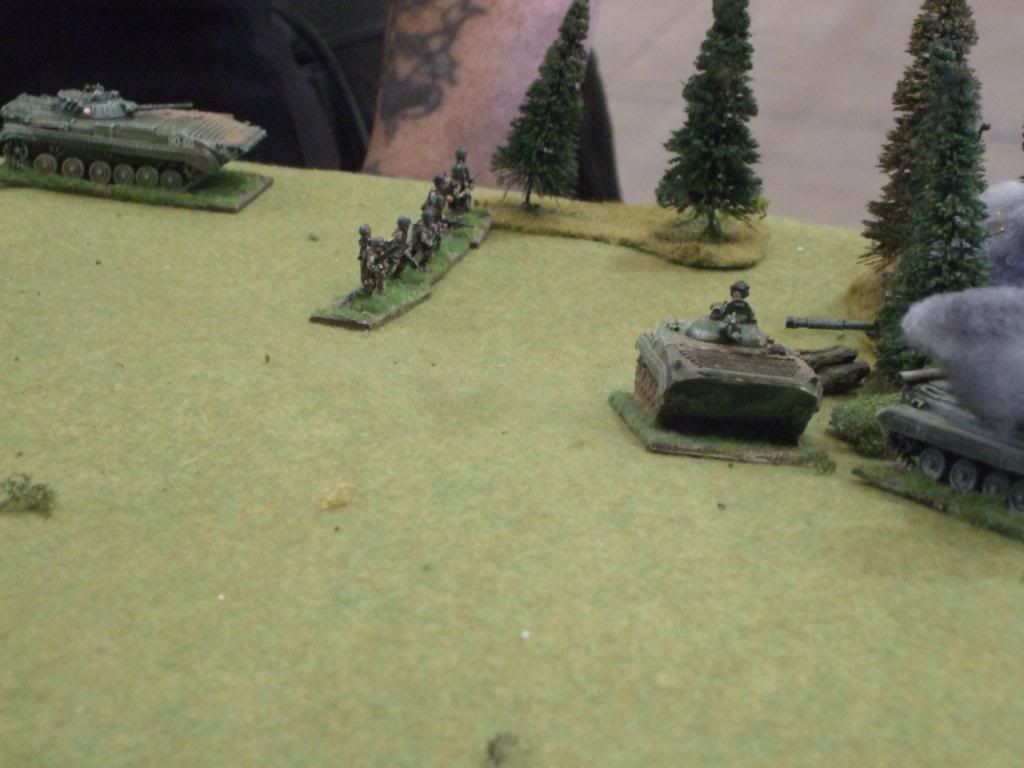
The Soviets moving up to the wood edge, and the attack on the Belgian Jagdkanone defending it.
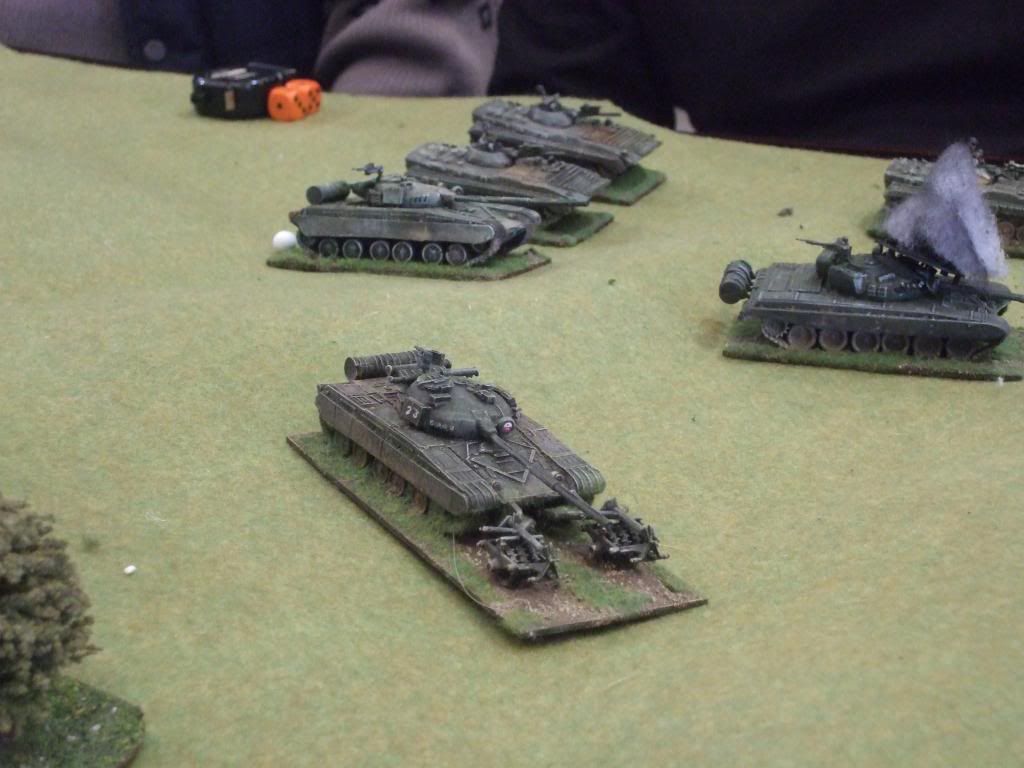
More infantry moving up in BMP's
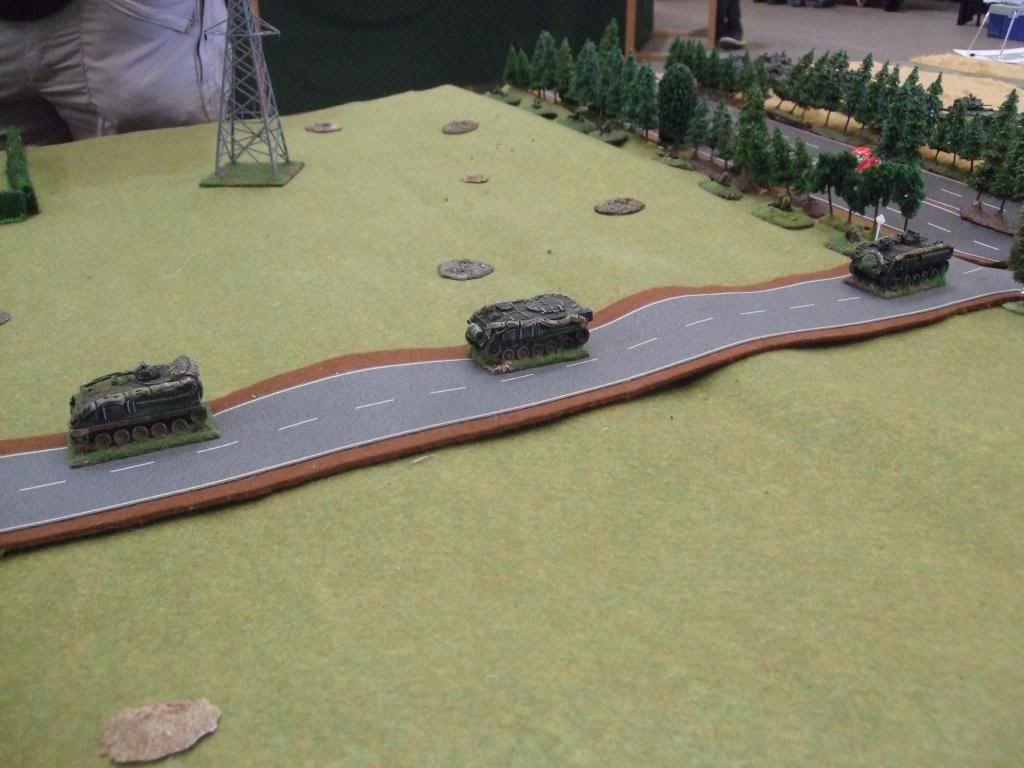
The commander of 1RS sends up a platoon of infantry to secure the rear of the wood and set up an ambush for the expected Soviet breakthrough.
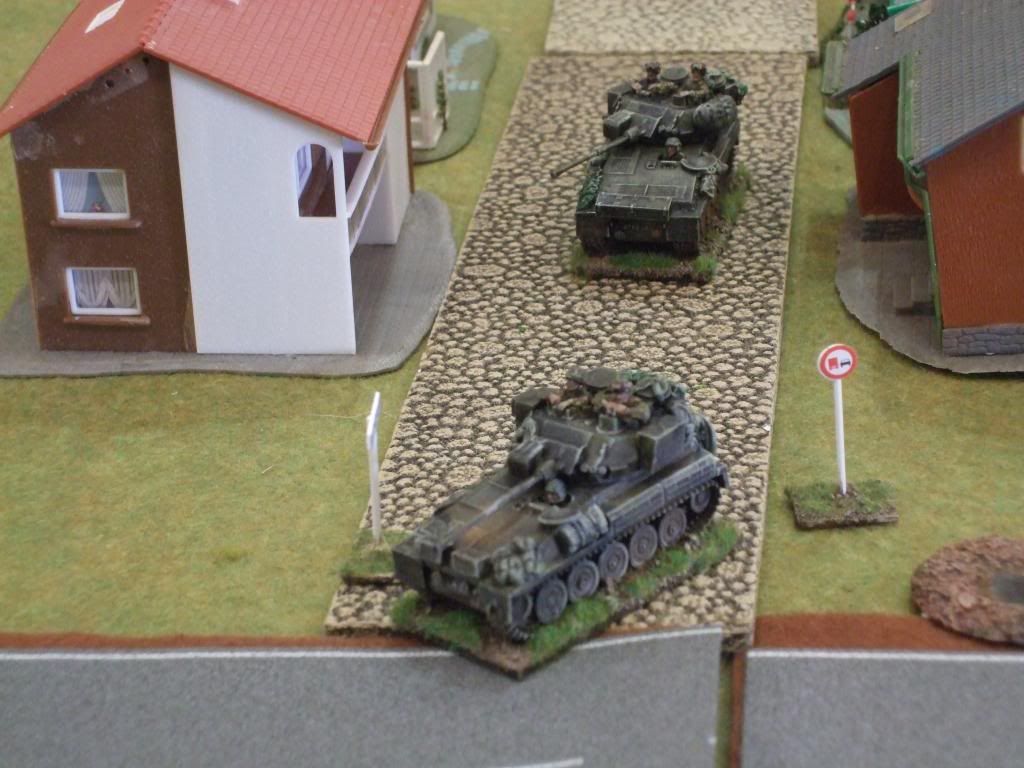
The 1RS CVRT moves into a new position to support the infantry. The Chieftains will not be committed, even though this could result in the loss of the recce tanks.
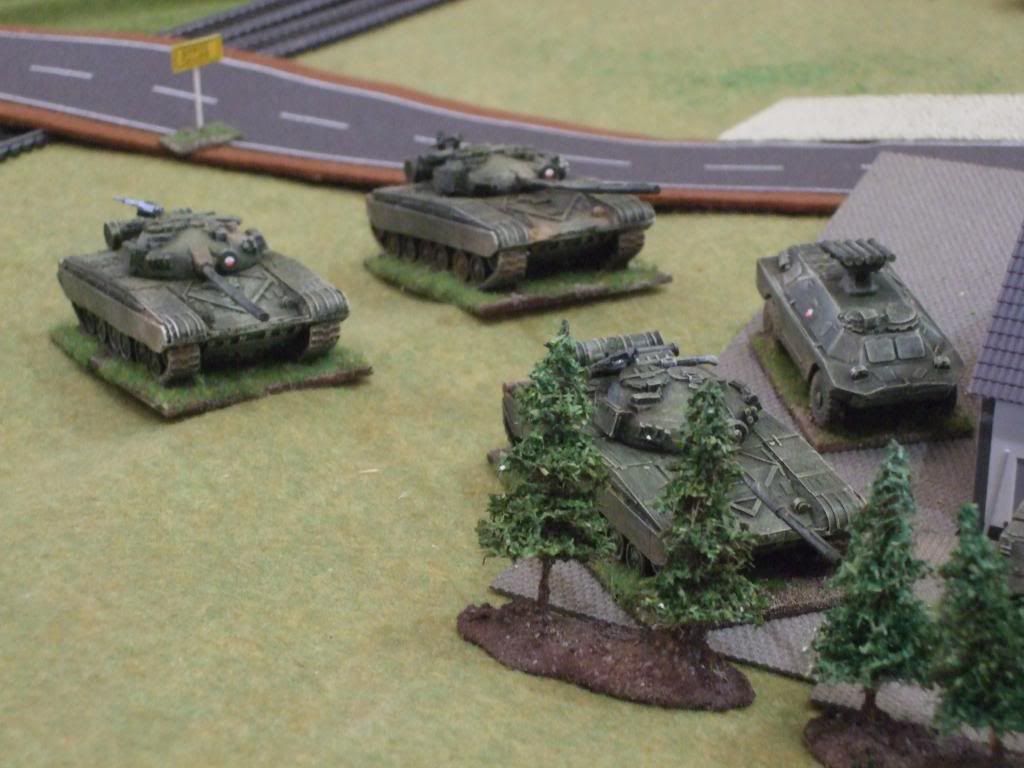
The supermarket has now been overrun, providing cover for a further advance up the road.
More troops moving up, especially the A/T missiles on the BRDM's

The follow on forces pushing through
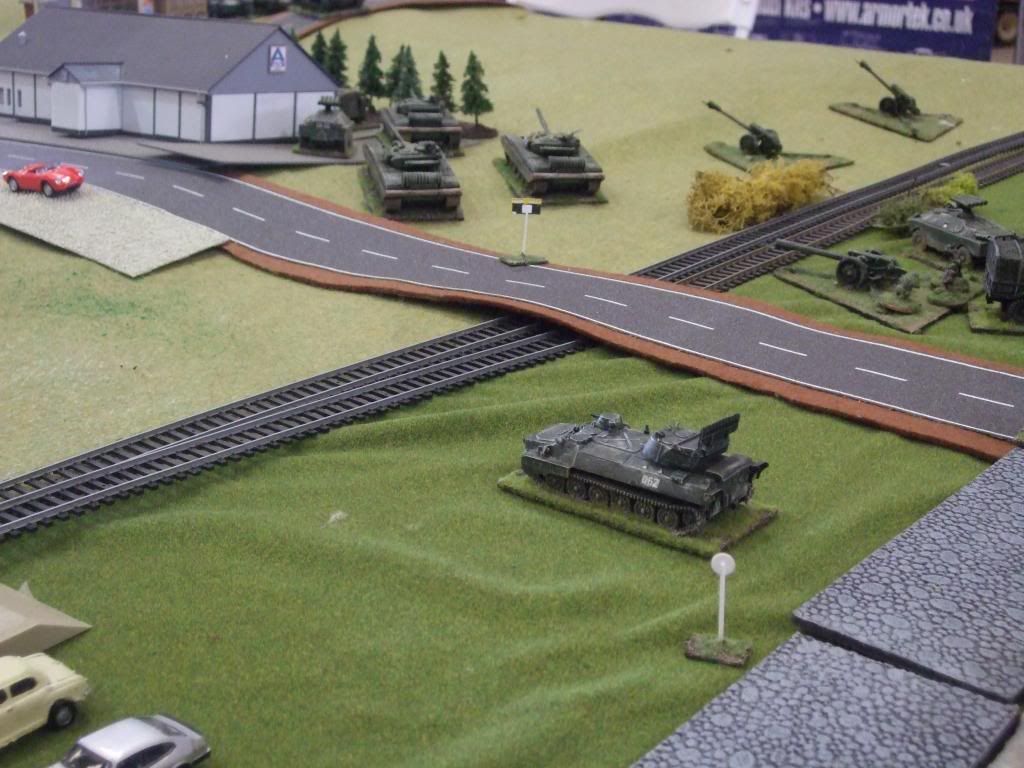
A view from the Soviet side
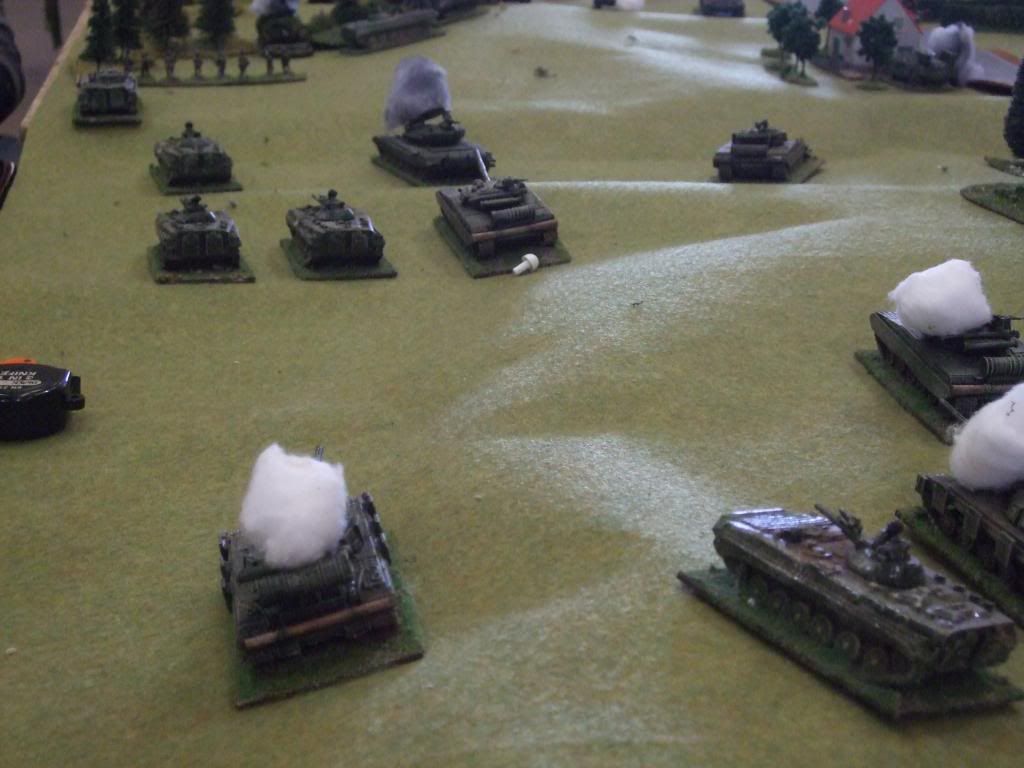
Down the table showing the undulating terrain, and the infantry attack top left
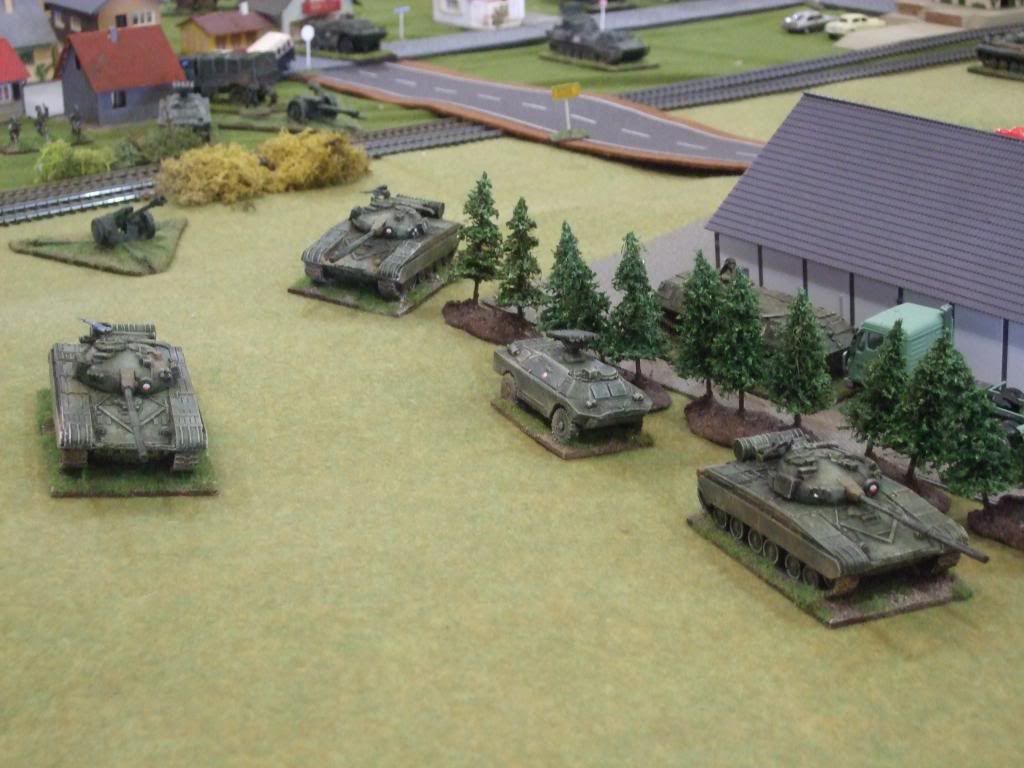
Pushing on towards the exposed Germans
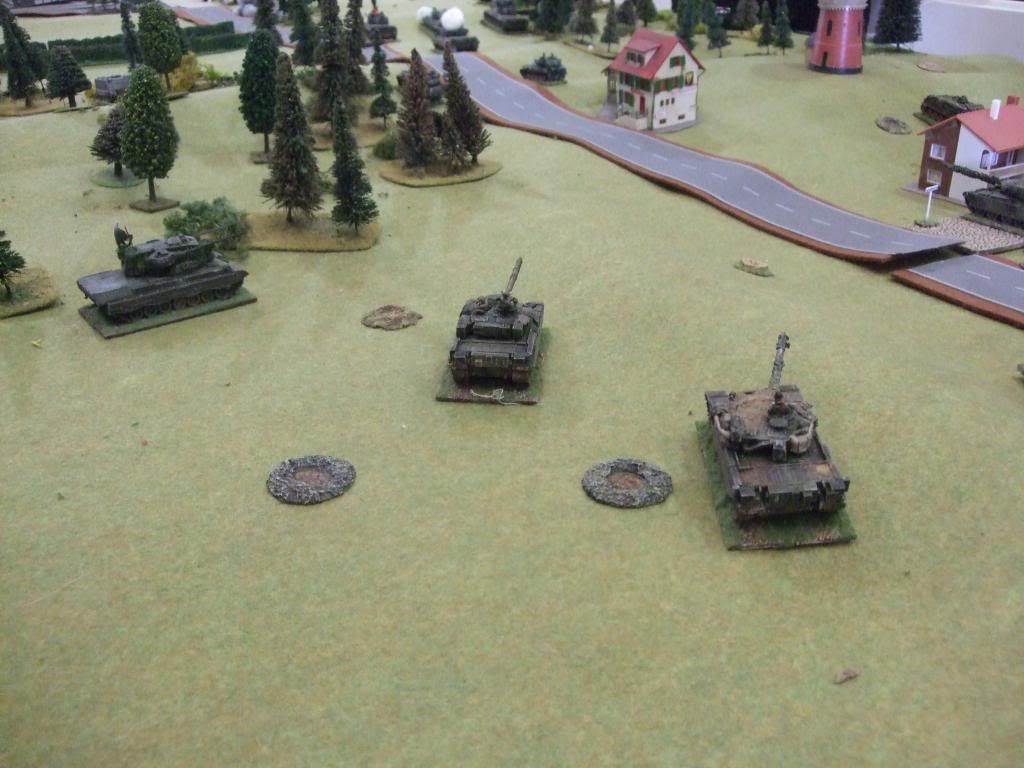
With the 1RS sending up a platoon, a troop is moved to cover their positions. 1RS commander does not expect them to hold very long.
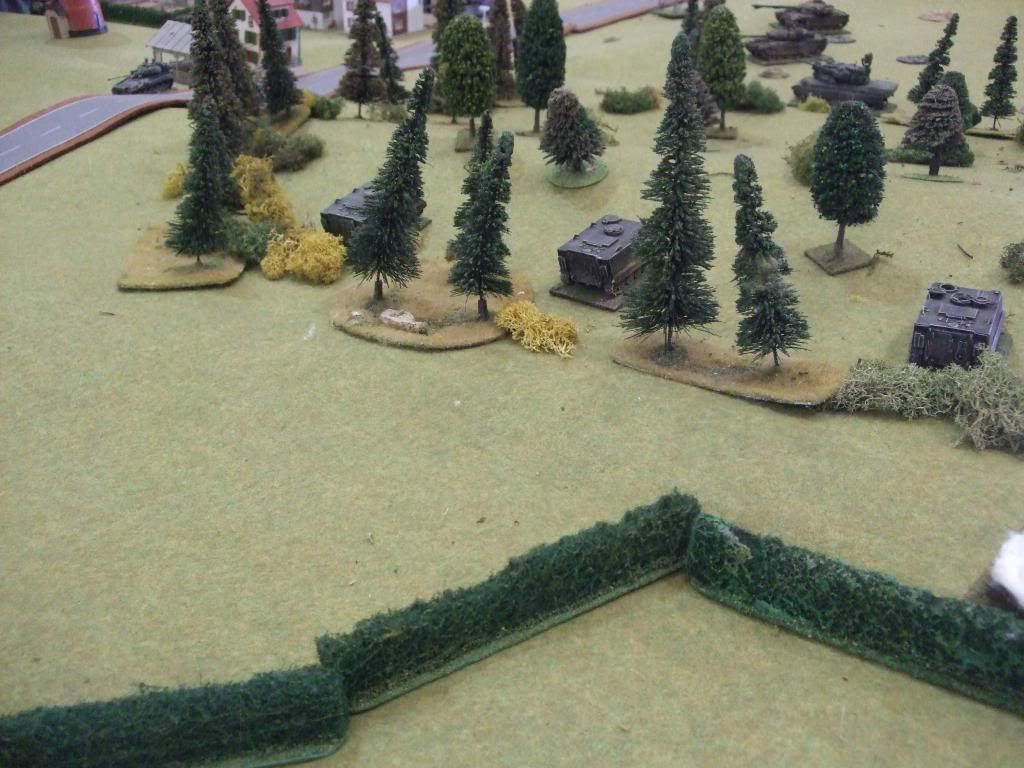
The Germans have withdrawn, leaving the M48's burning.
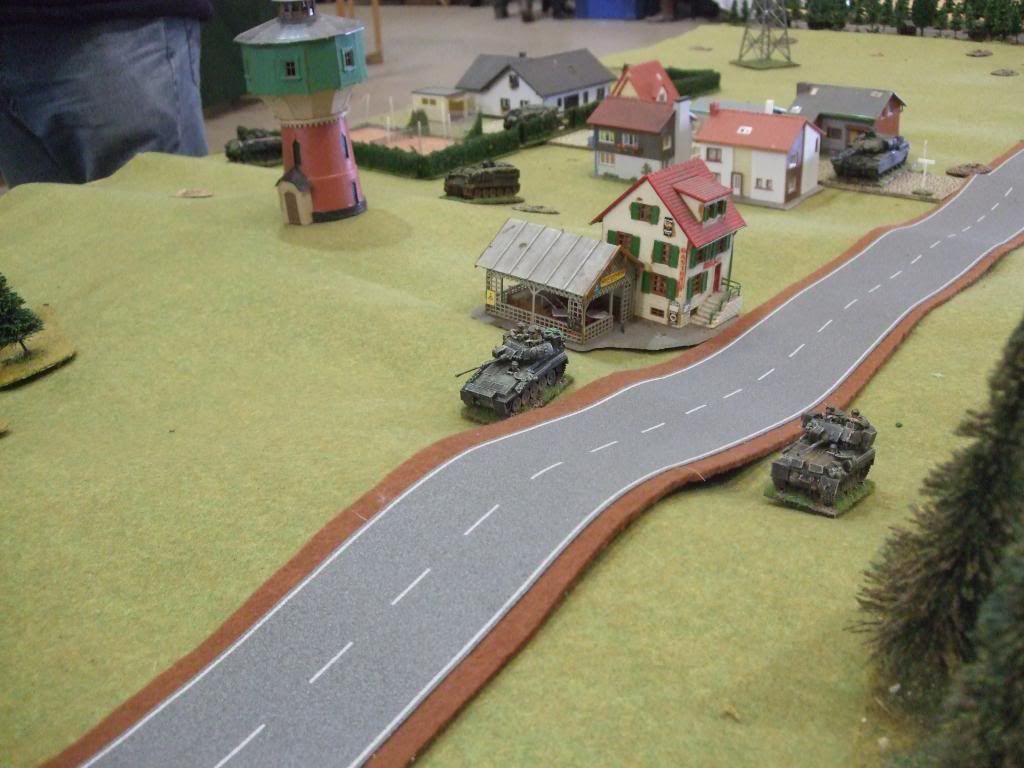
1RS recce watching the show going down, as the 432's push on.
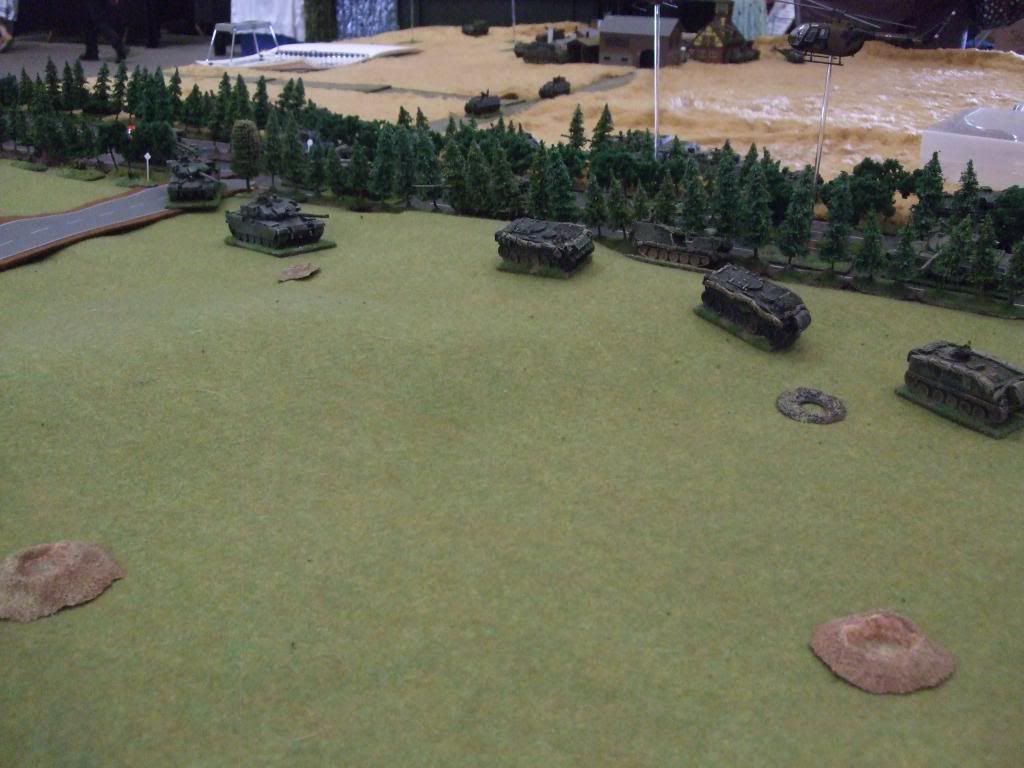
1RS commander has sent a platoon of infantry to the rear of the left hand side wood to back up the Germans. With the Chieftains in the treeline of the Autobahn, the infantry will not be needed. If they are, its all over anyway.
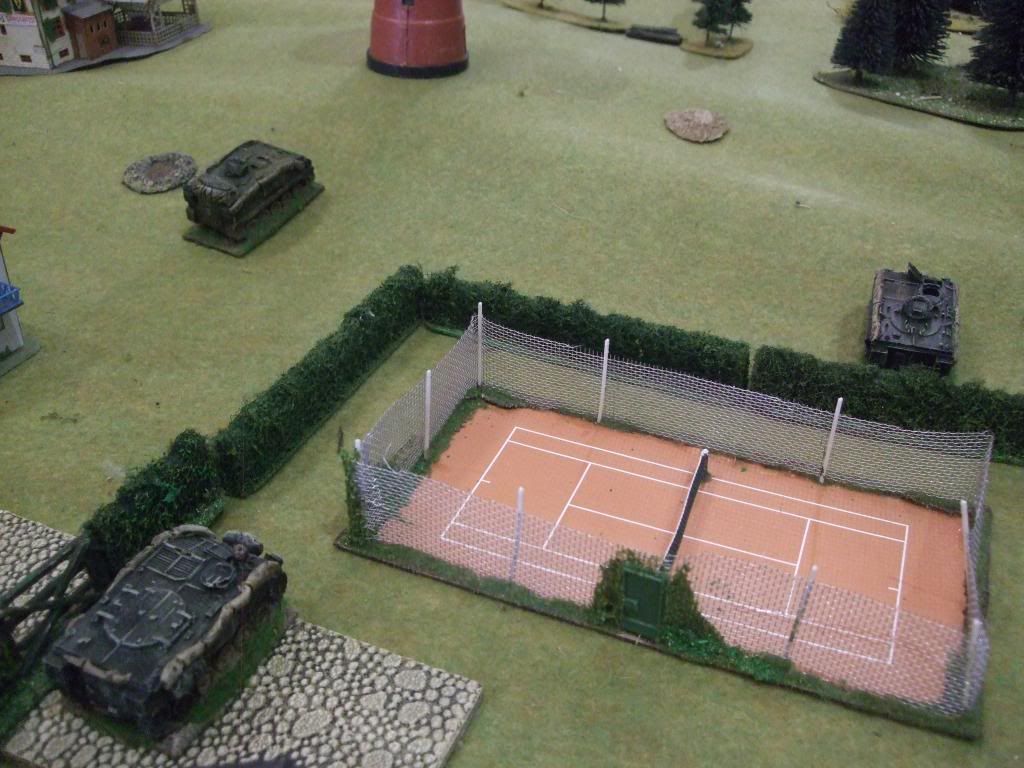
The 432's of the right flank in cover. the infantry have moved up to the trees and begun to set up the ambush.
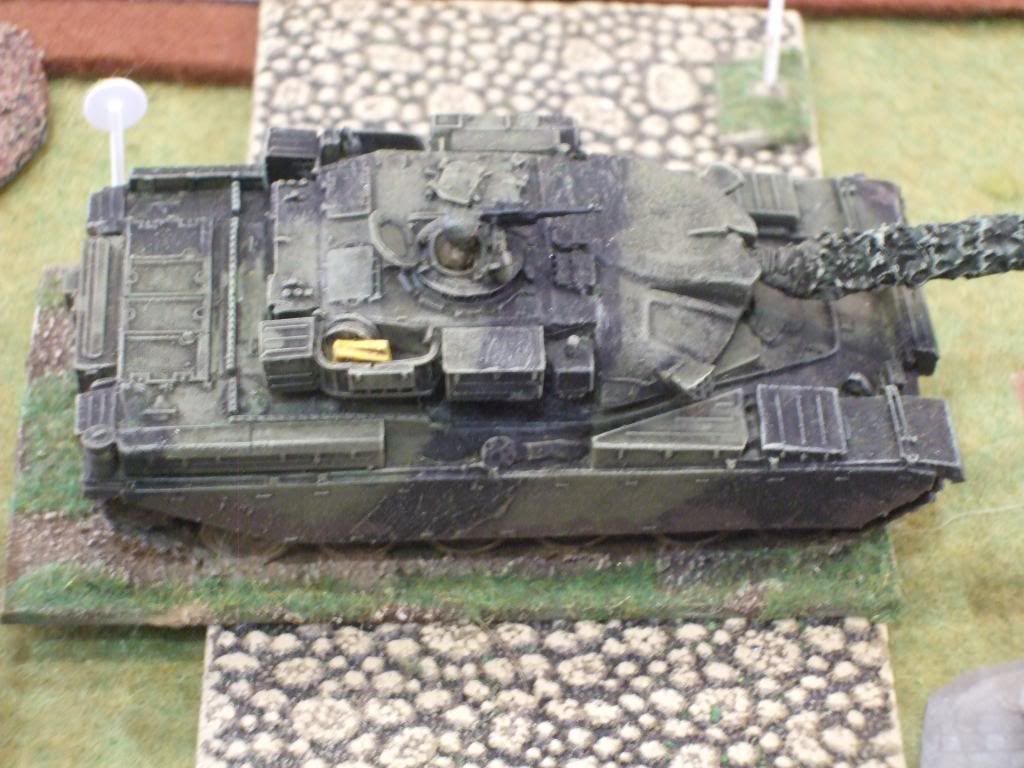
Yellow handbags ready for afterwards.
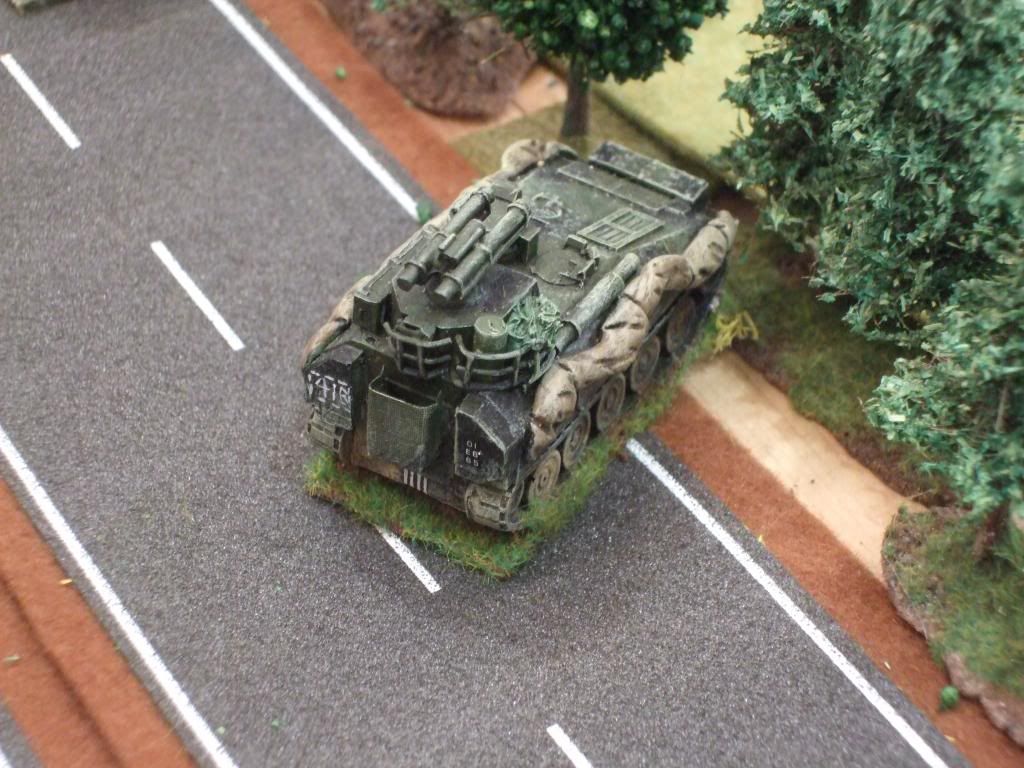
The defence of the Autobahn will depend on Swingfire and 120mm rifles

Positioning of the Chieftains as things are hotting up, in anticipation of the Soviet breakthrough.
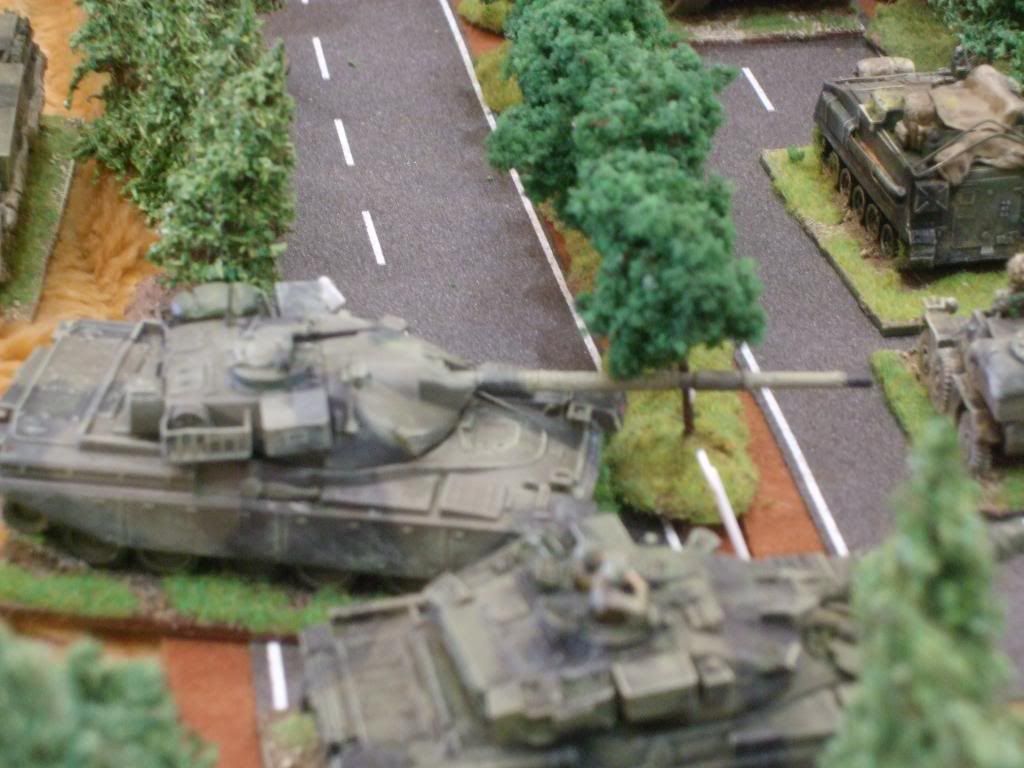
Its starting to get busy on the Autobahn
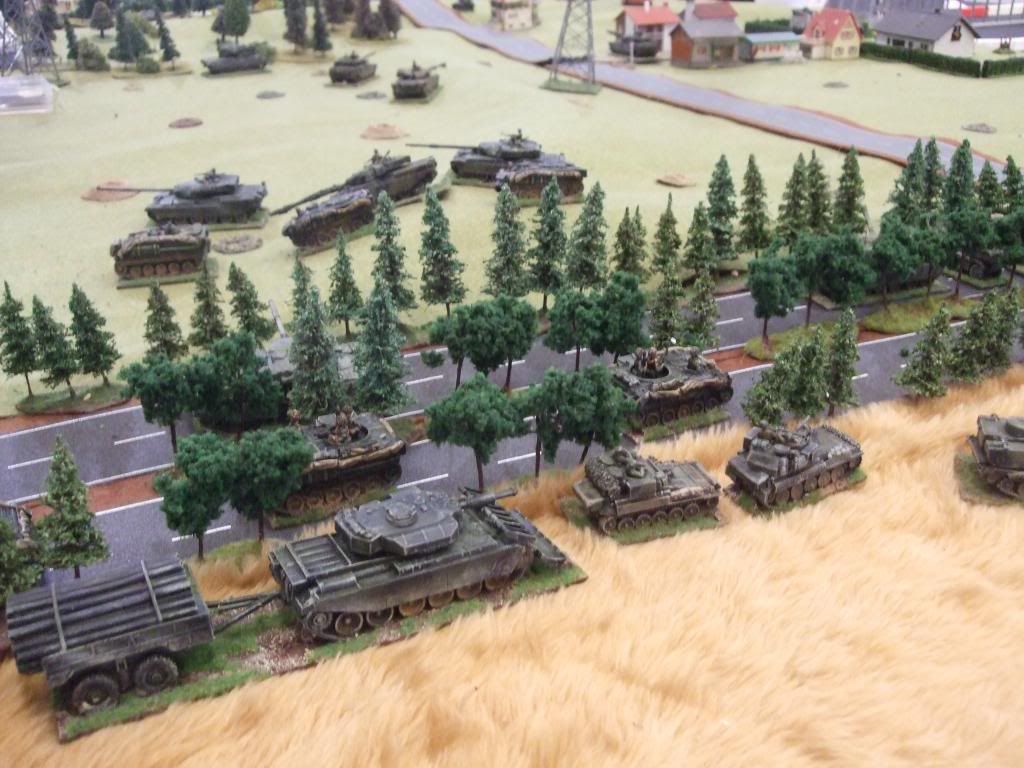
The Autobahn with the left flank deployment moving up to support the Germans and to get hulldown positions in front of the Autobahn.
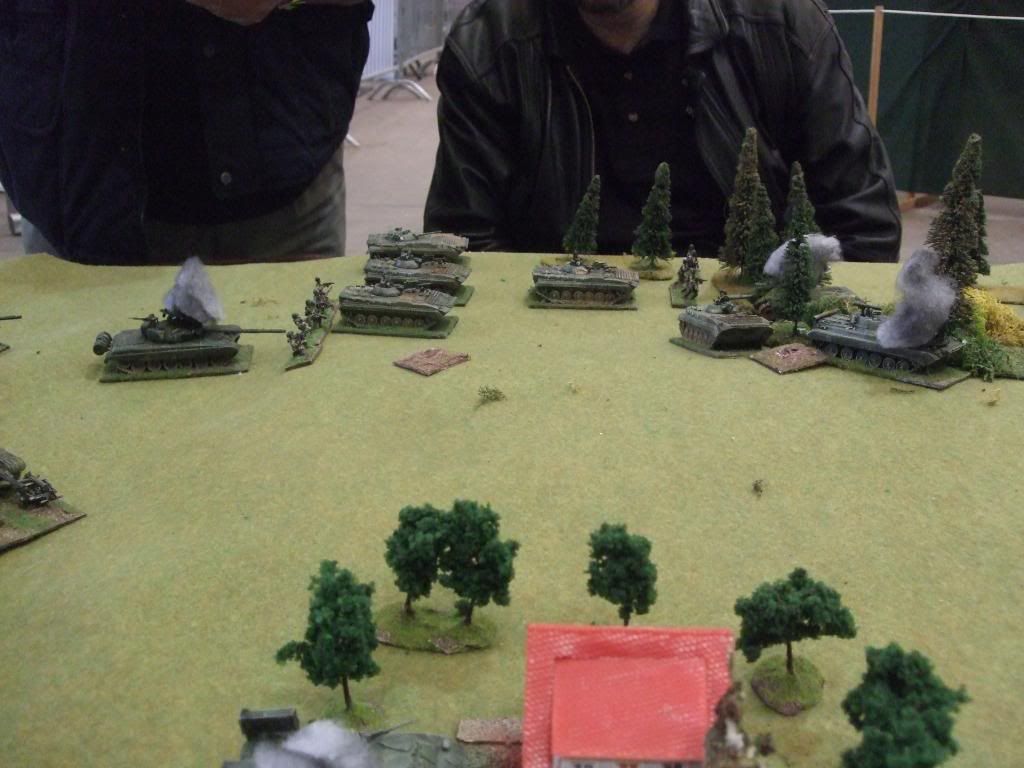
There is no frontal defence of the left flank wood except by a Milan team from the edge of the right flank wood. The Soviets cannot drive in as the destroyed Belgian Jagdkannones have blocked their path.
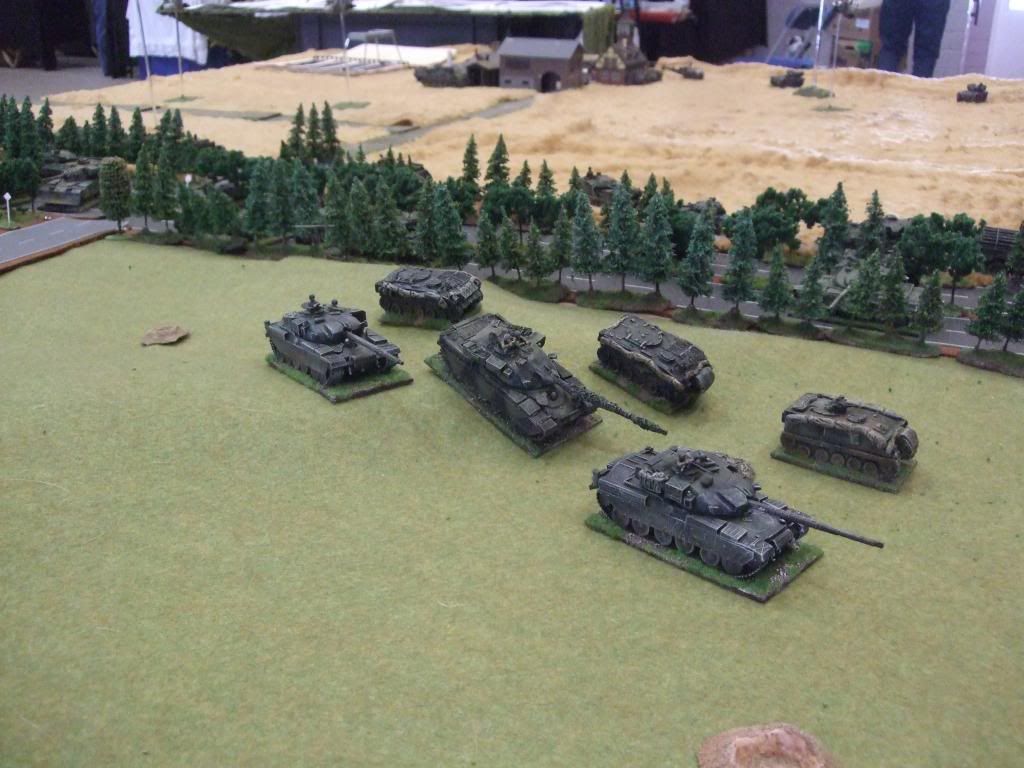
Left flank group advancing, Brigade Tac in distance.

Tracked Rapier are deployed out for the expected swoop by the Hinds or other Soviet attack aircraft.
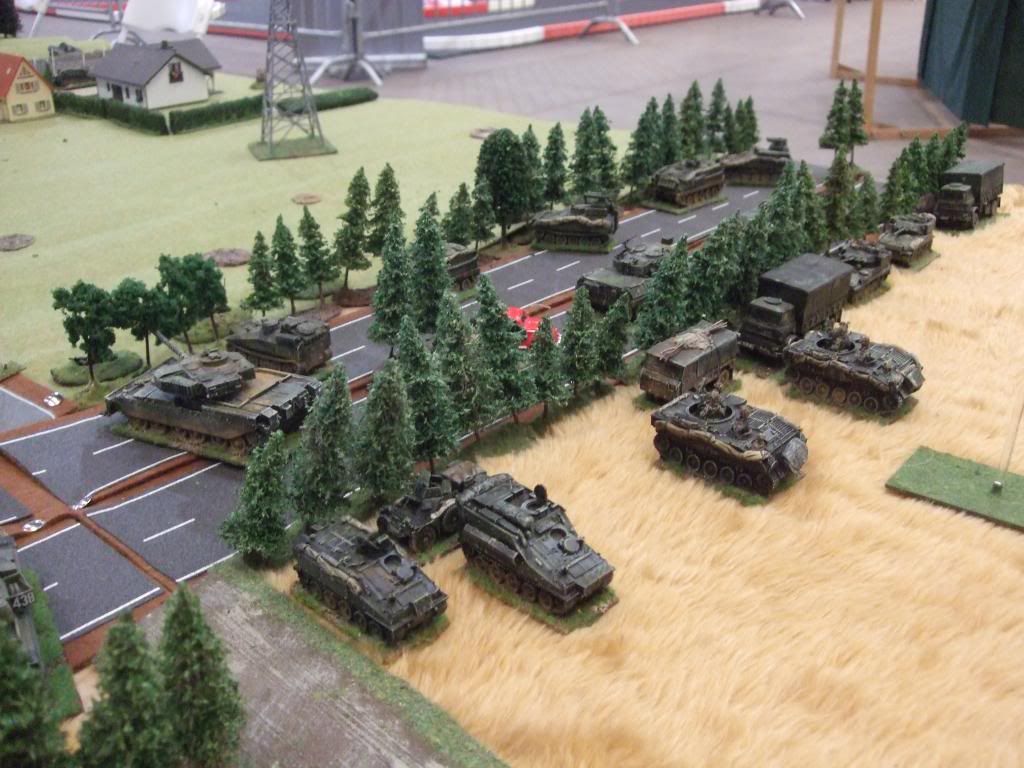
1RS mortars are set up along with other vehicles that will not be part of the gun line. It also means that they will be able to get a quick getaway should things get tricky. The Chieftains are now in position.
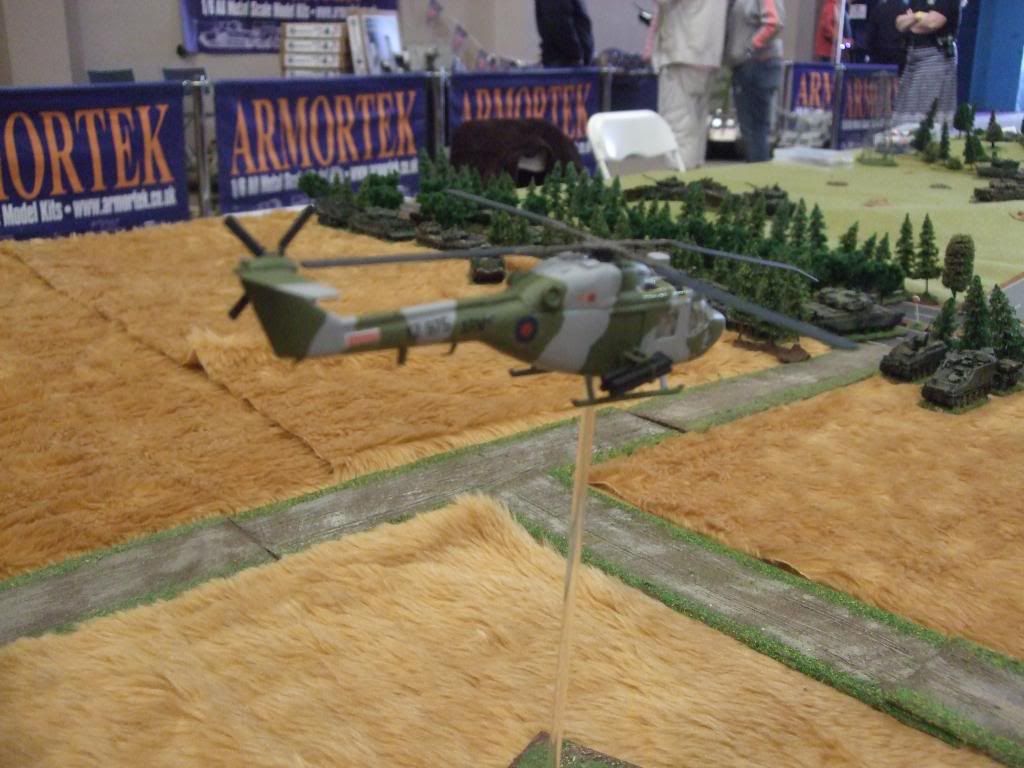
A Lynx with A/T missiles heads up to try and stop the Soviet advance

The 2 Lynx's on the attack.
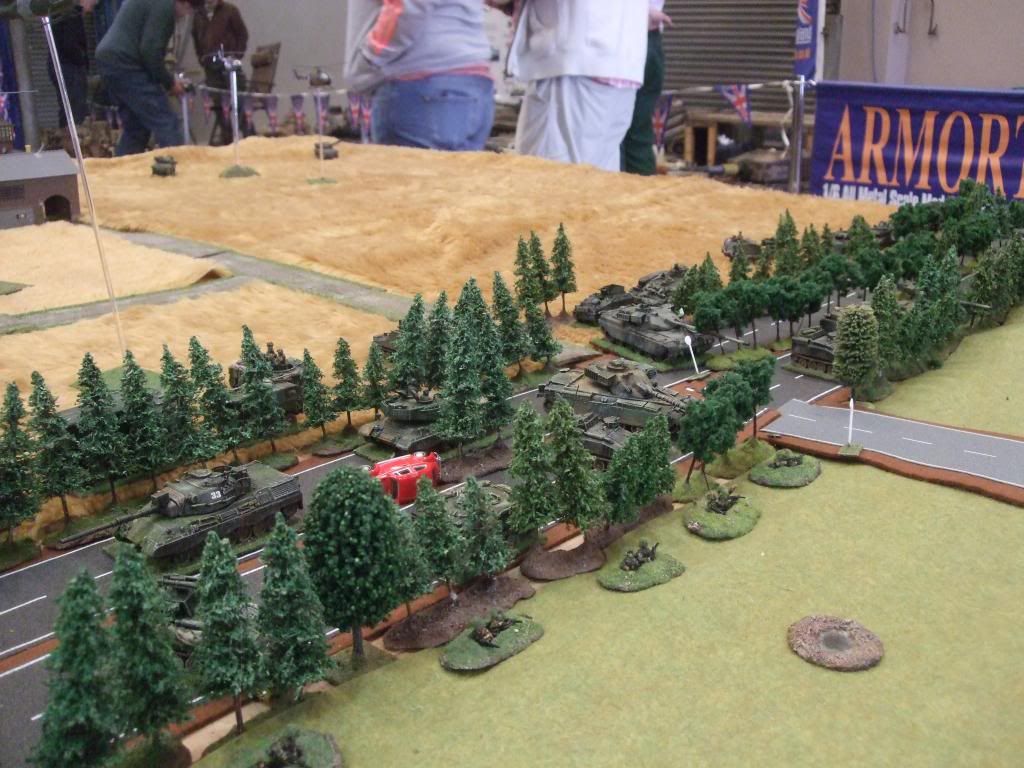
The front of the gun line, infantry on the right, Chieftains located in the centre, with the Swingfire to their right.
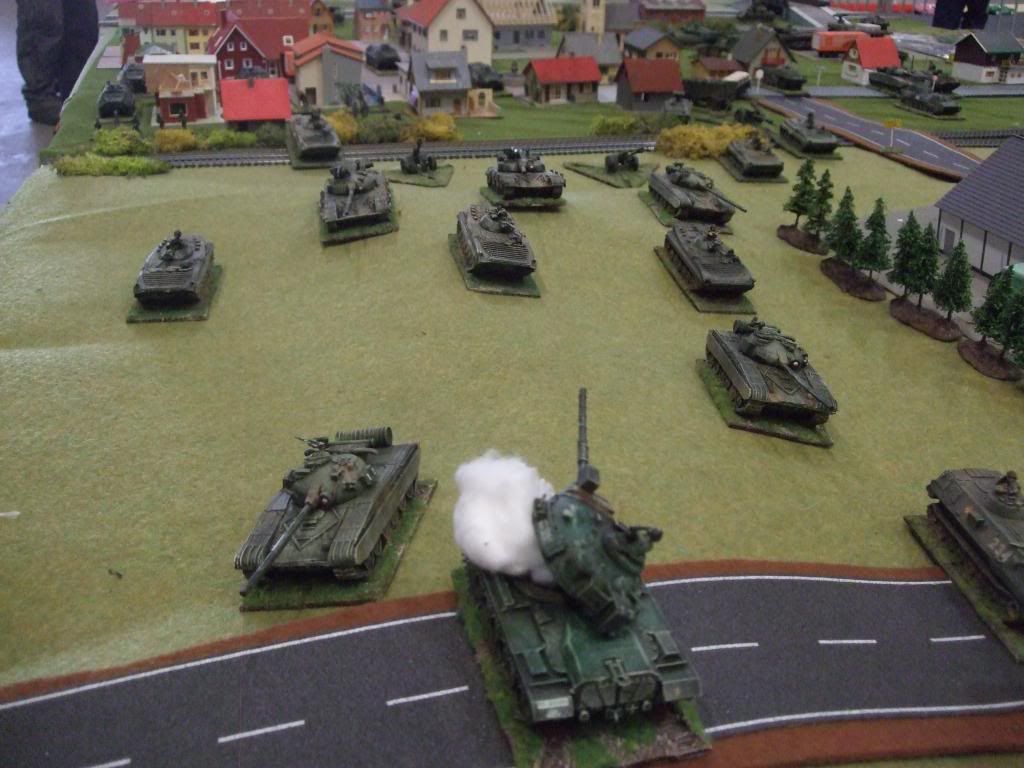
Soviets moving on up.
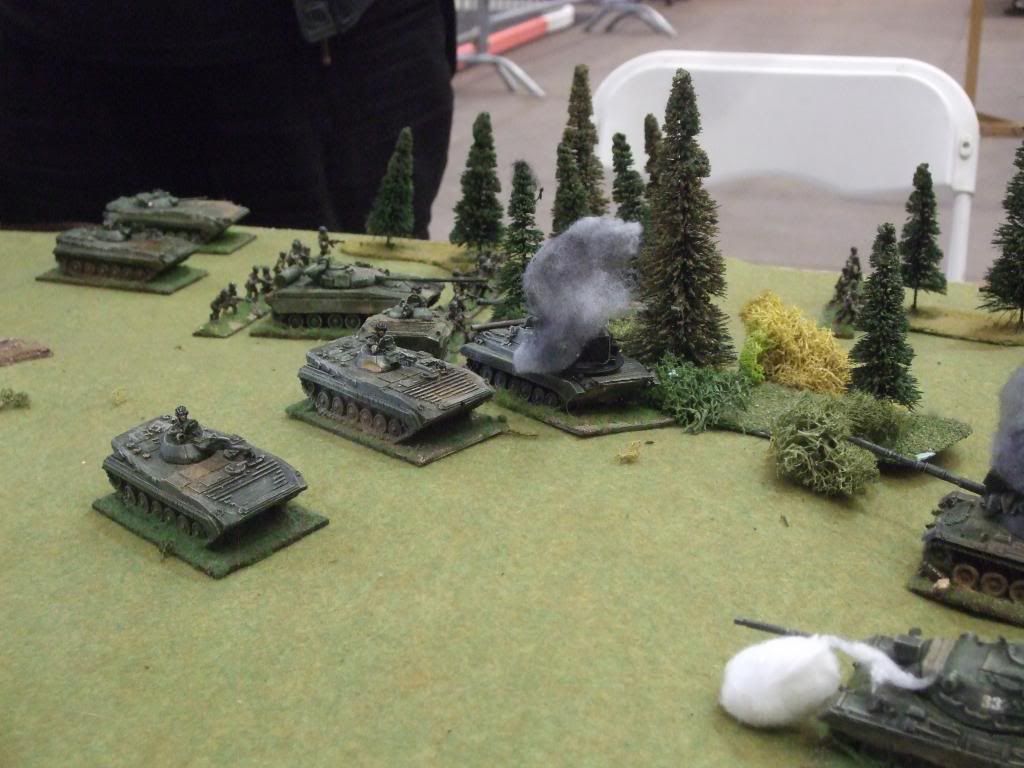
The advance continues into and around the wood.
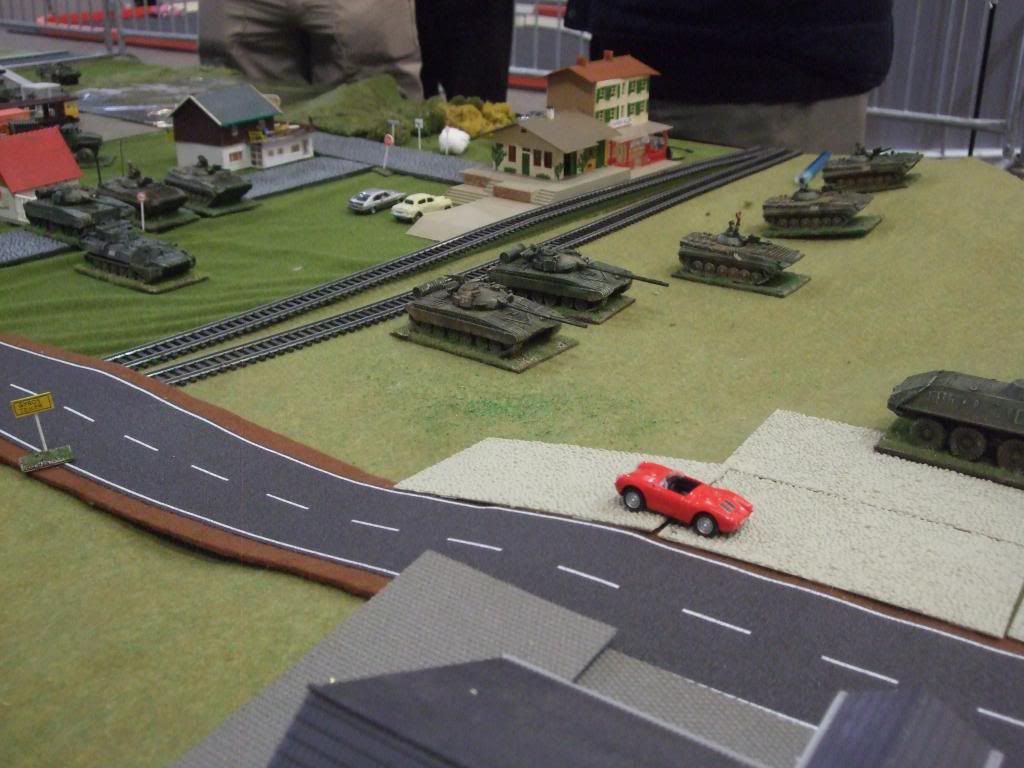
A second line forming up, to advance in support.
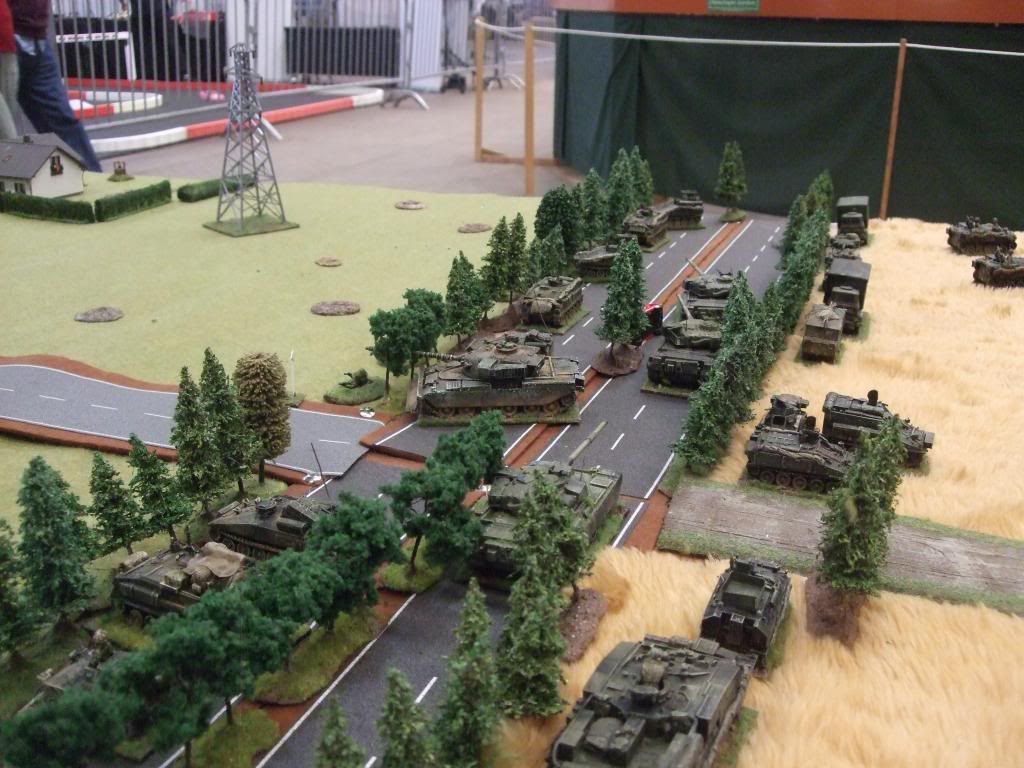
Along the Brit positions of the Autobahn. They don't want a rocket strike here, but the Soviets do not ask for one, and don't know of the Brits being there anyway. No Soviet recce has spotted them, and no aircraft have made a pass over the table. The Gepard has forced off a Su24 before it made it onto the table.
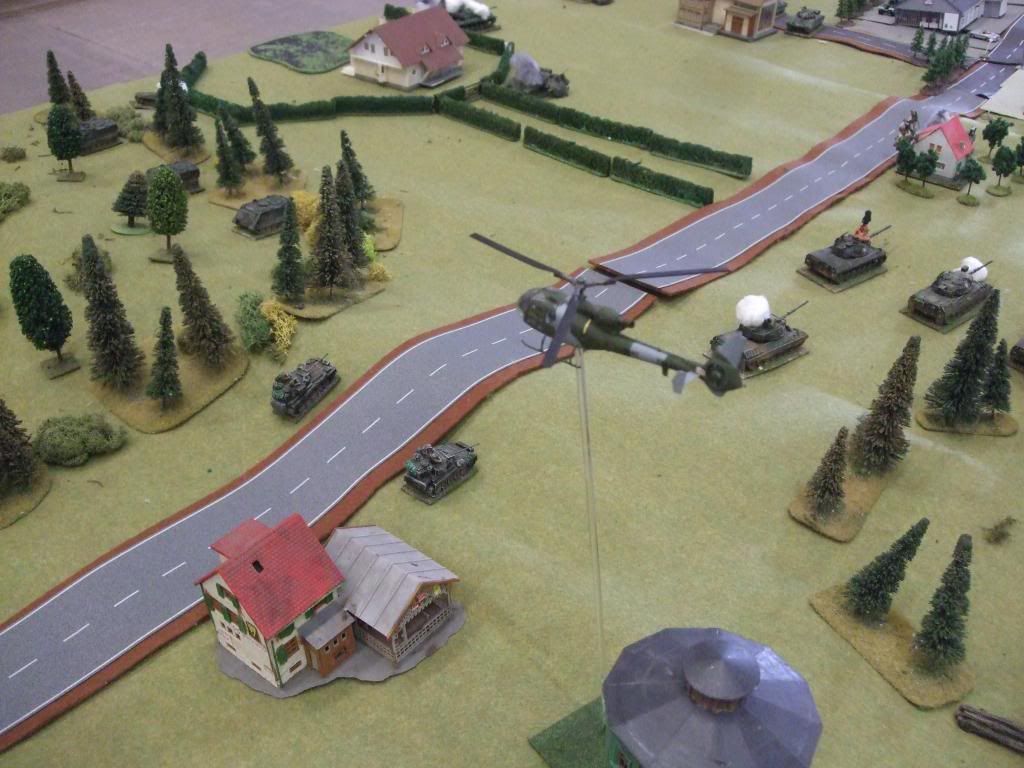
A Brit Gazelle over the ridgeline directing in the Lynx's and marking the advance for the 1RS commander and his artillery.
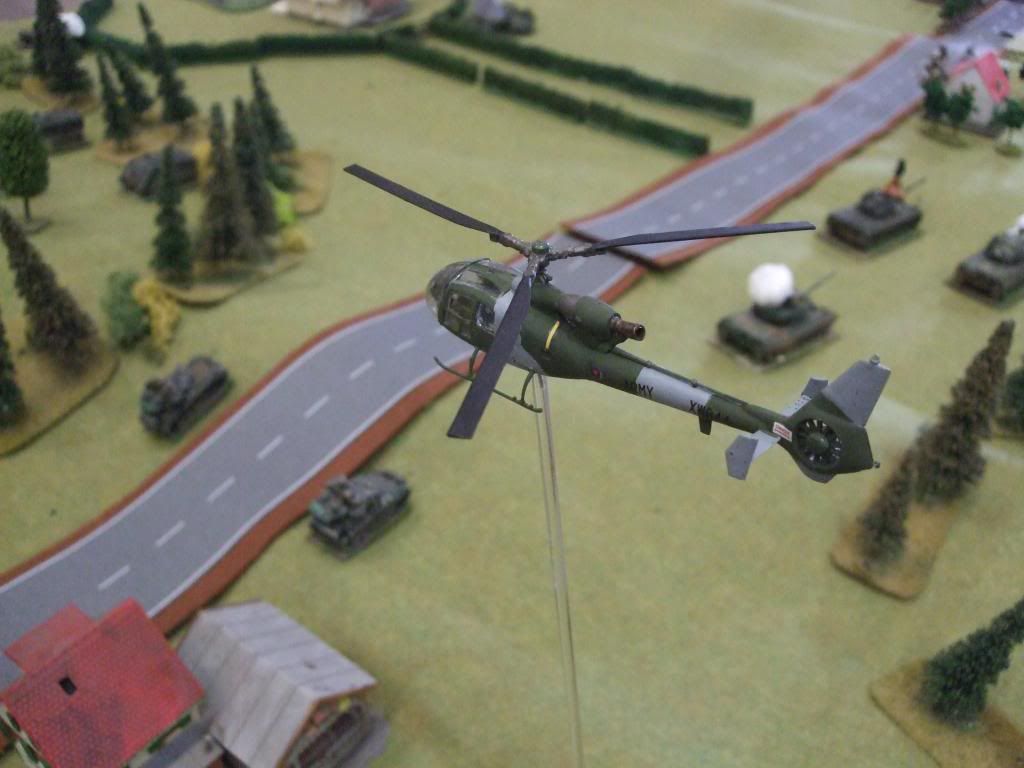
A close up.
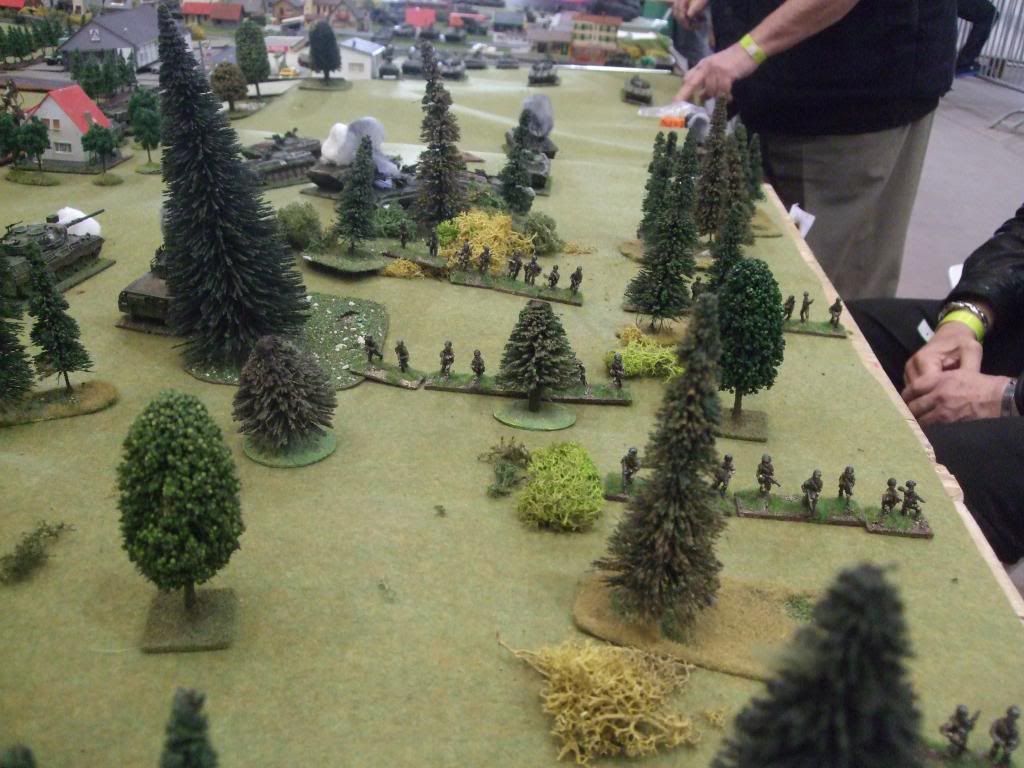
The Soviet advance through the woods is moving quite quickly.
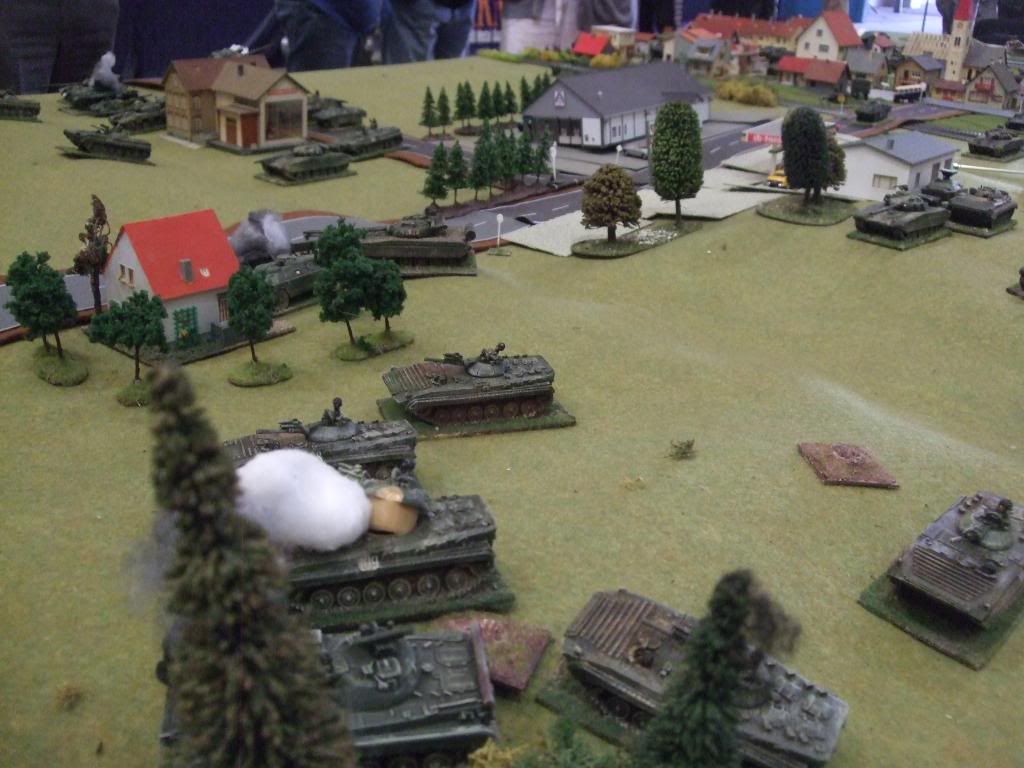
The BMP's who carried the infantry, advancing through the wood. A key assault, on a key feature.
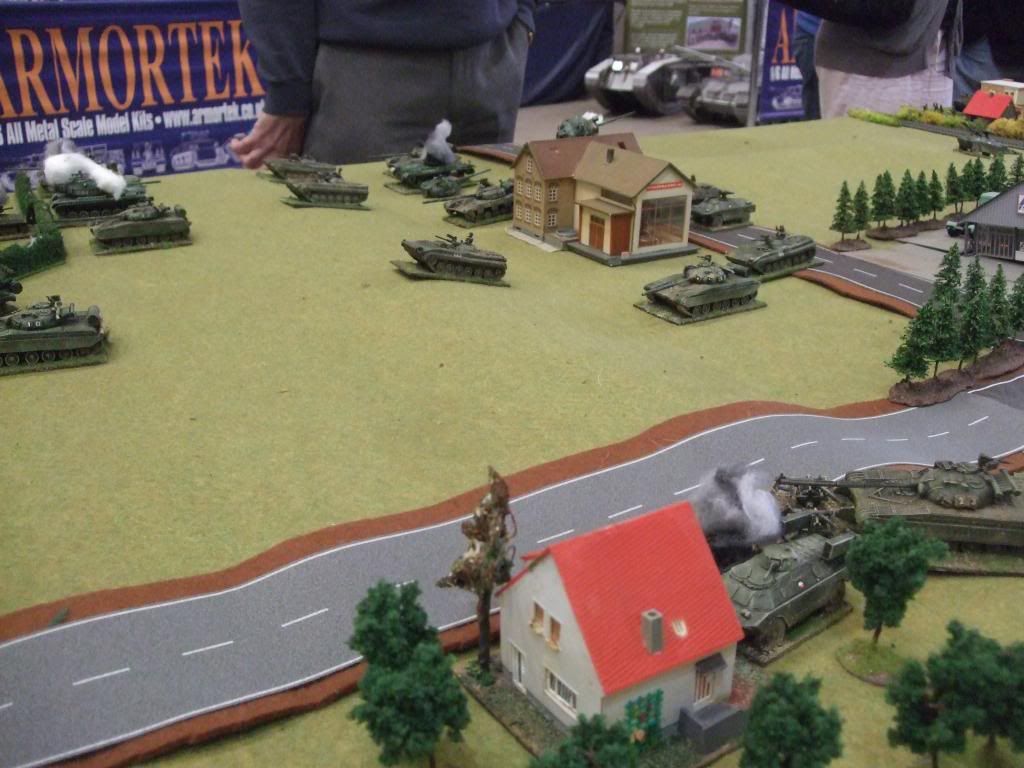
The assault on the right flank woods is forming up.
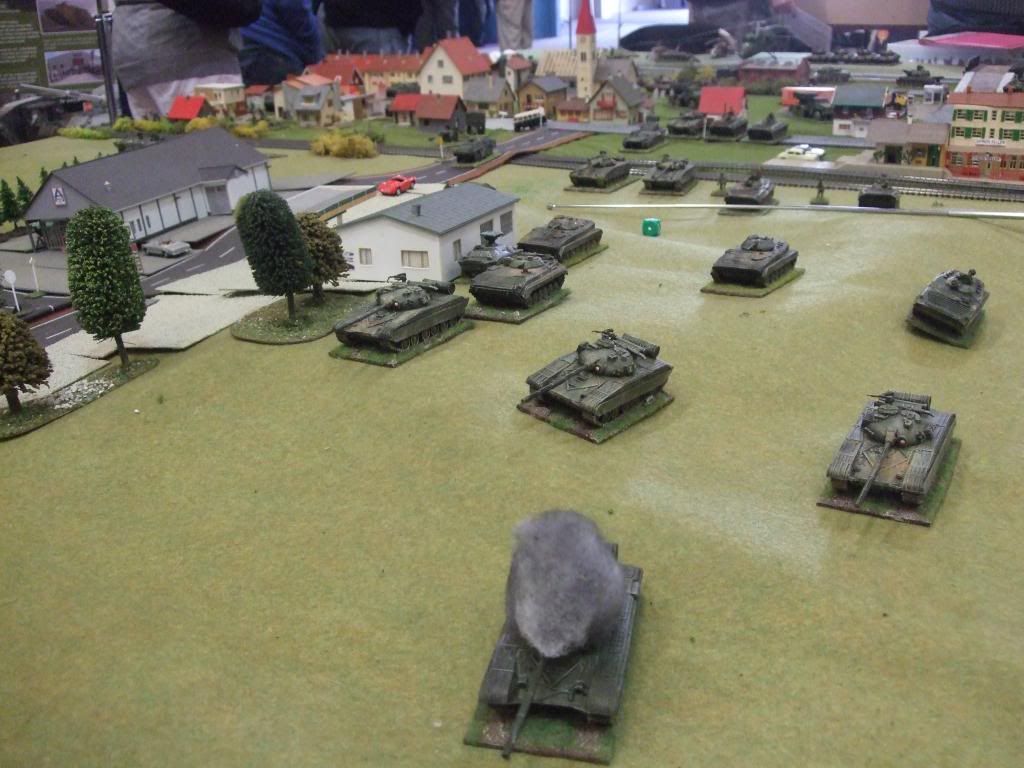
The second wave moving up.
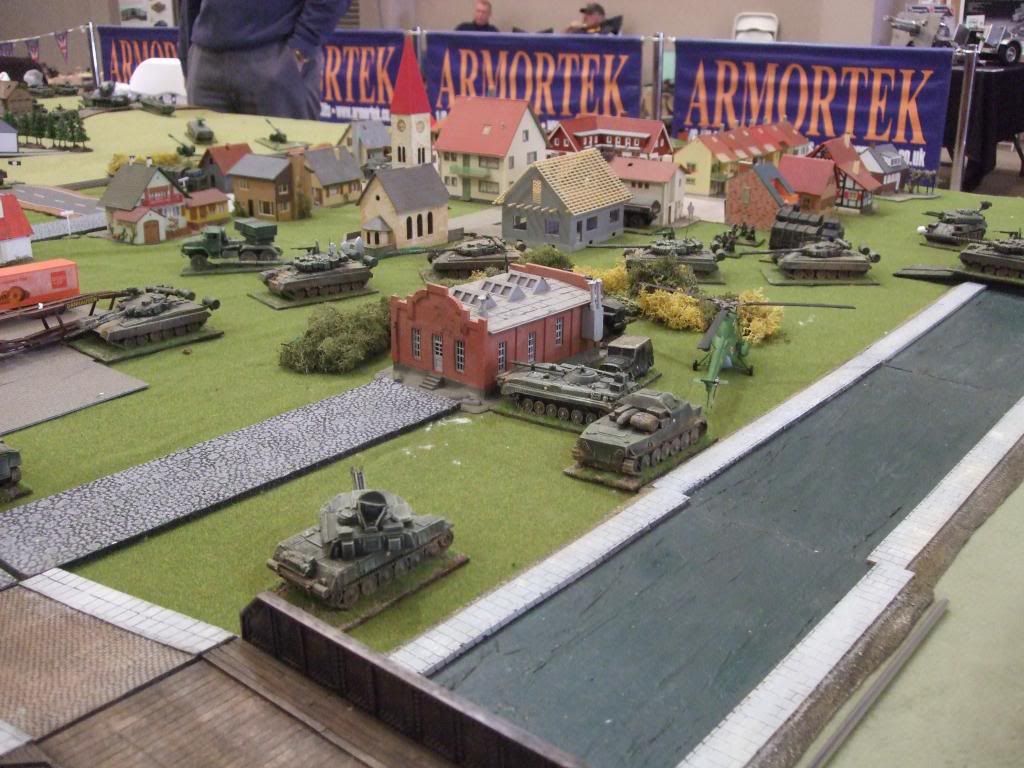
All quiet at the Soviet HQ. Things are going to plan.
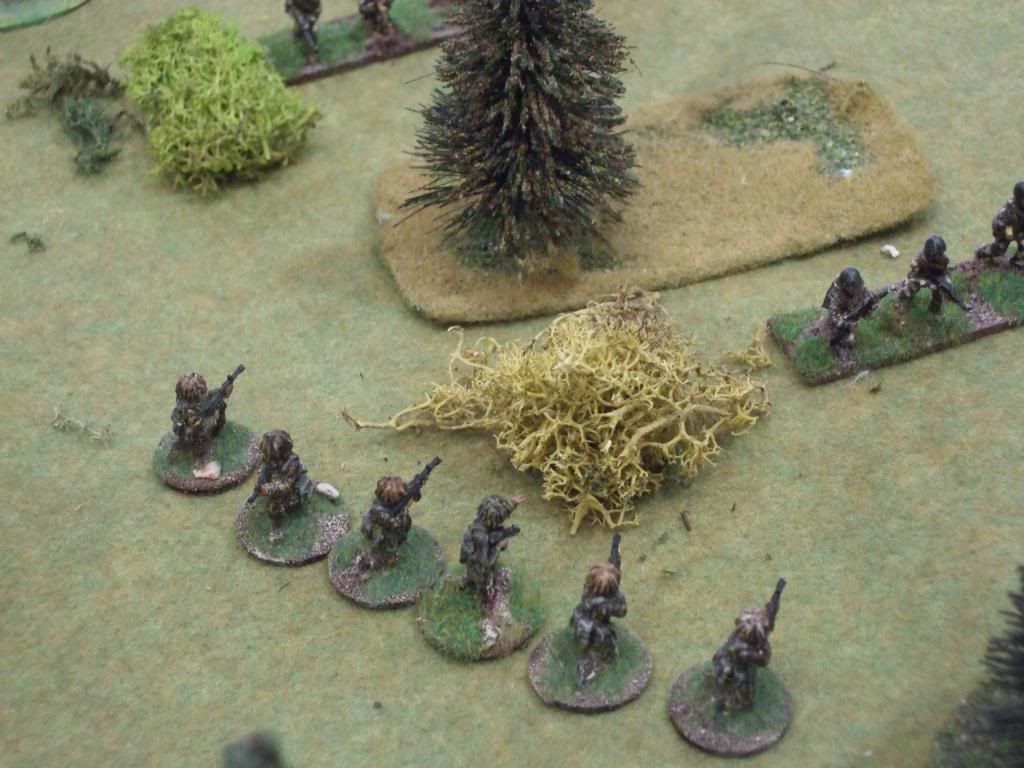
Ambush!!
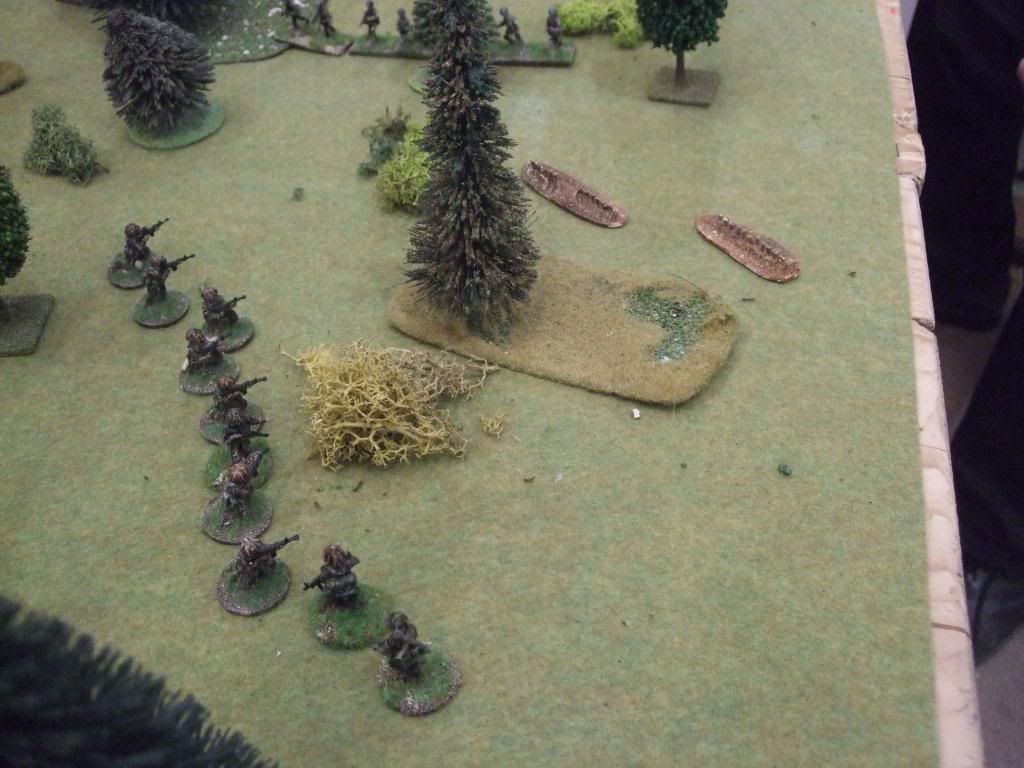
Devastating fire from the ambush wipes out the entire section, with the entire second section going down in the Brit players move. The ground is raked by fire - 2 bullet hit markers show what is left.
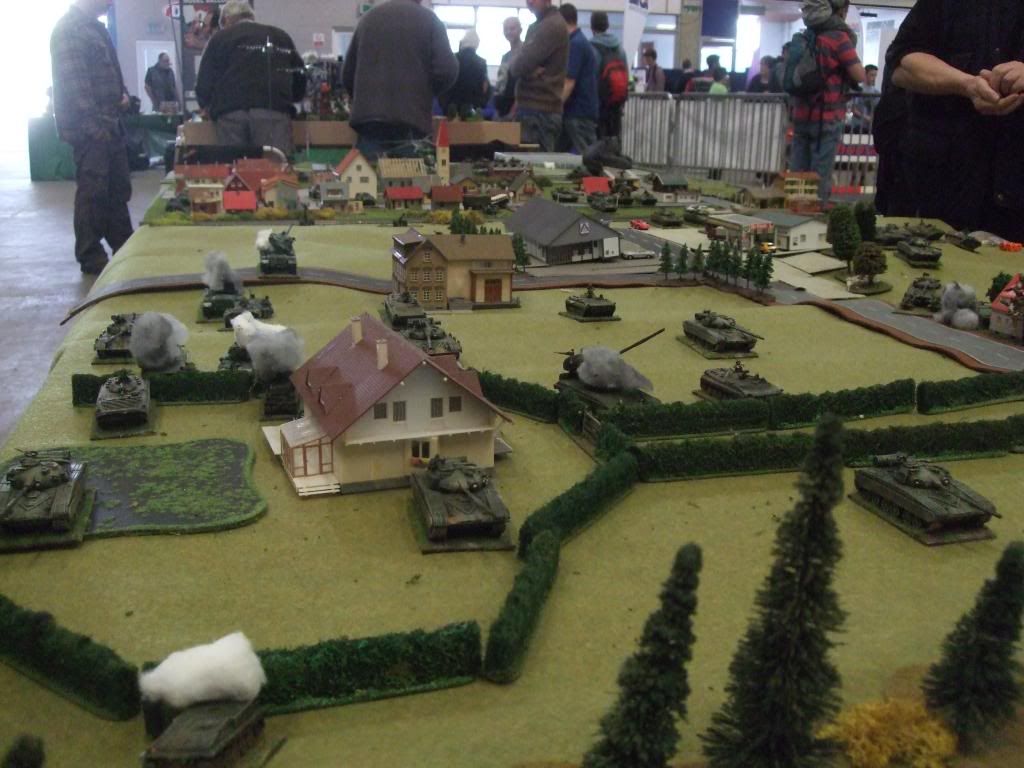
The attack on the left flank wood.
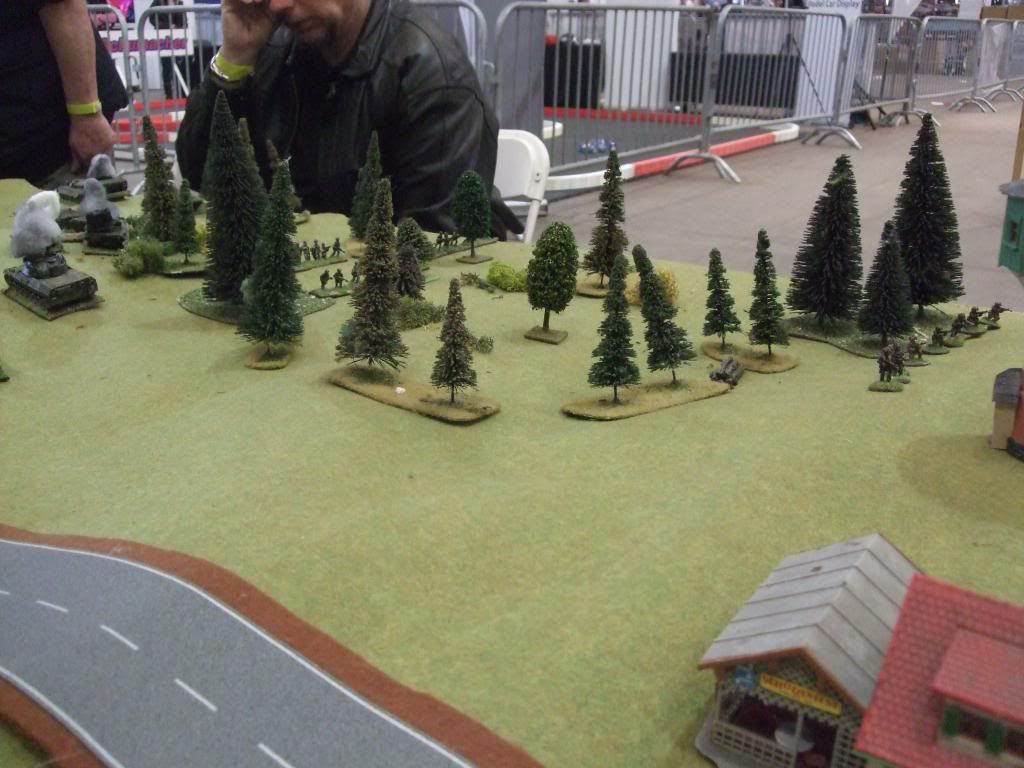
The Brits move position quickly to avoid any retribution.
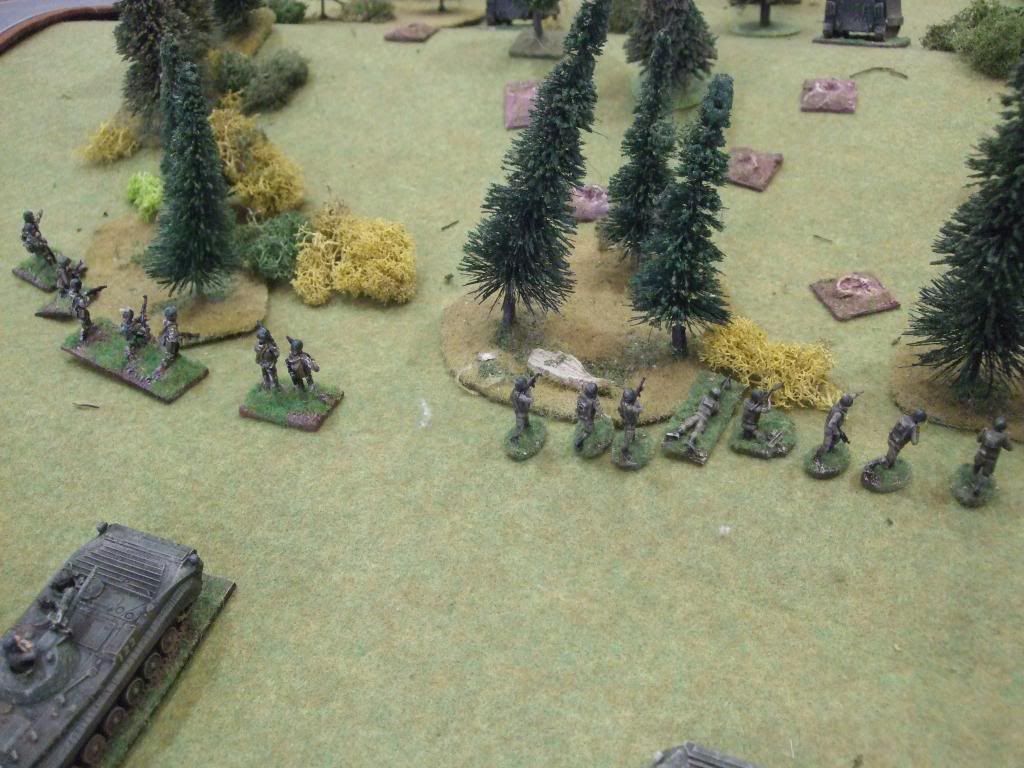
The attack on foot,on the left flank wood. Shot in by their BMP's gunfire.

The expectant Brits.

Side view of the attack.
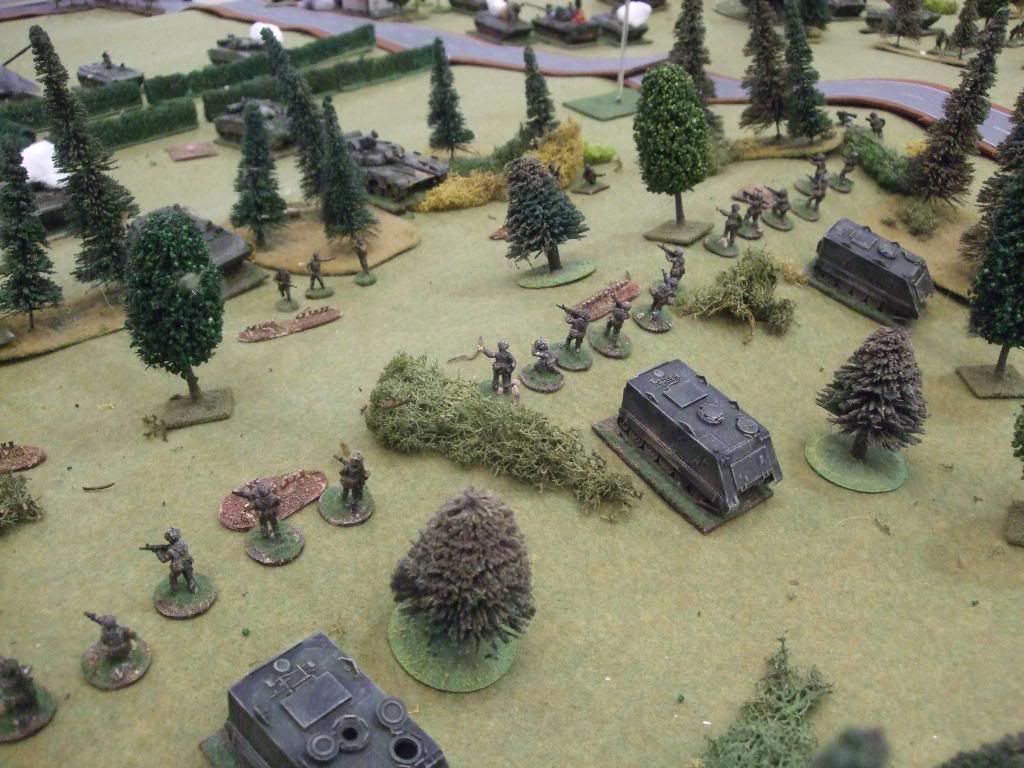
The Soviets advance in, laying down artillery. The Germans have occupied the reverse slope, and so do not defend the tree line. If so, they would have been eliminated. They pour in ambush fire onto the advancing Soviets.
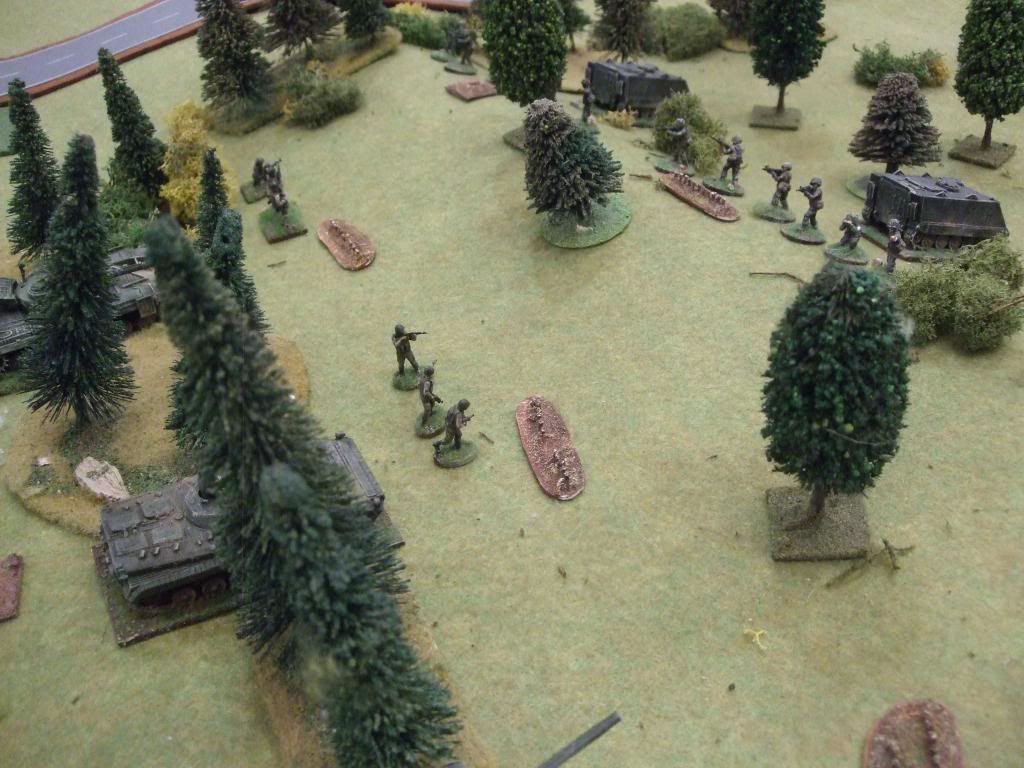
Again, another infantry attack has been devastated, and slowed down.
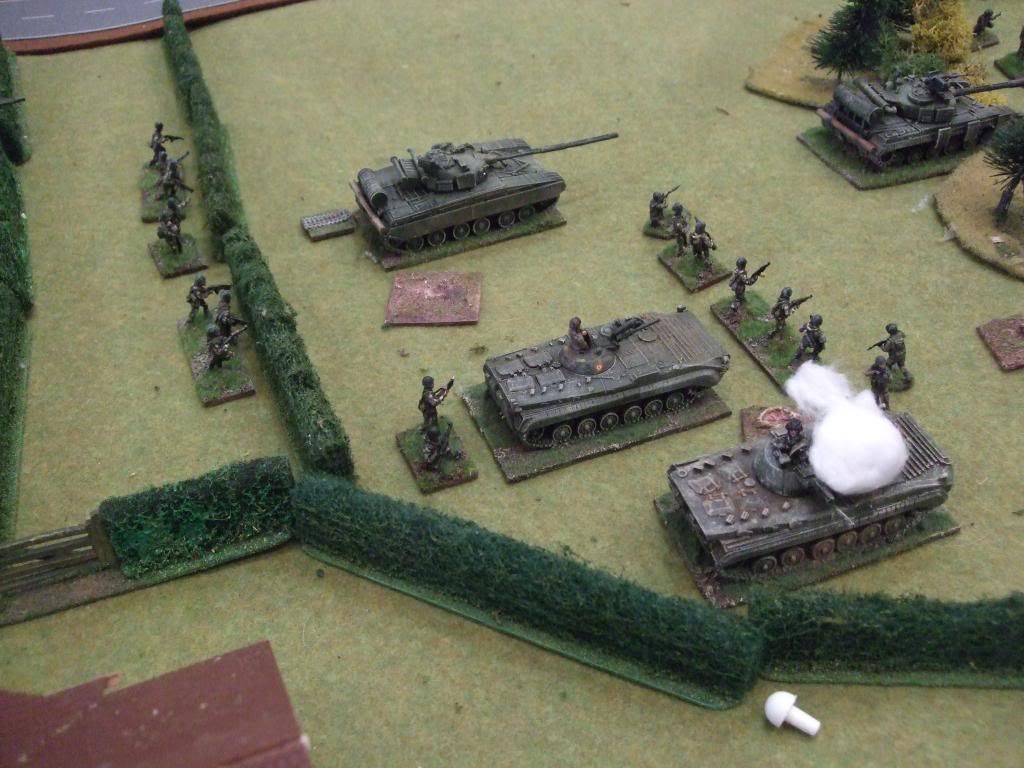
Meanwhile, more infantry are moving up to take the places of the fallen.
And that was the end of Gyros Teller for me. I got a call at 1pm to say that the wife had flooded the bathroom and hall by doing some plumbing. !!!. She would have been more believed to say that she had been doing some wargaming. Off home it was. The game went on for 2 more hours.
The British forward defence on the right consisted of a 432 Plt with an intimate support Chieftain. They successfully ambushed the Sovs coming through the dense woods then fell back to a second defence line. They then lost their Milan team after an unsuccessful attempt on a T-64. Then the airstrike, the chaps survived but 2 x CVR(T) from the Recce Plt got it.
Nick was able to do a write up of what happened next, this was added to a Guild post that I wrote up.
On the left the remnants of the Germans fell back through a Plt (-). The Sovs advanced to a position with a number of support wpns and a T-64 Plt in overwatch, hoping to trigger the British with a section then using overwhelming firepower to snot them. The British did not wait around but popped smoke and headed back to the next defence line in their speedy 432s, covered by 2 x Striker and 2 Tp (Chieftain). The final act was the 2 Chieftains on the centre right taking out the 1st Sov T-64 as it came over the central ridge.
Over 2 days of play, with thanks to Ian, Paul, Mike and Nick T. Figures and terrain were all Nick's.